
Hyperlite Mountain Gear - ultralight dyneema packs and tents
ULTRALIGHT PACK COLLECTIONS


Explore now,
pay later with
Shop Nowpay later with
ULTRALIGHT GEAR COLLECTIONS


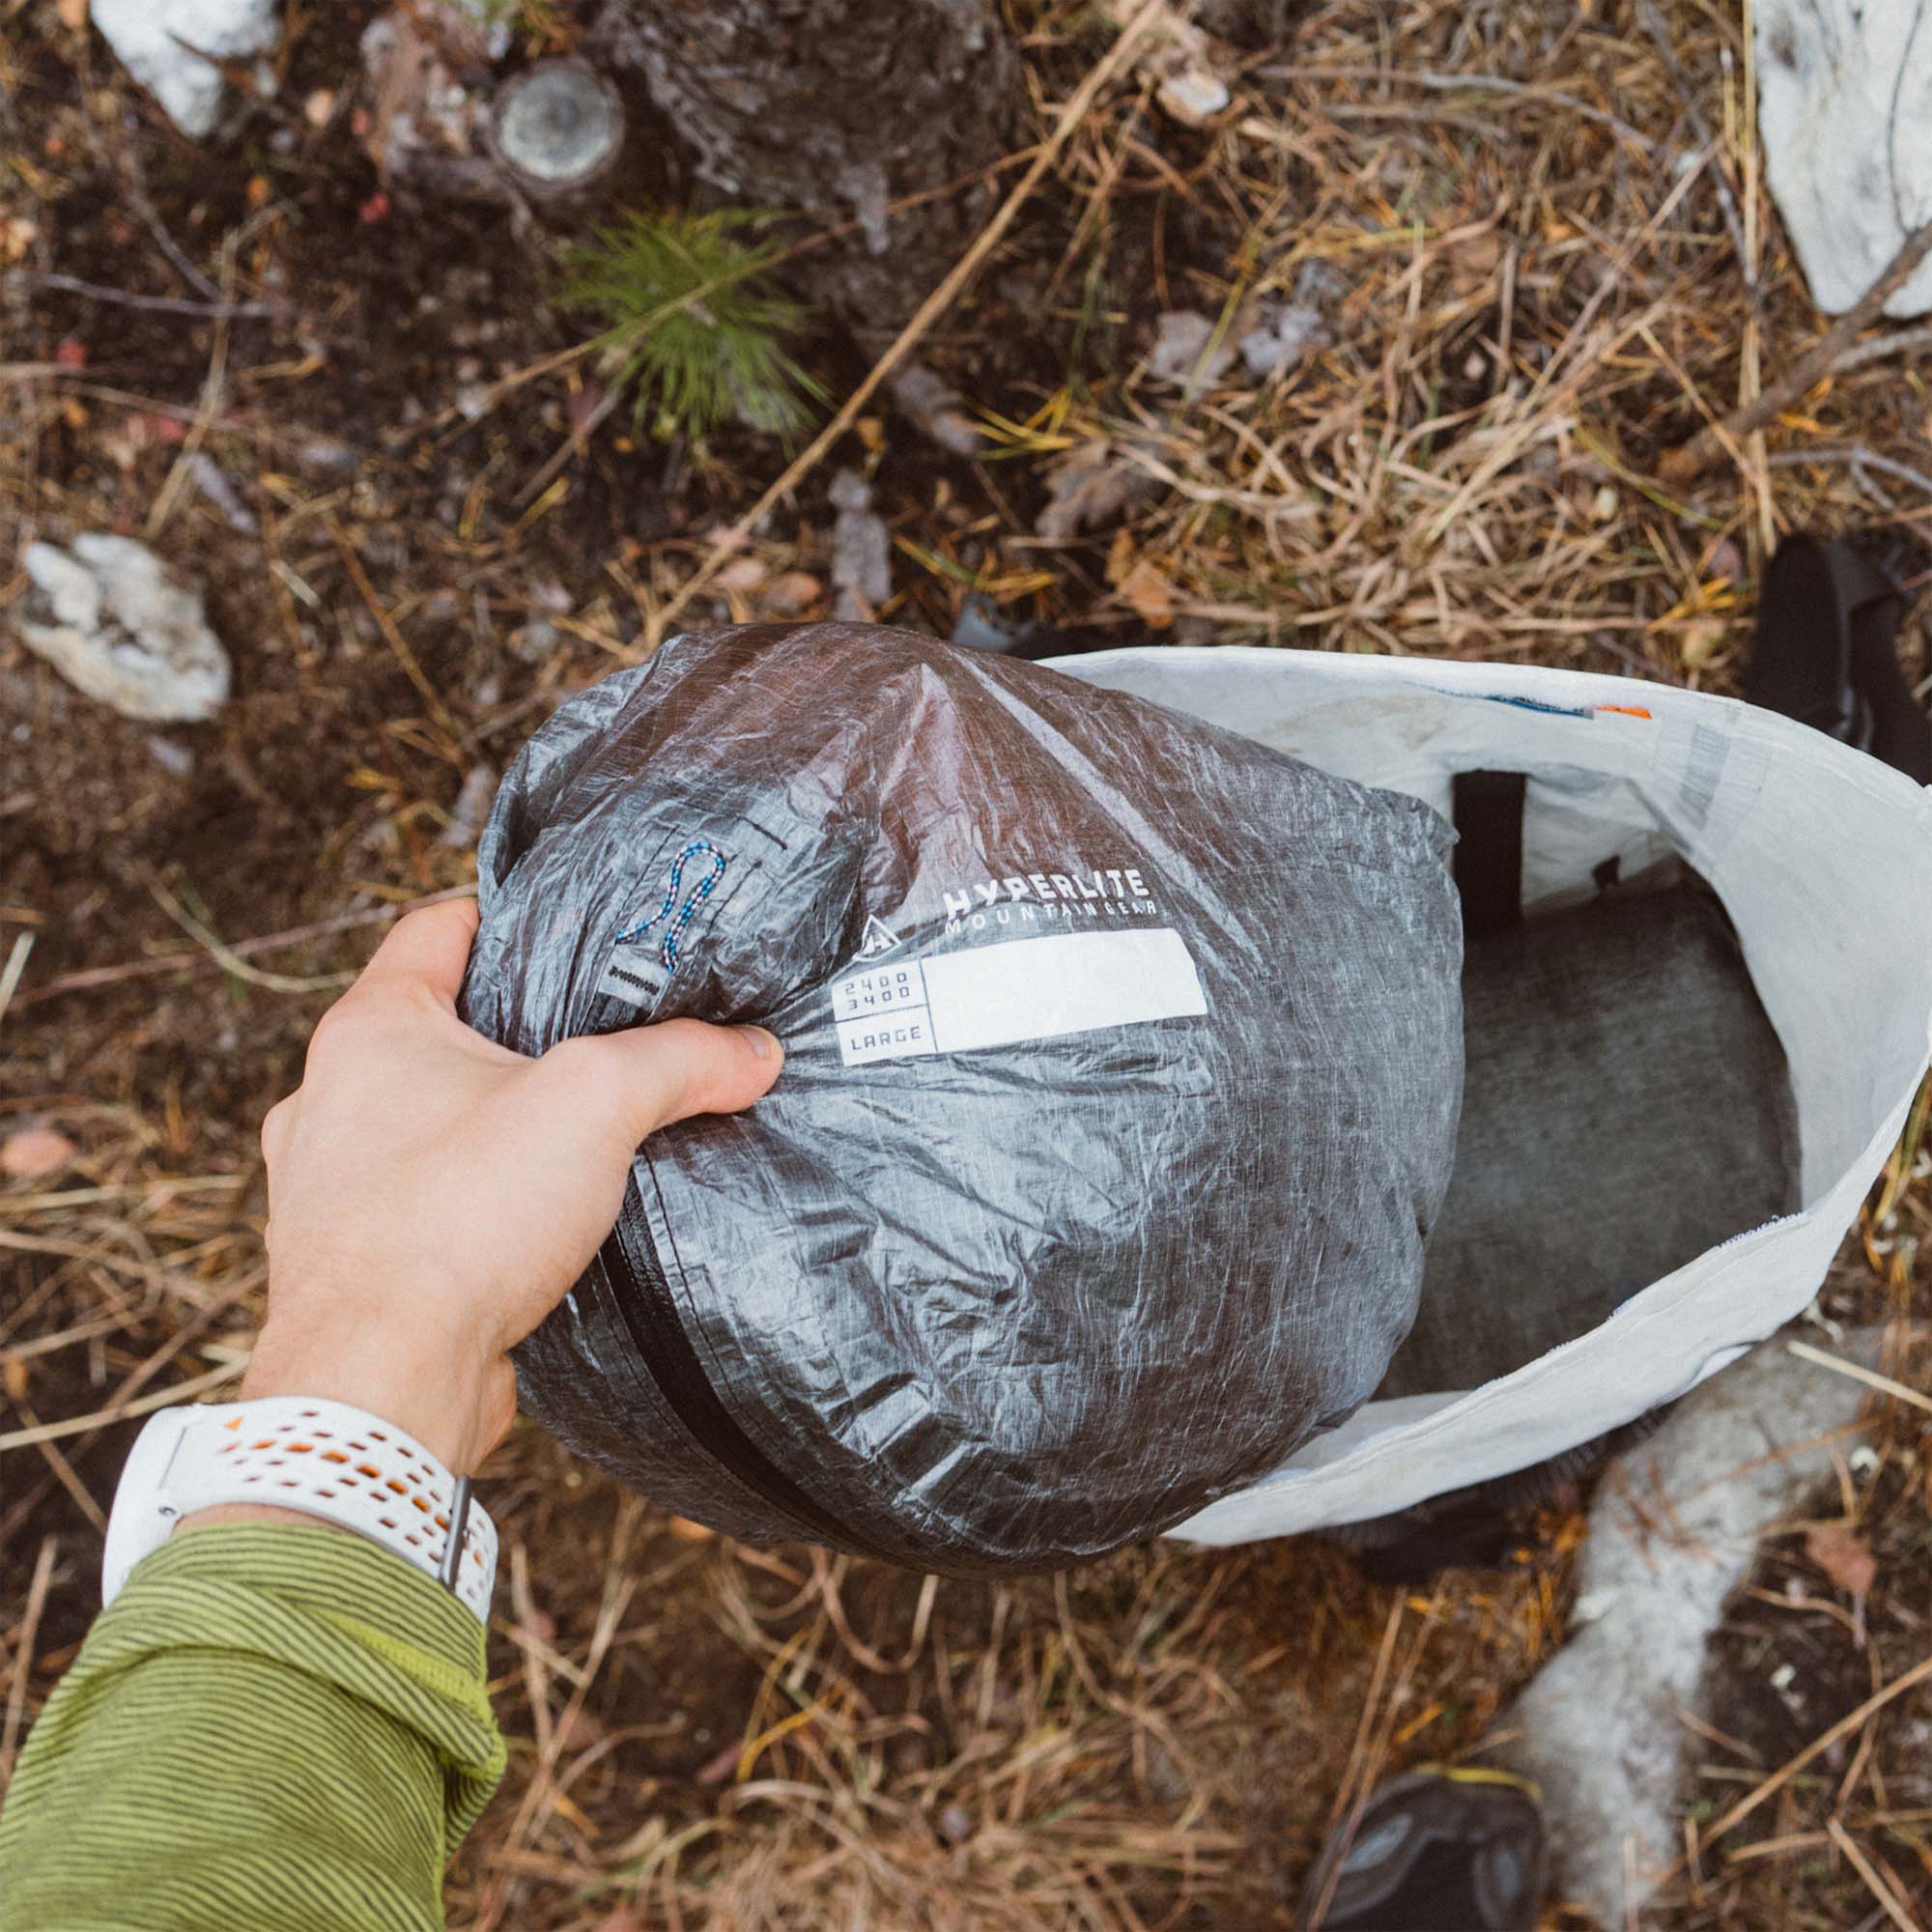


NEW SIZES, NEW LOOK
NEW SIZES, NEW LOOK
OUR DYNEEMA STUFF SACKS JUST GOT AN UPGRADE.
OUR DYNEEMA STUFF SACKS JUST GOT AN UPGRADE
GET ORGANIZEDGET ORGANIZED
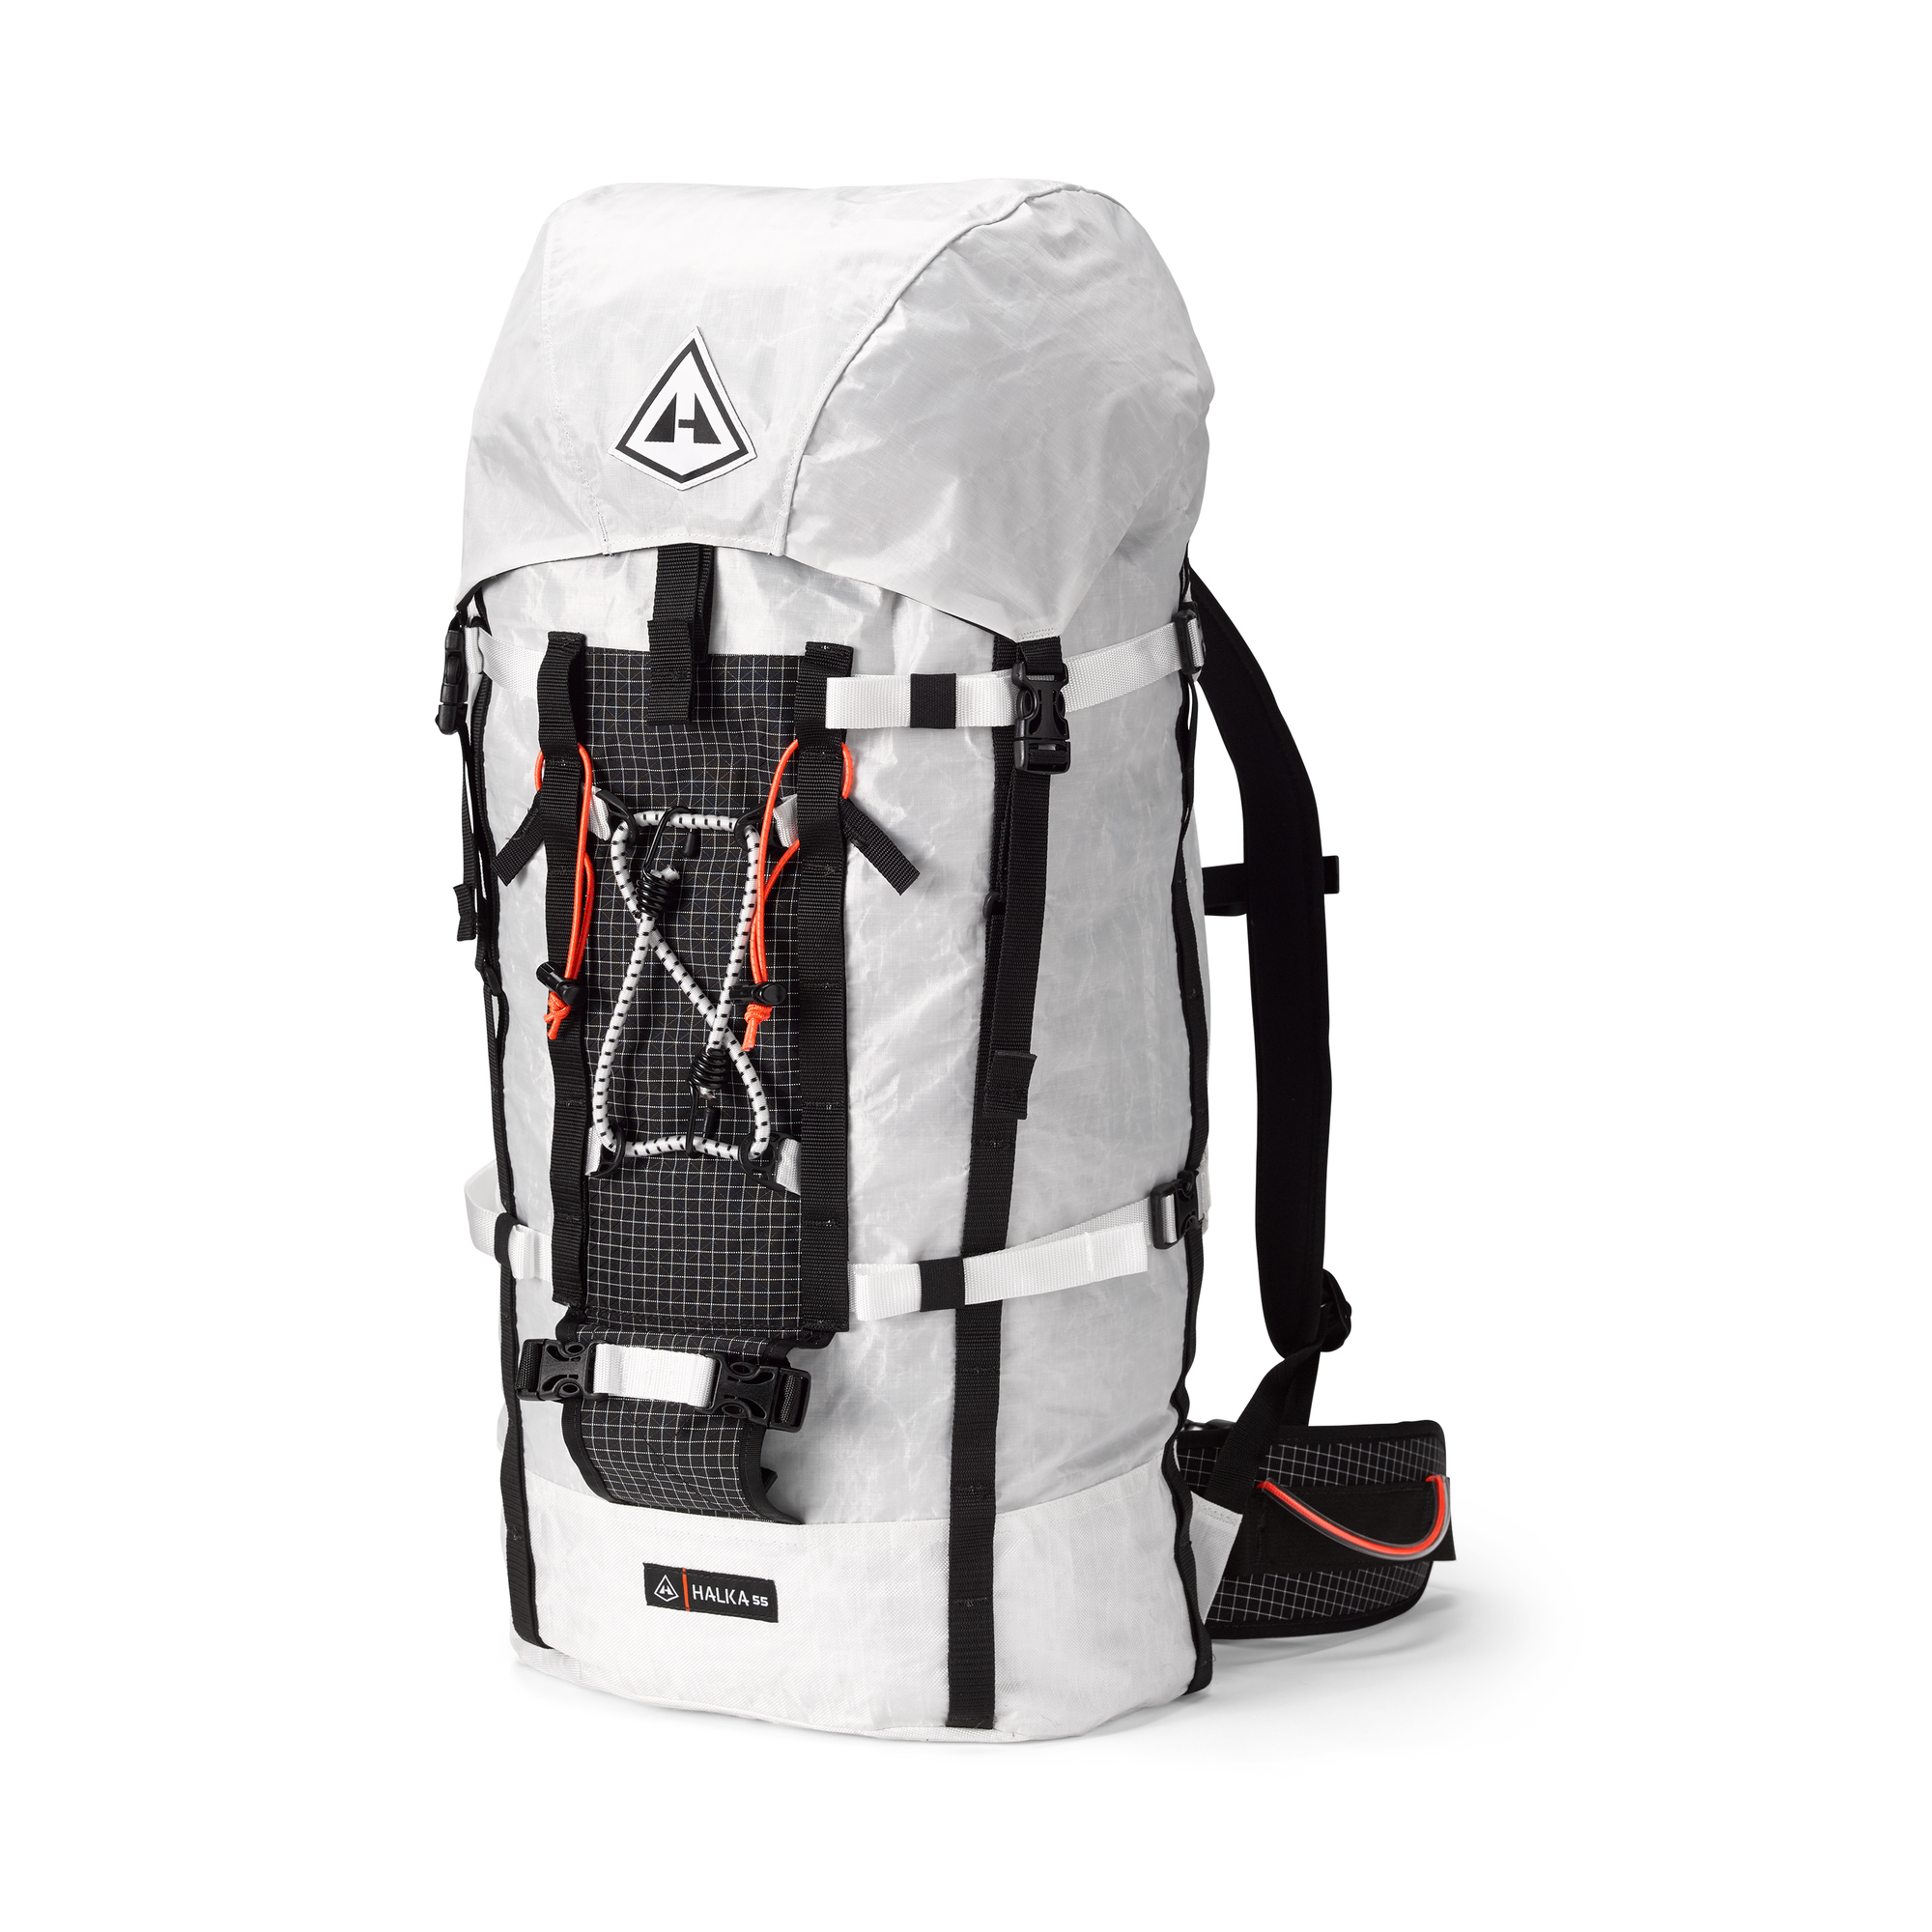
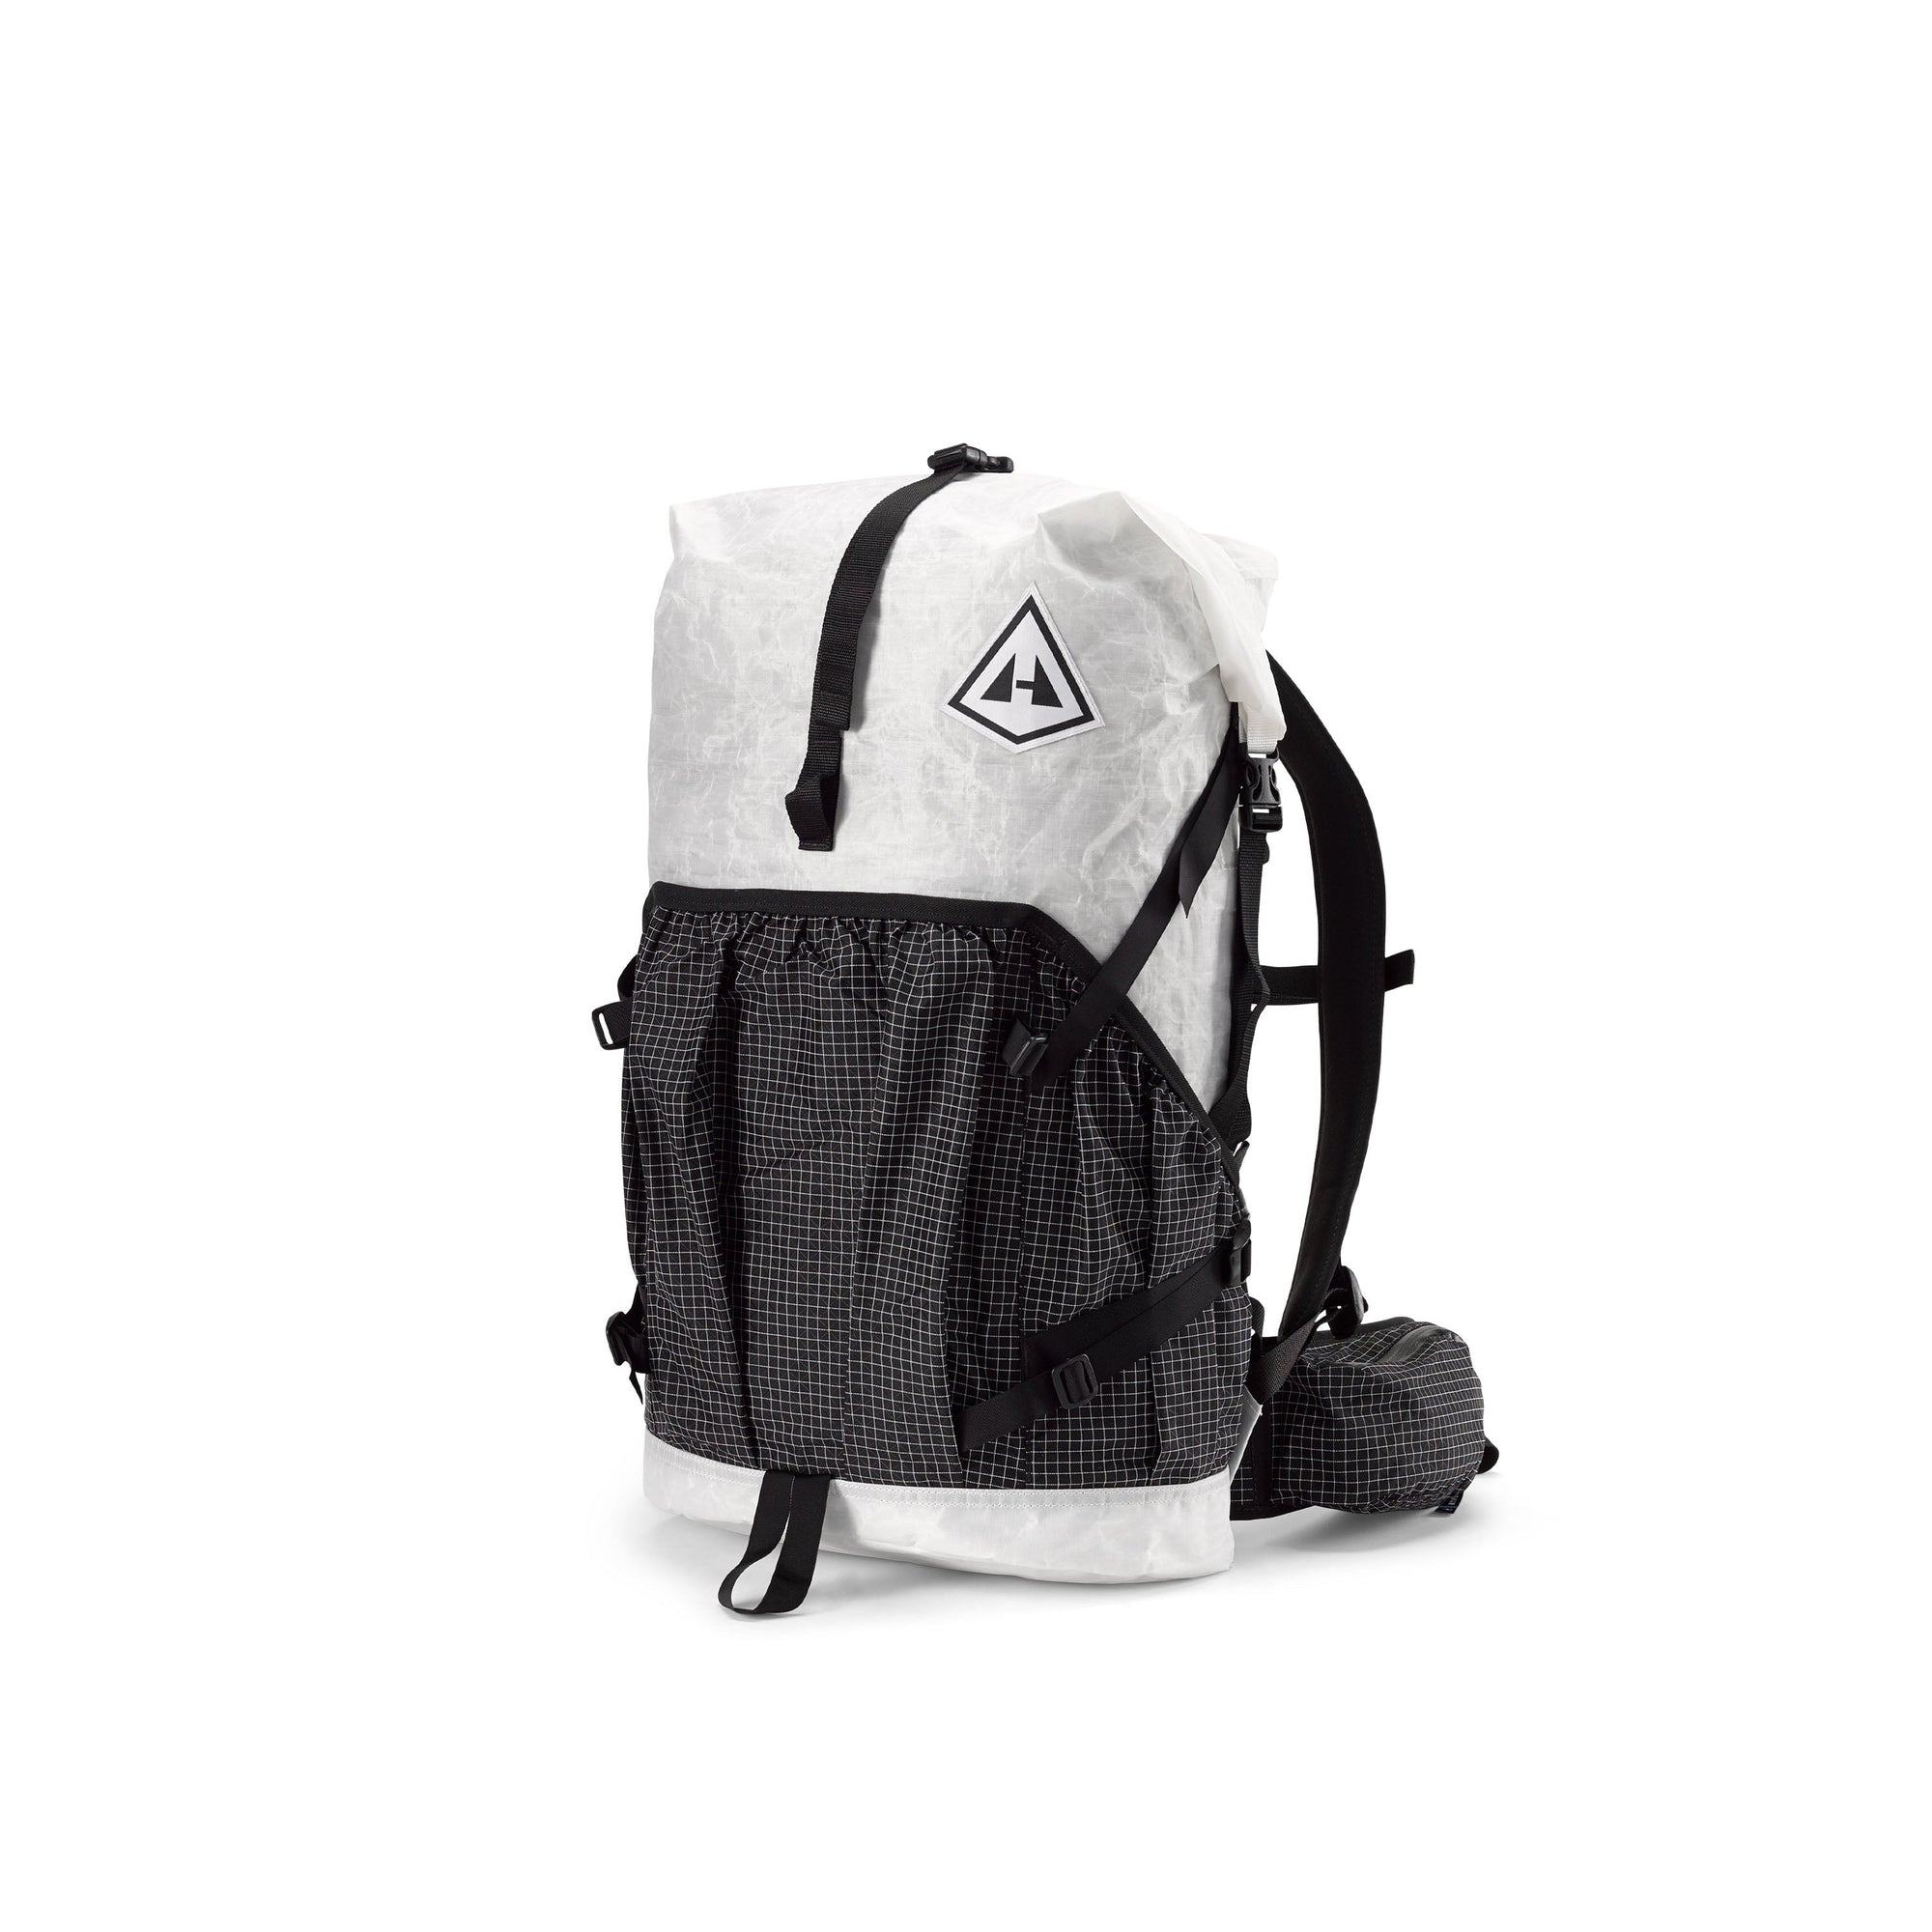
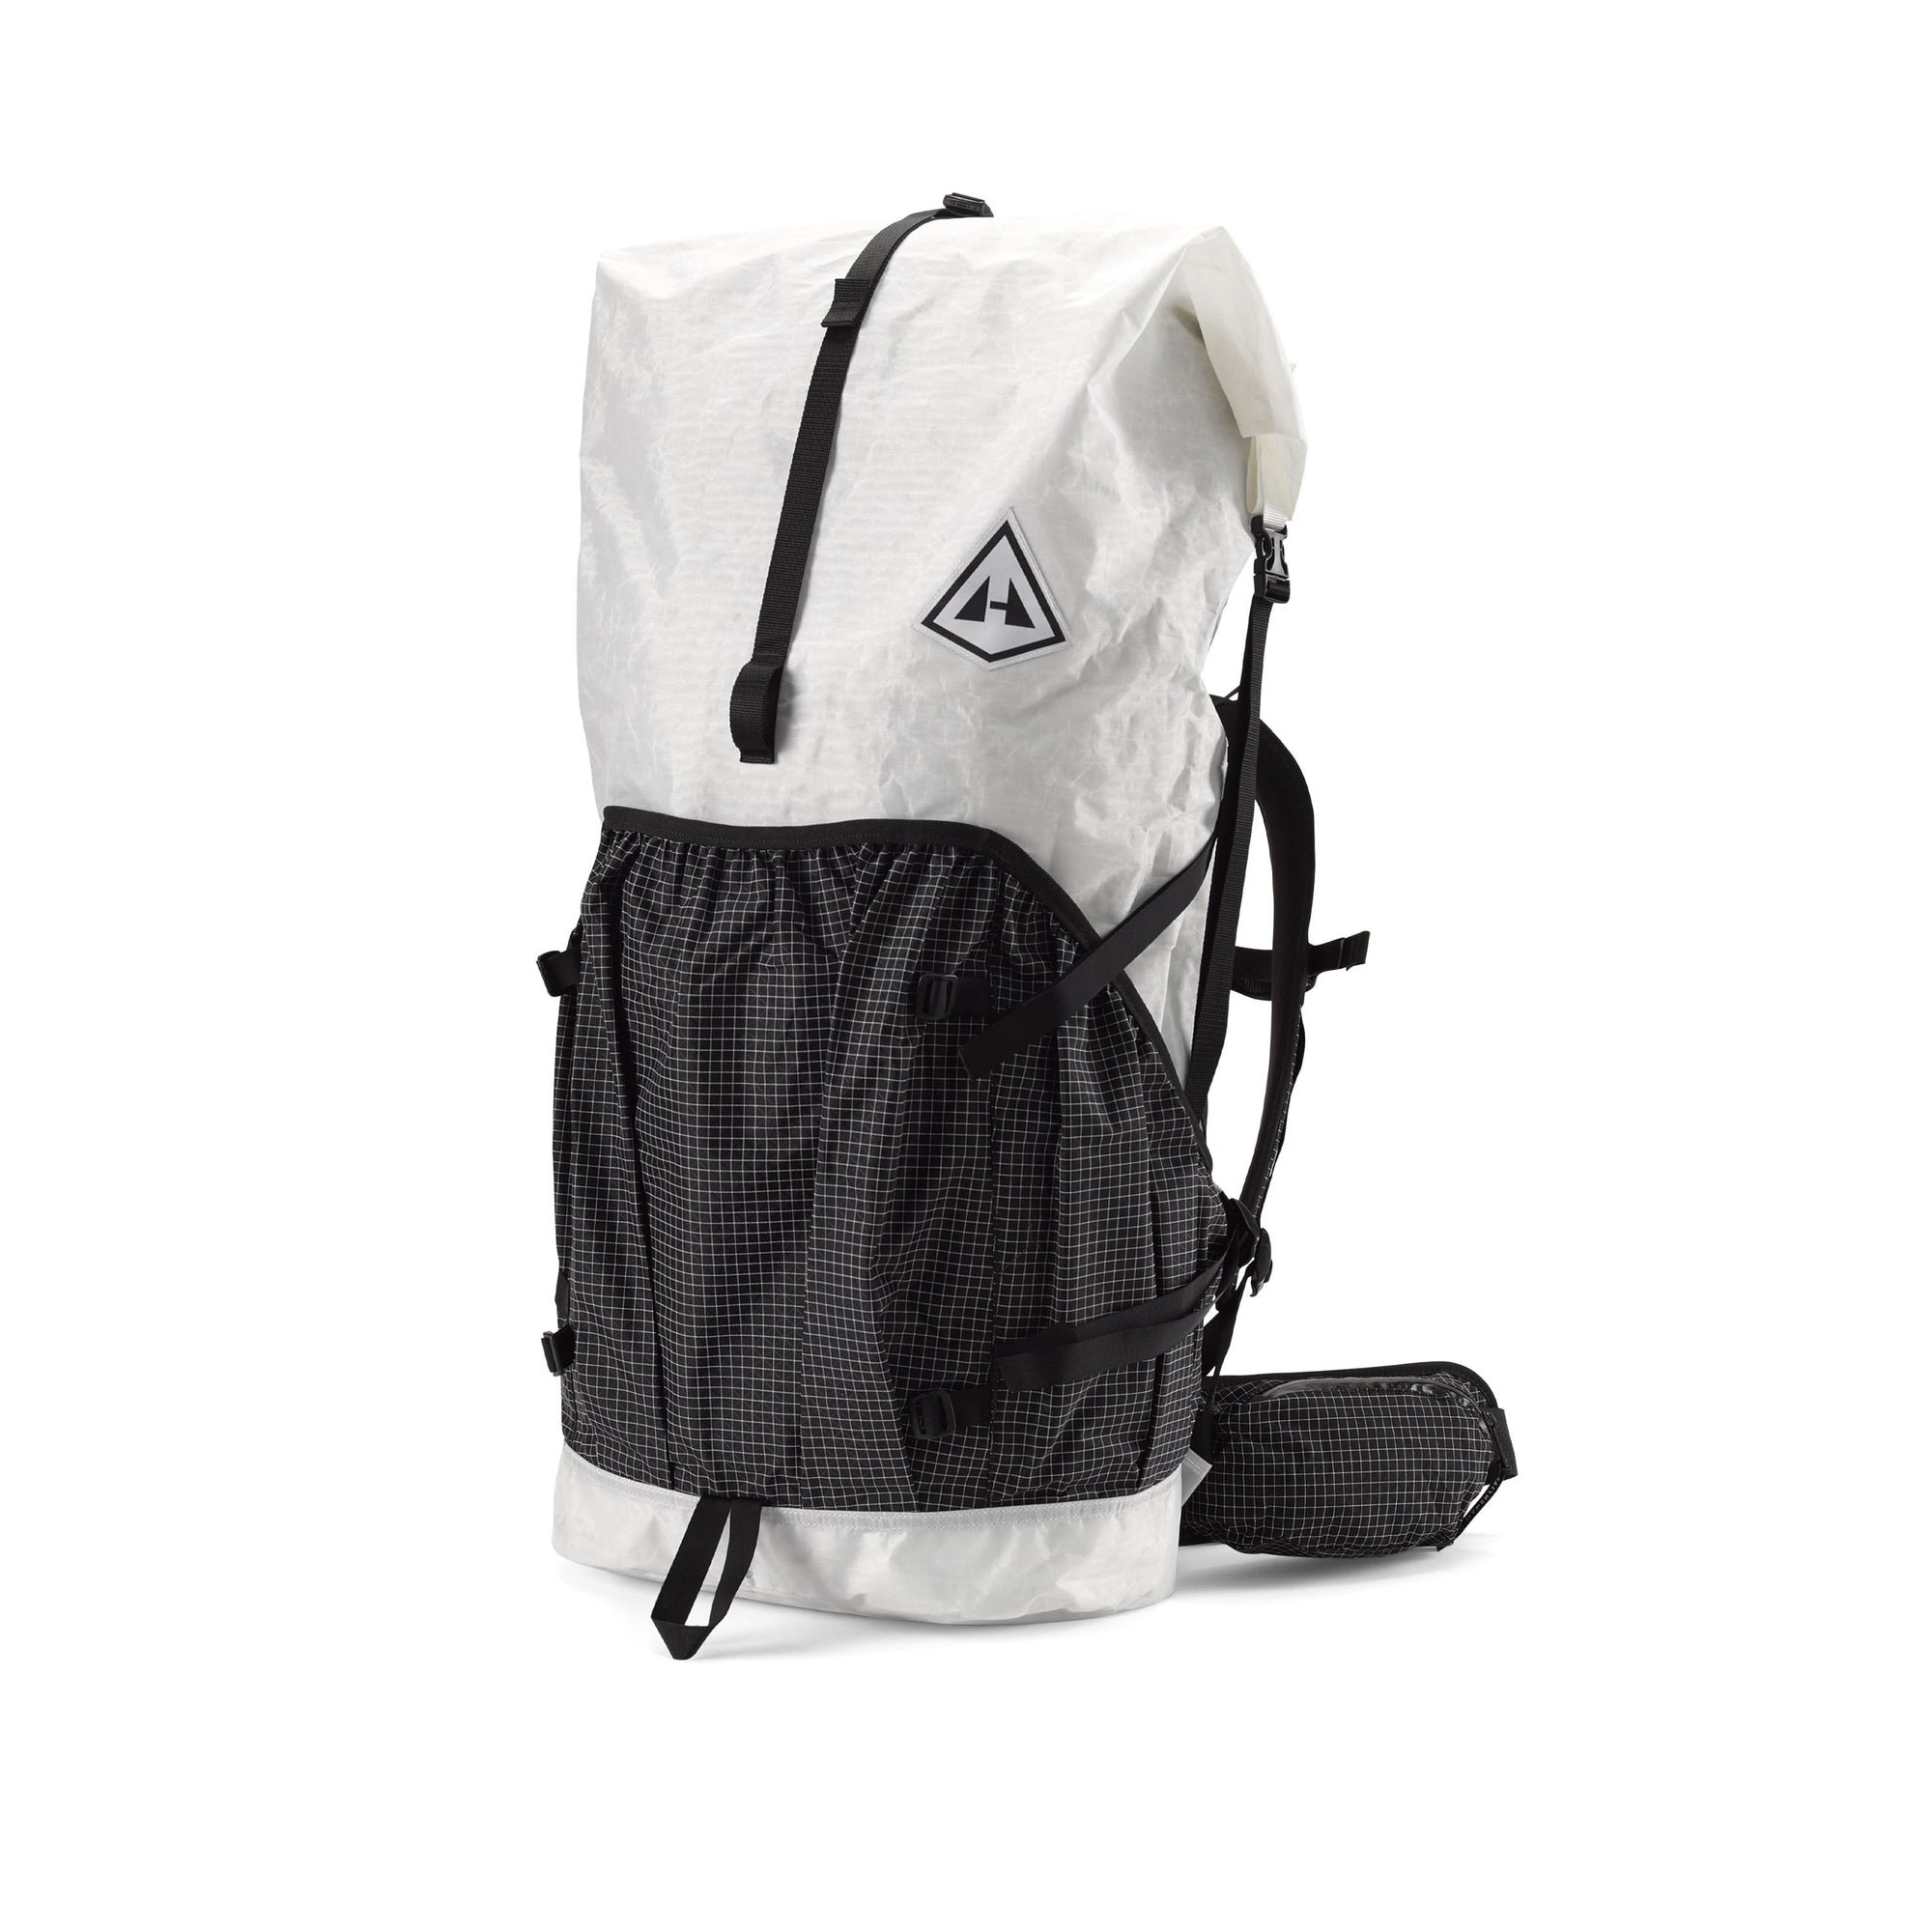
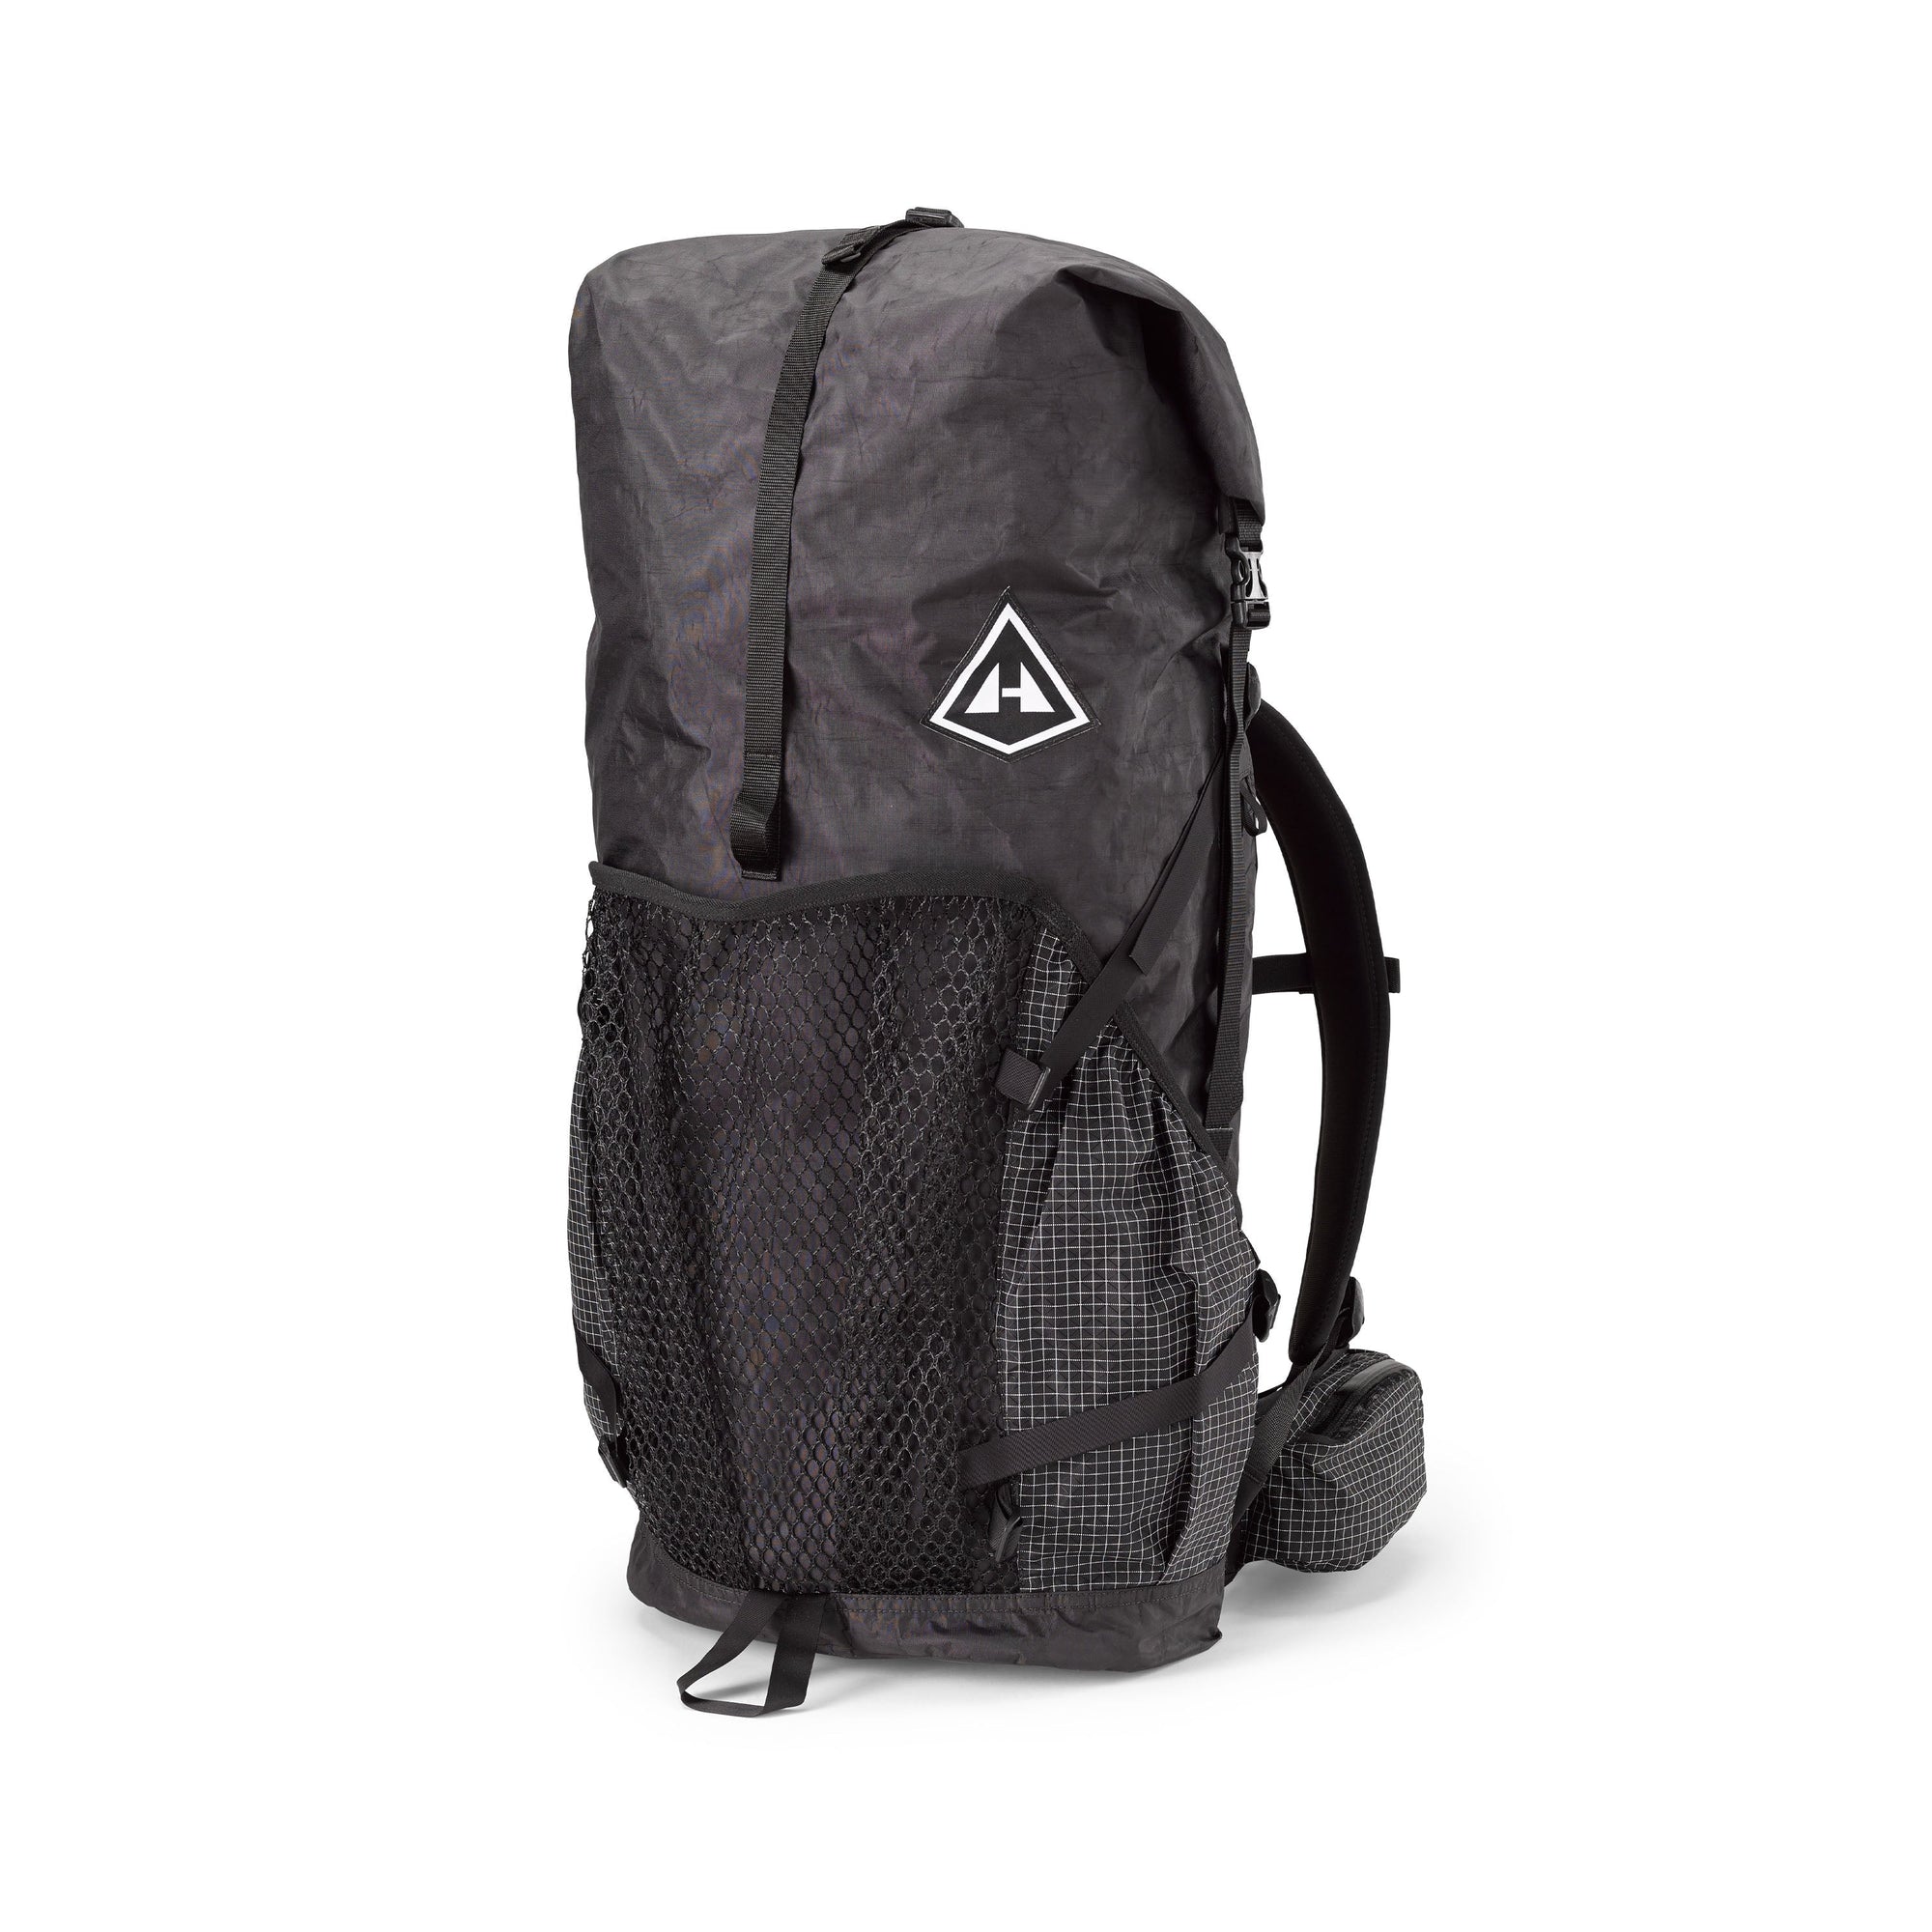
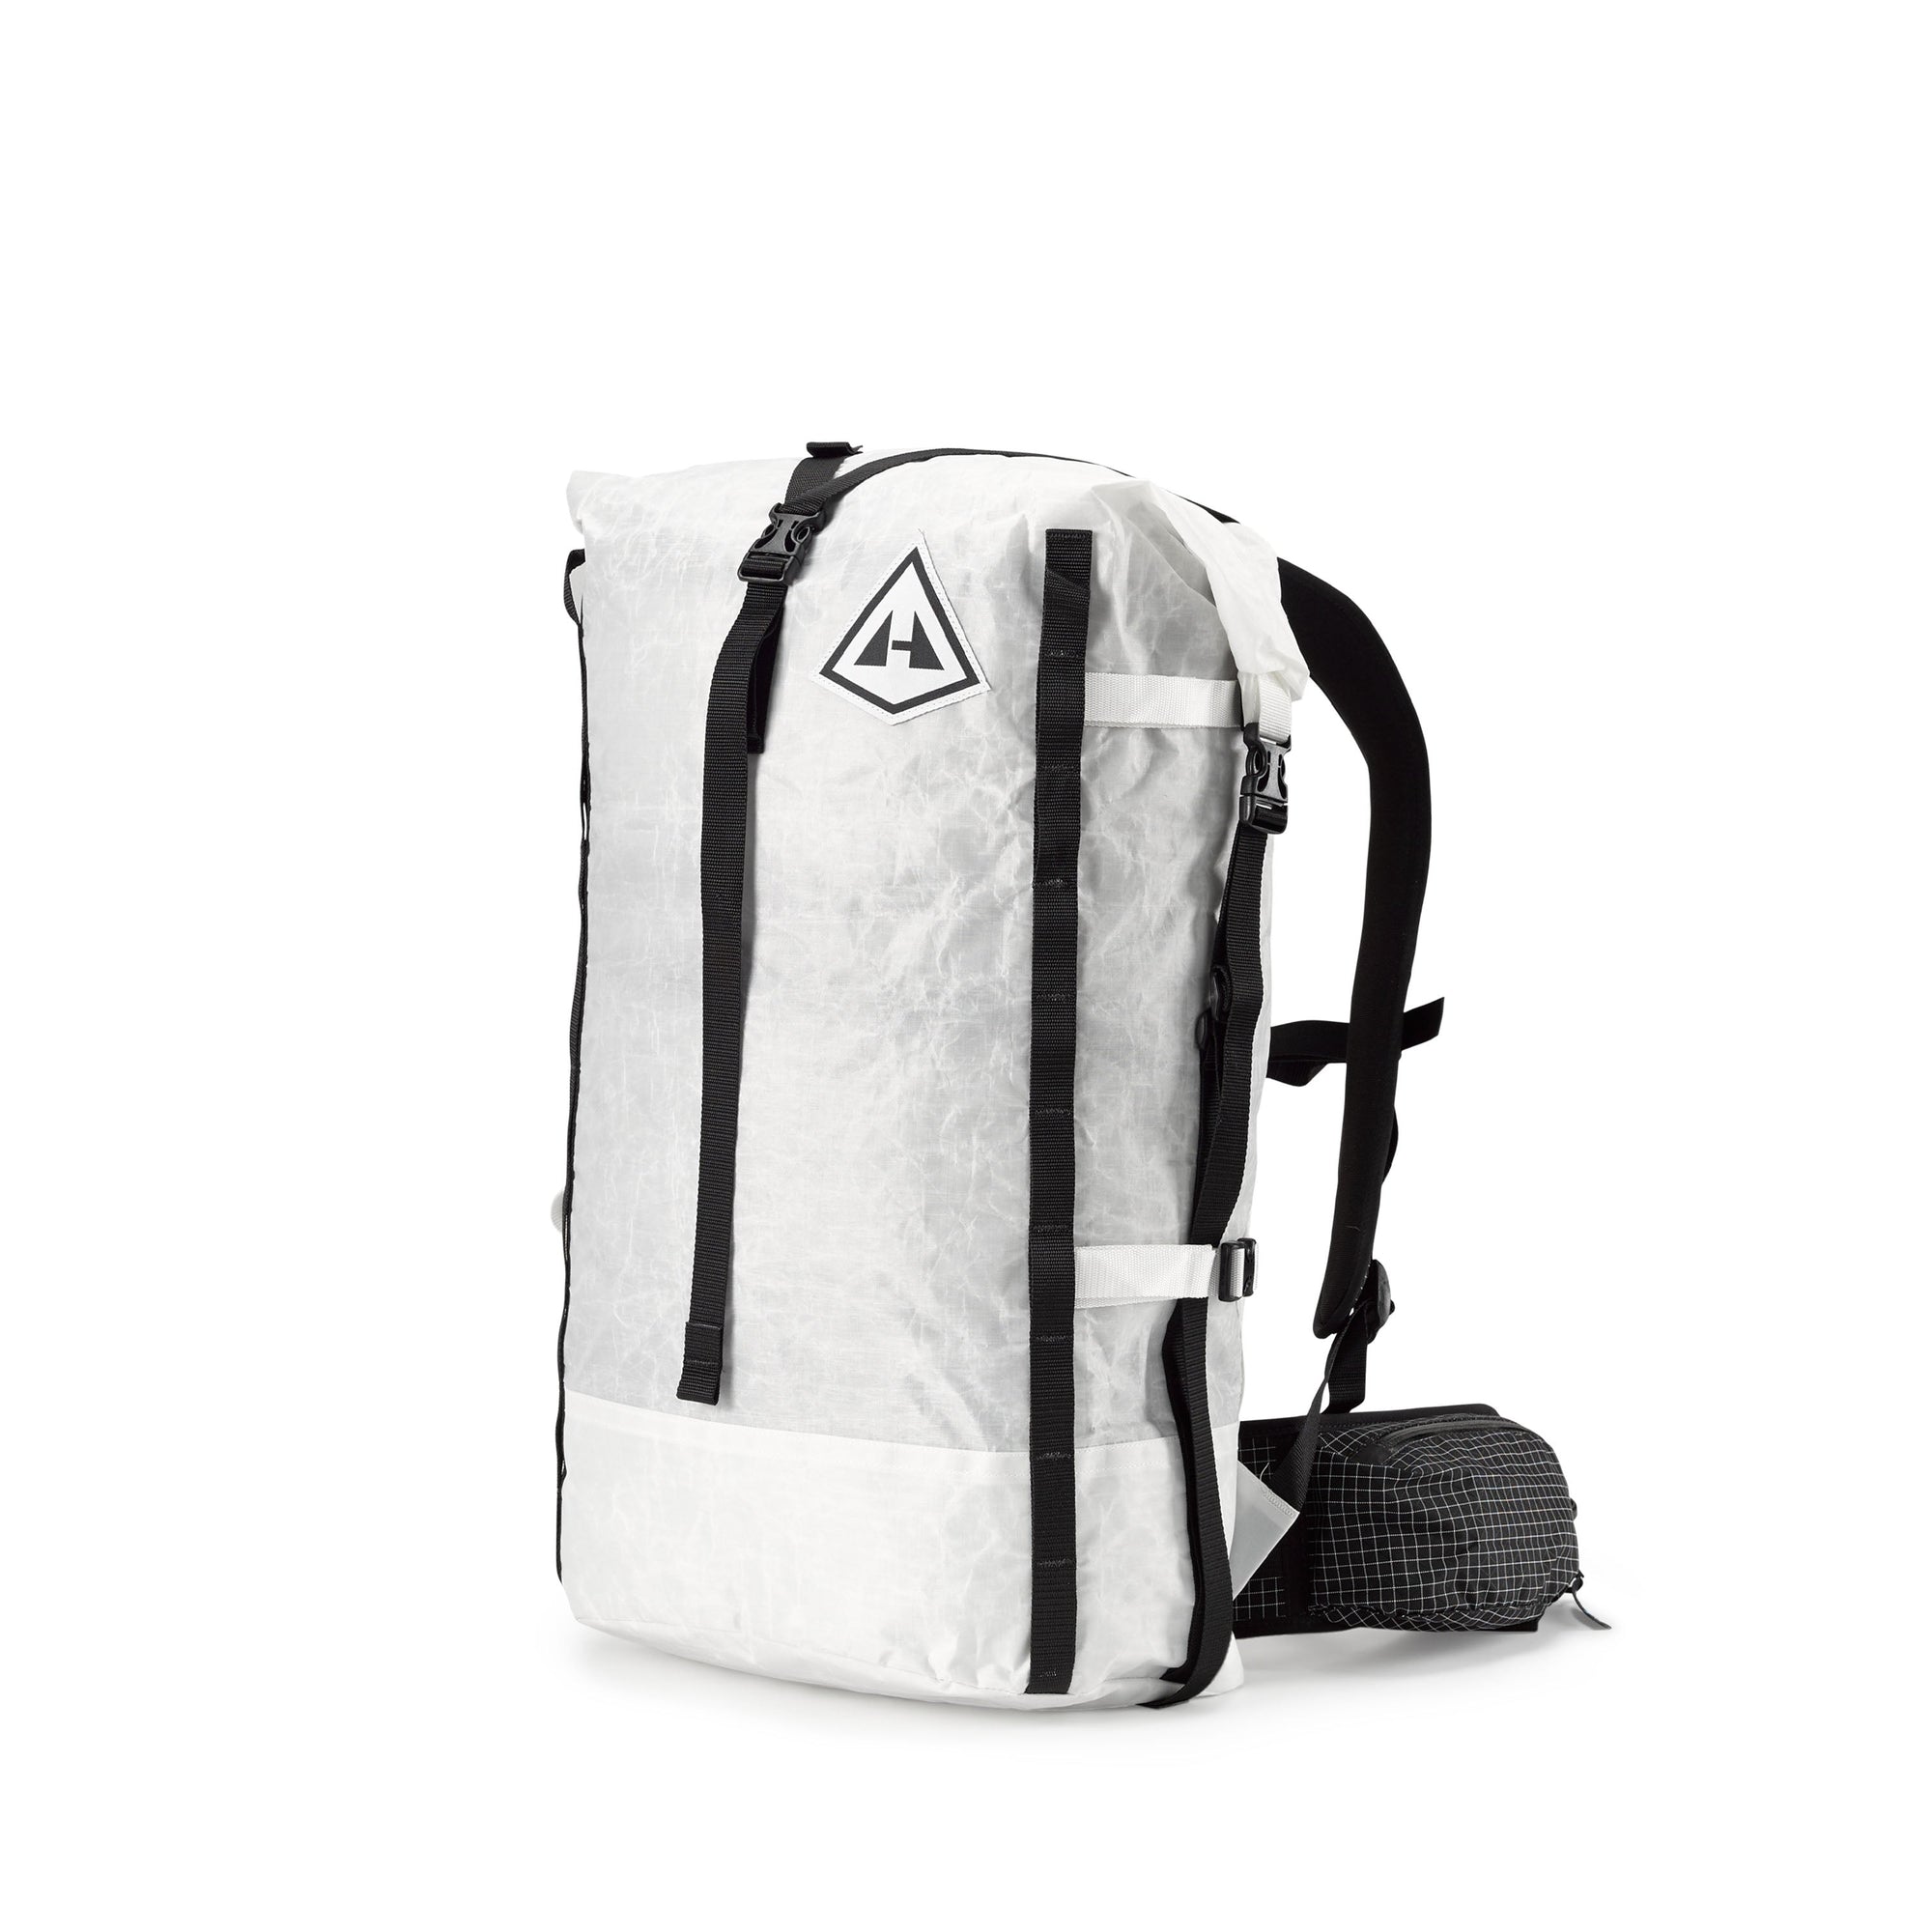
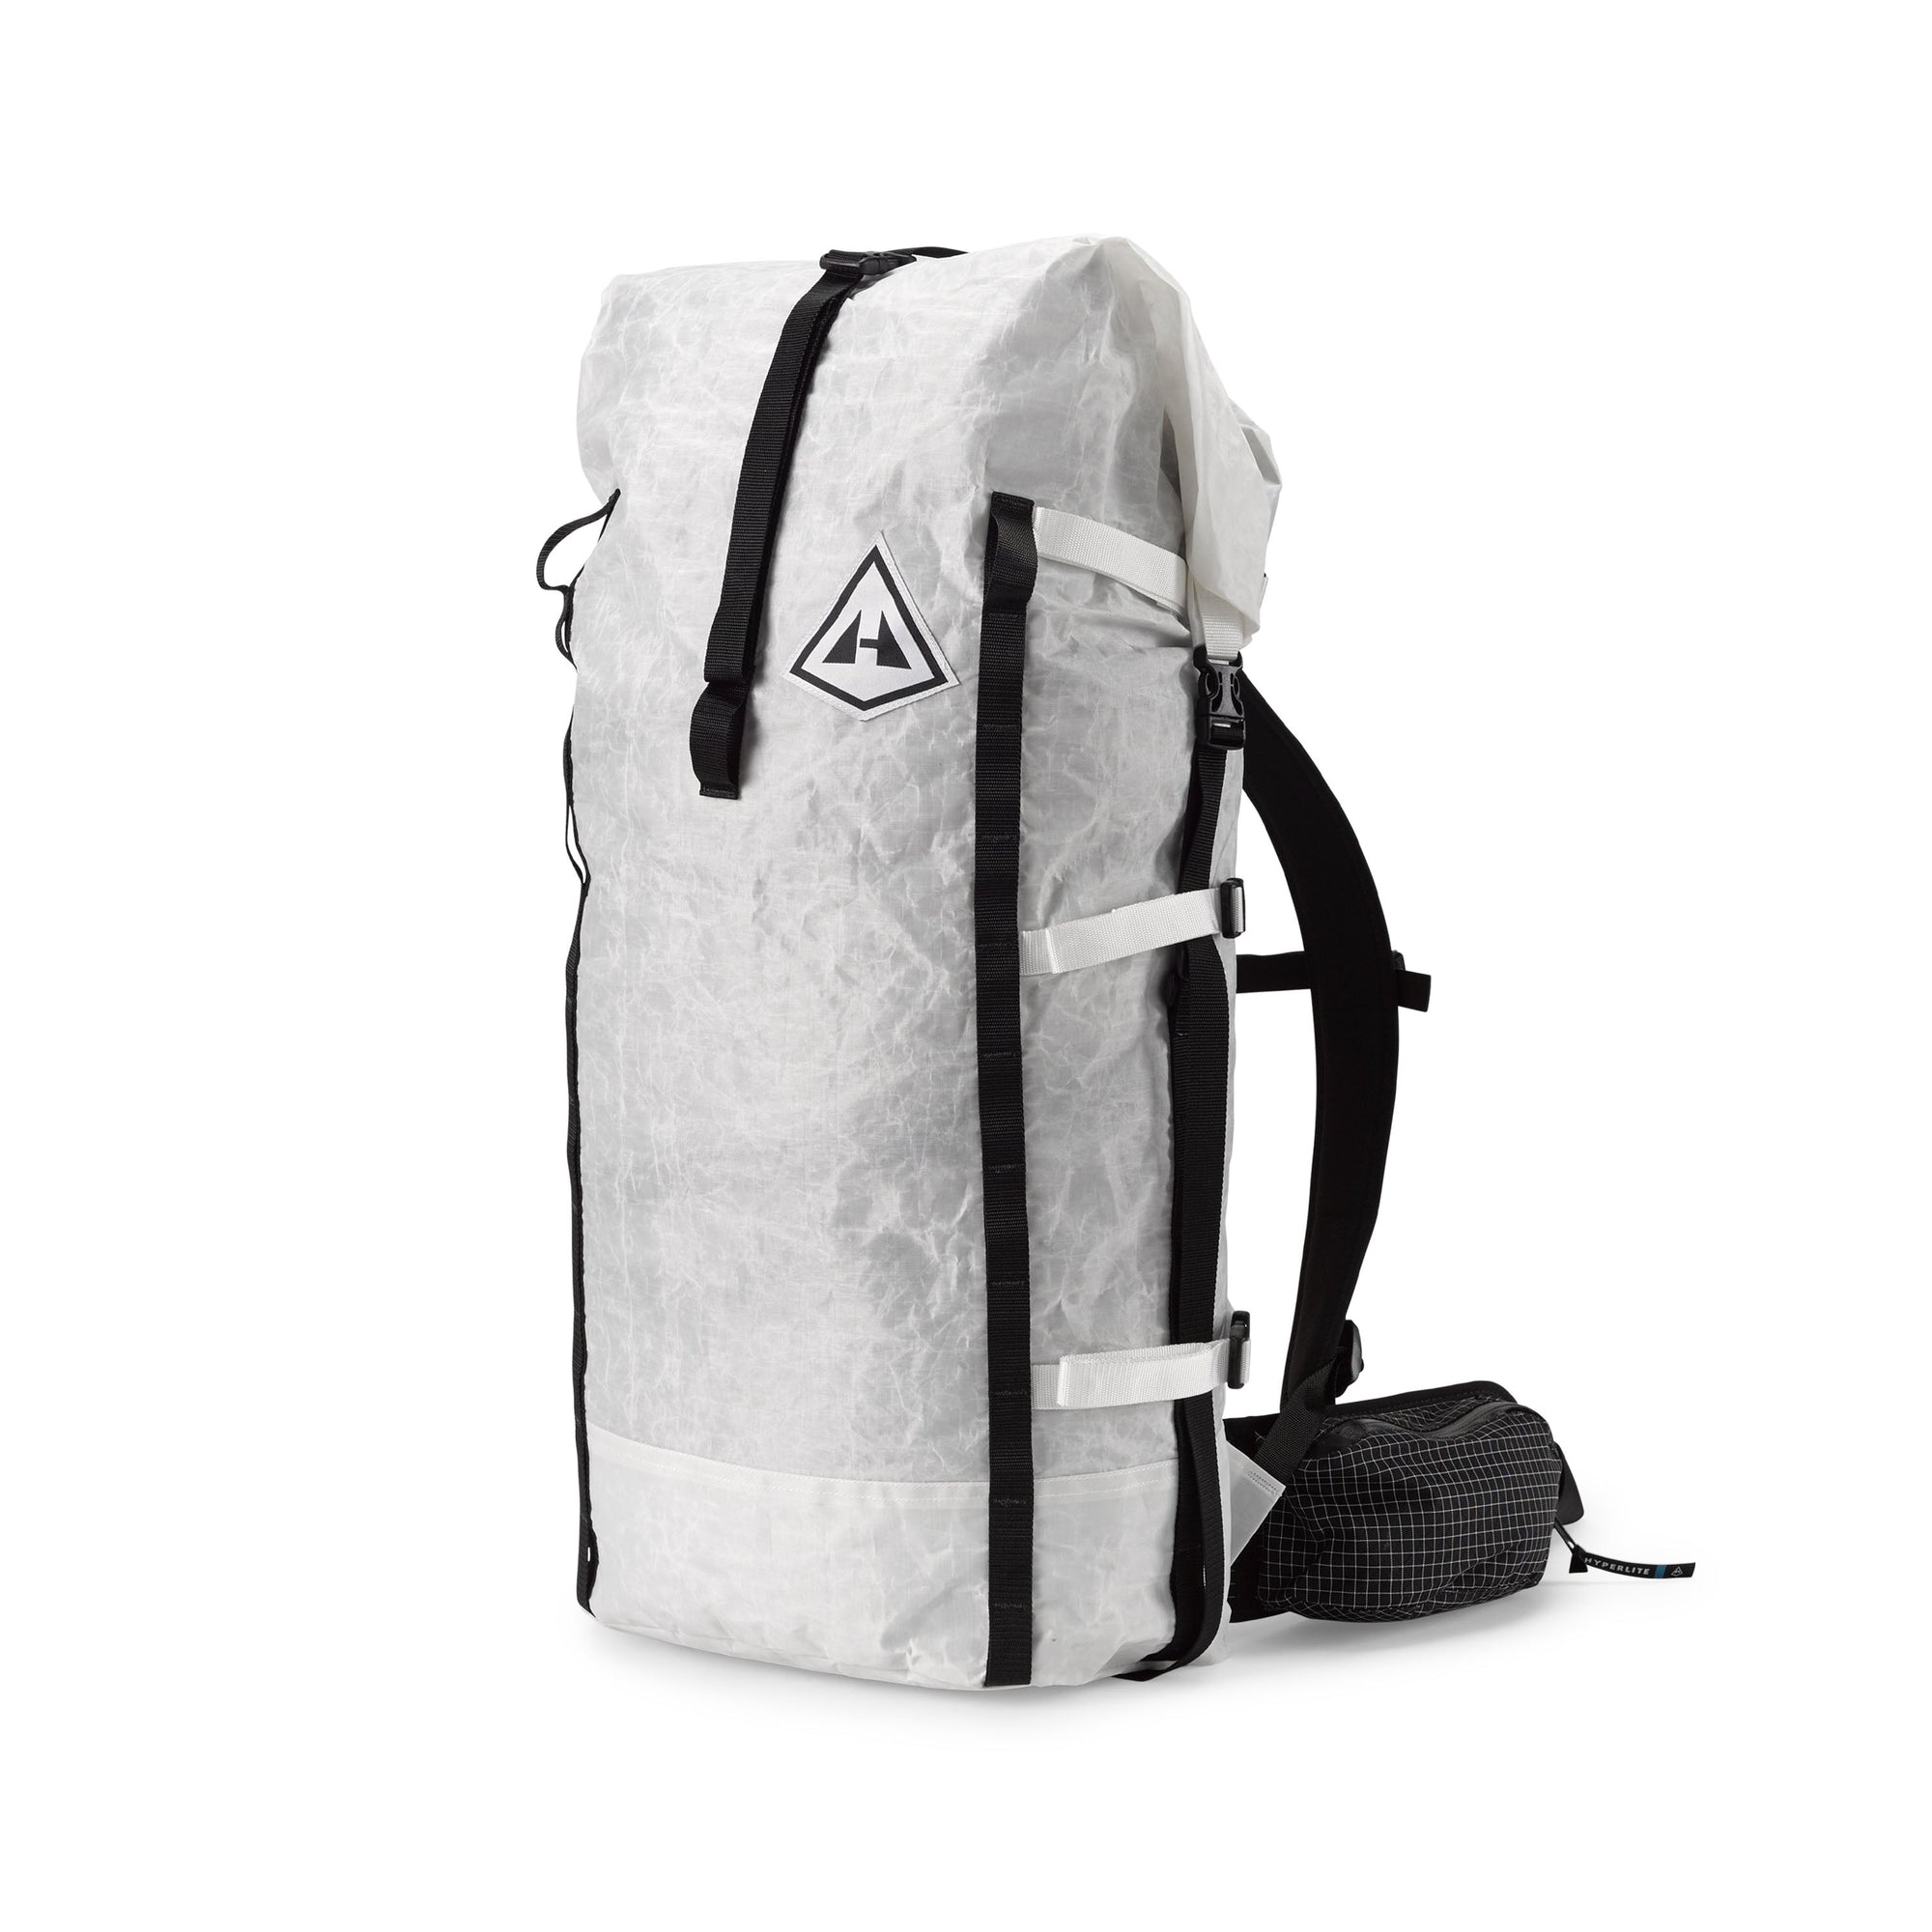
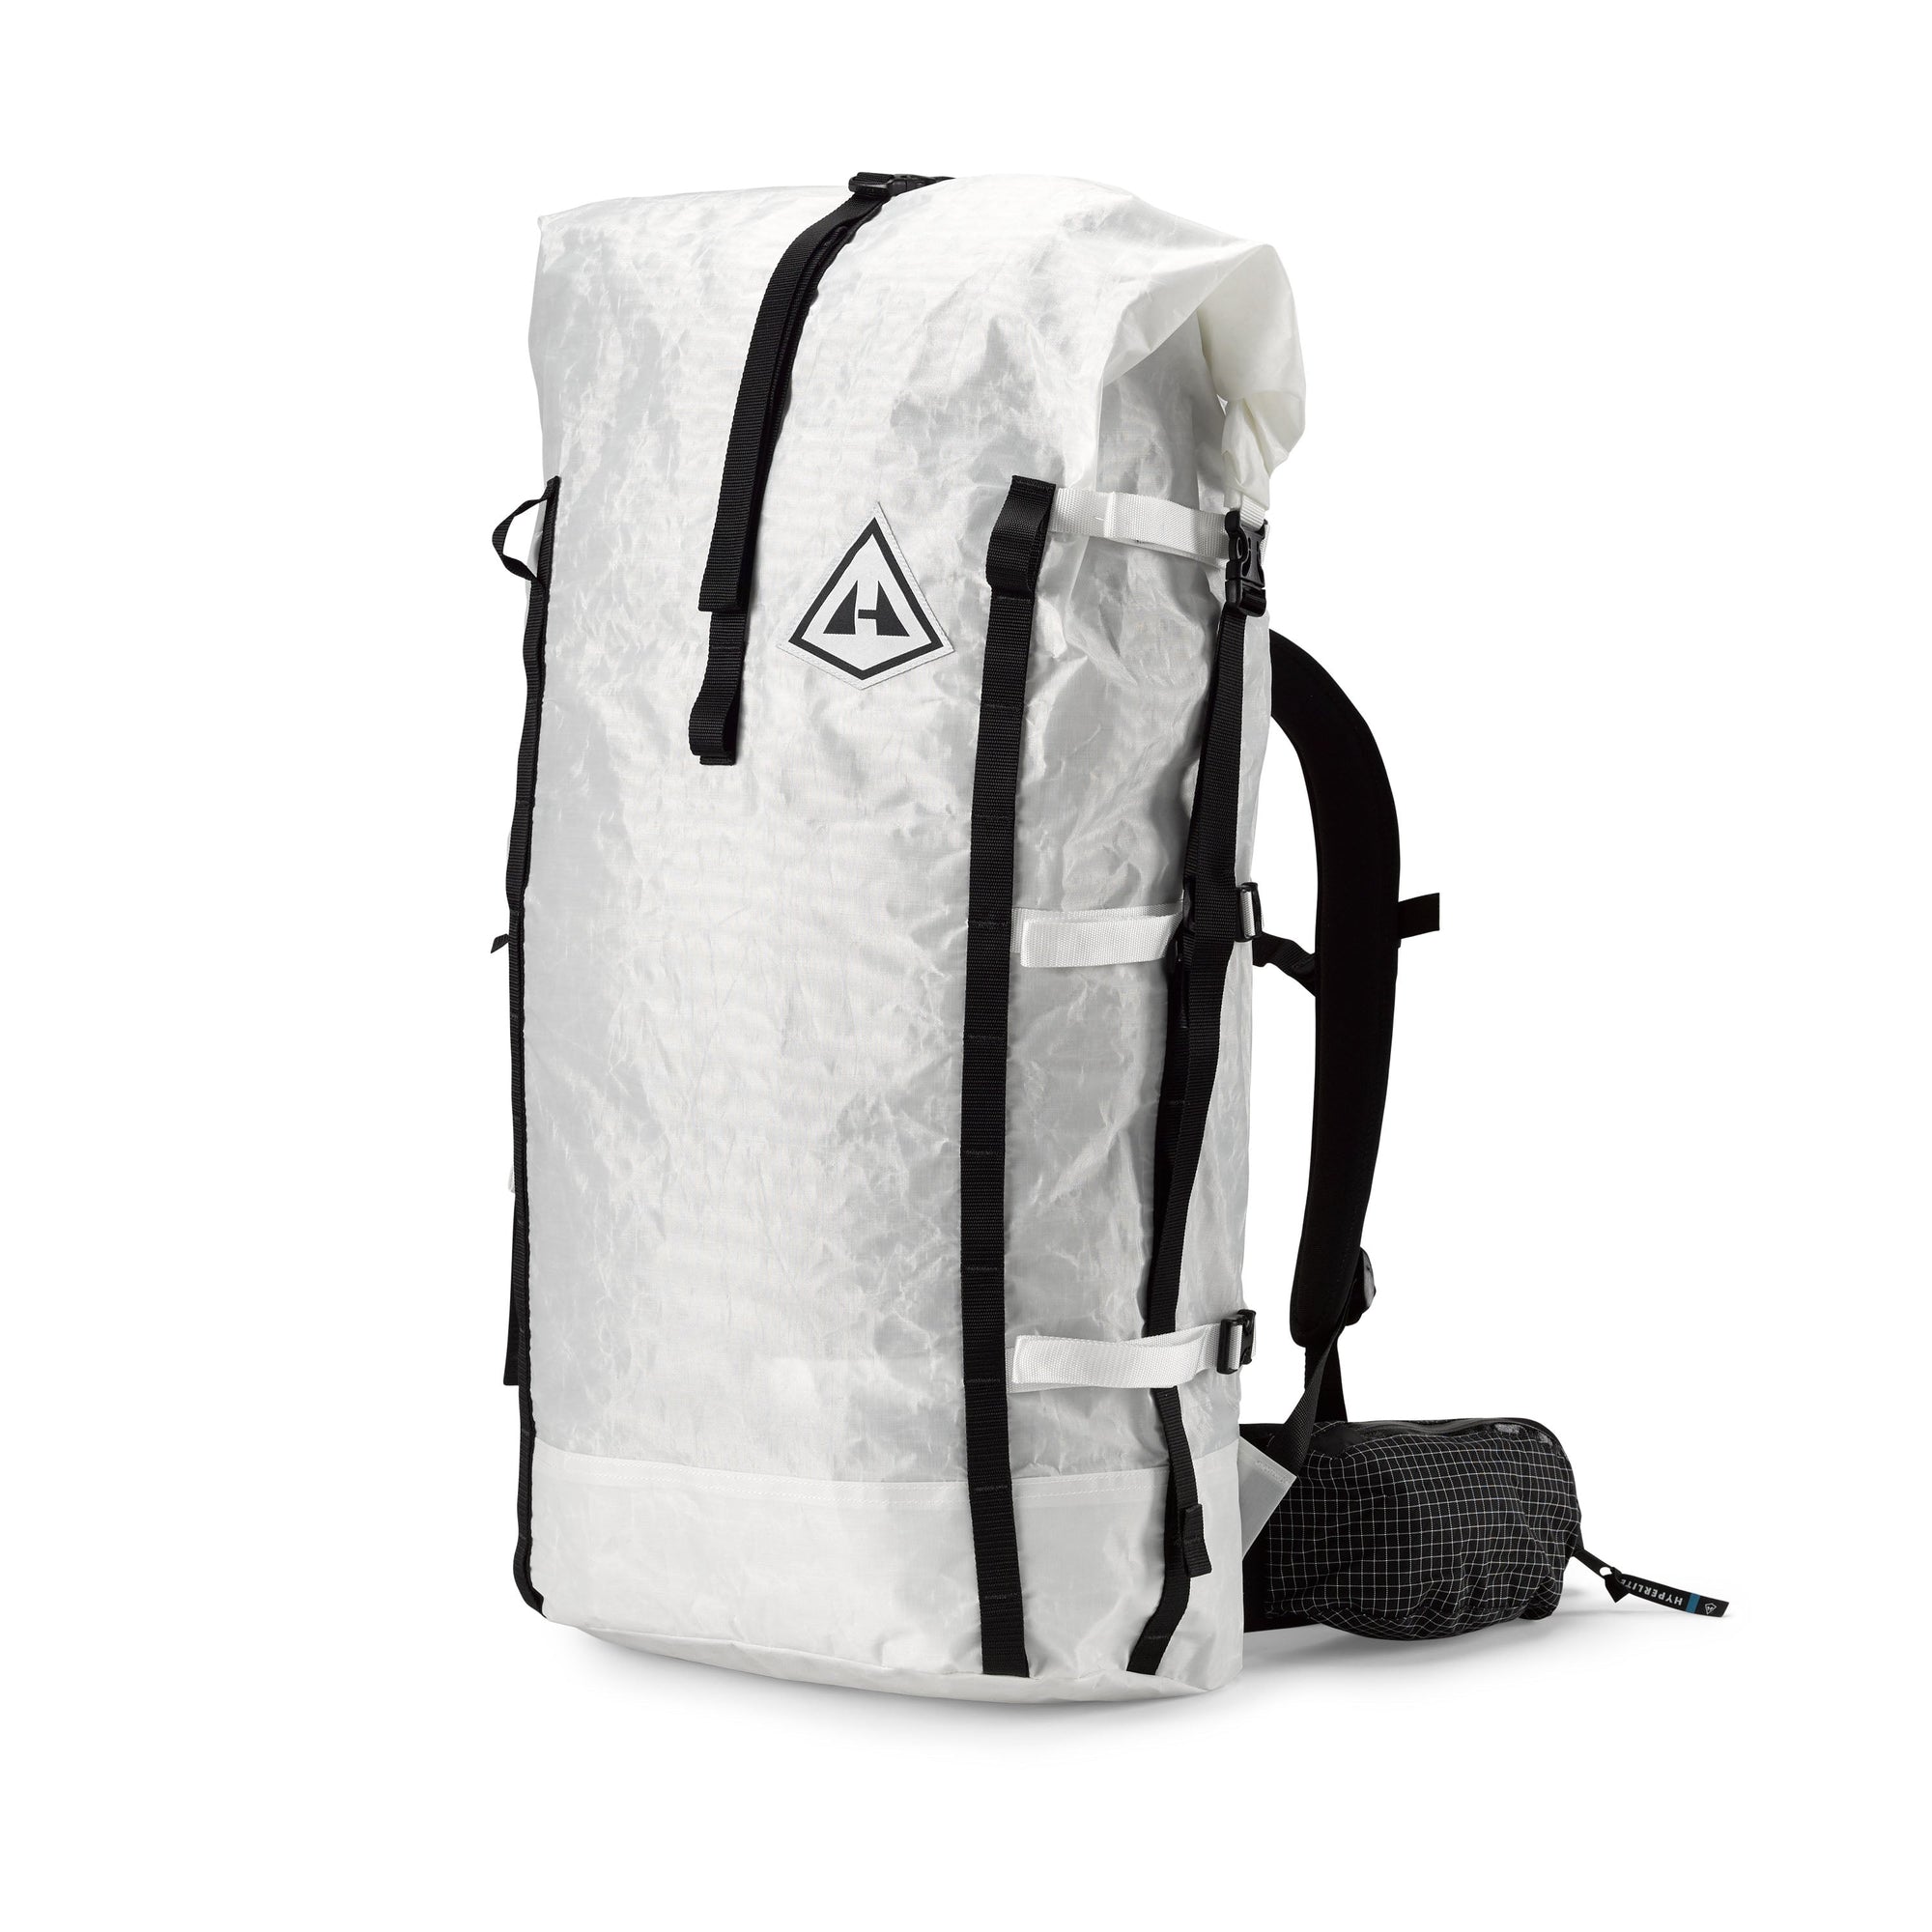
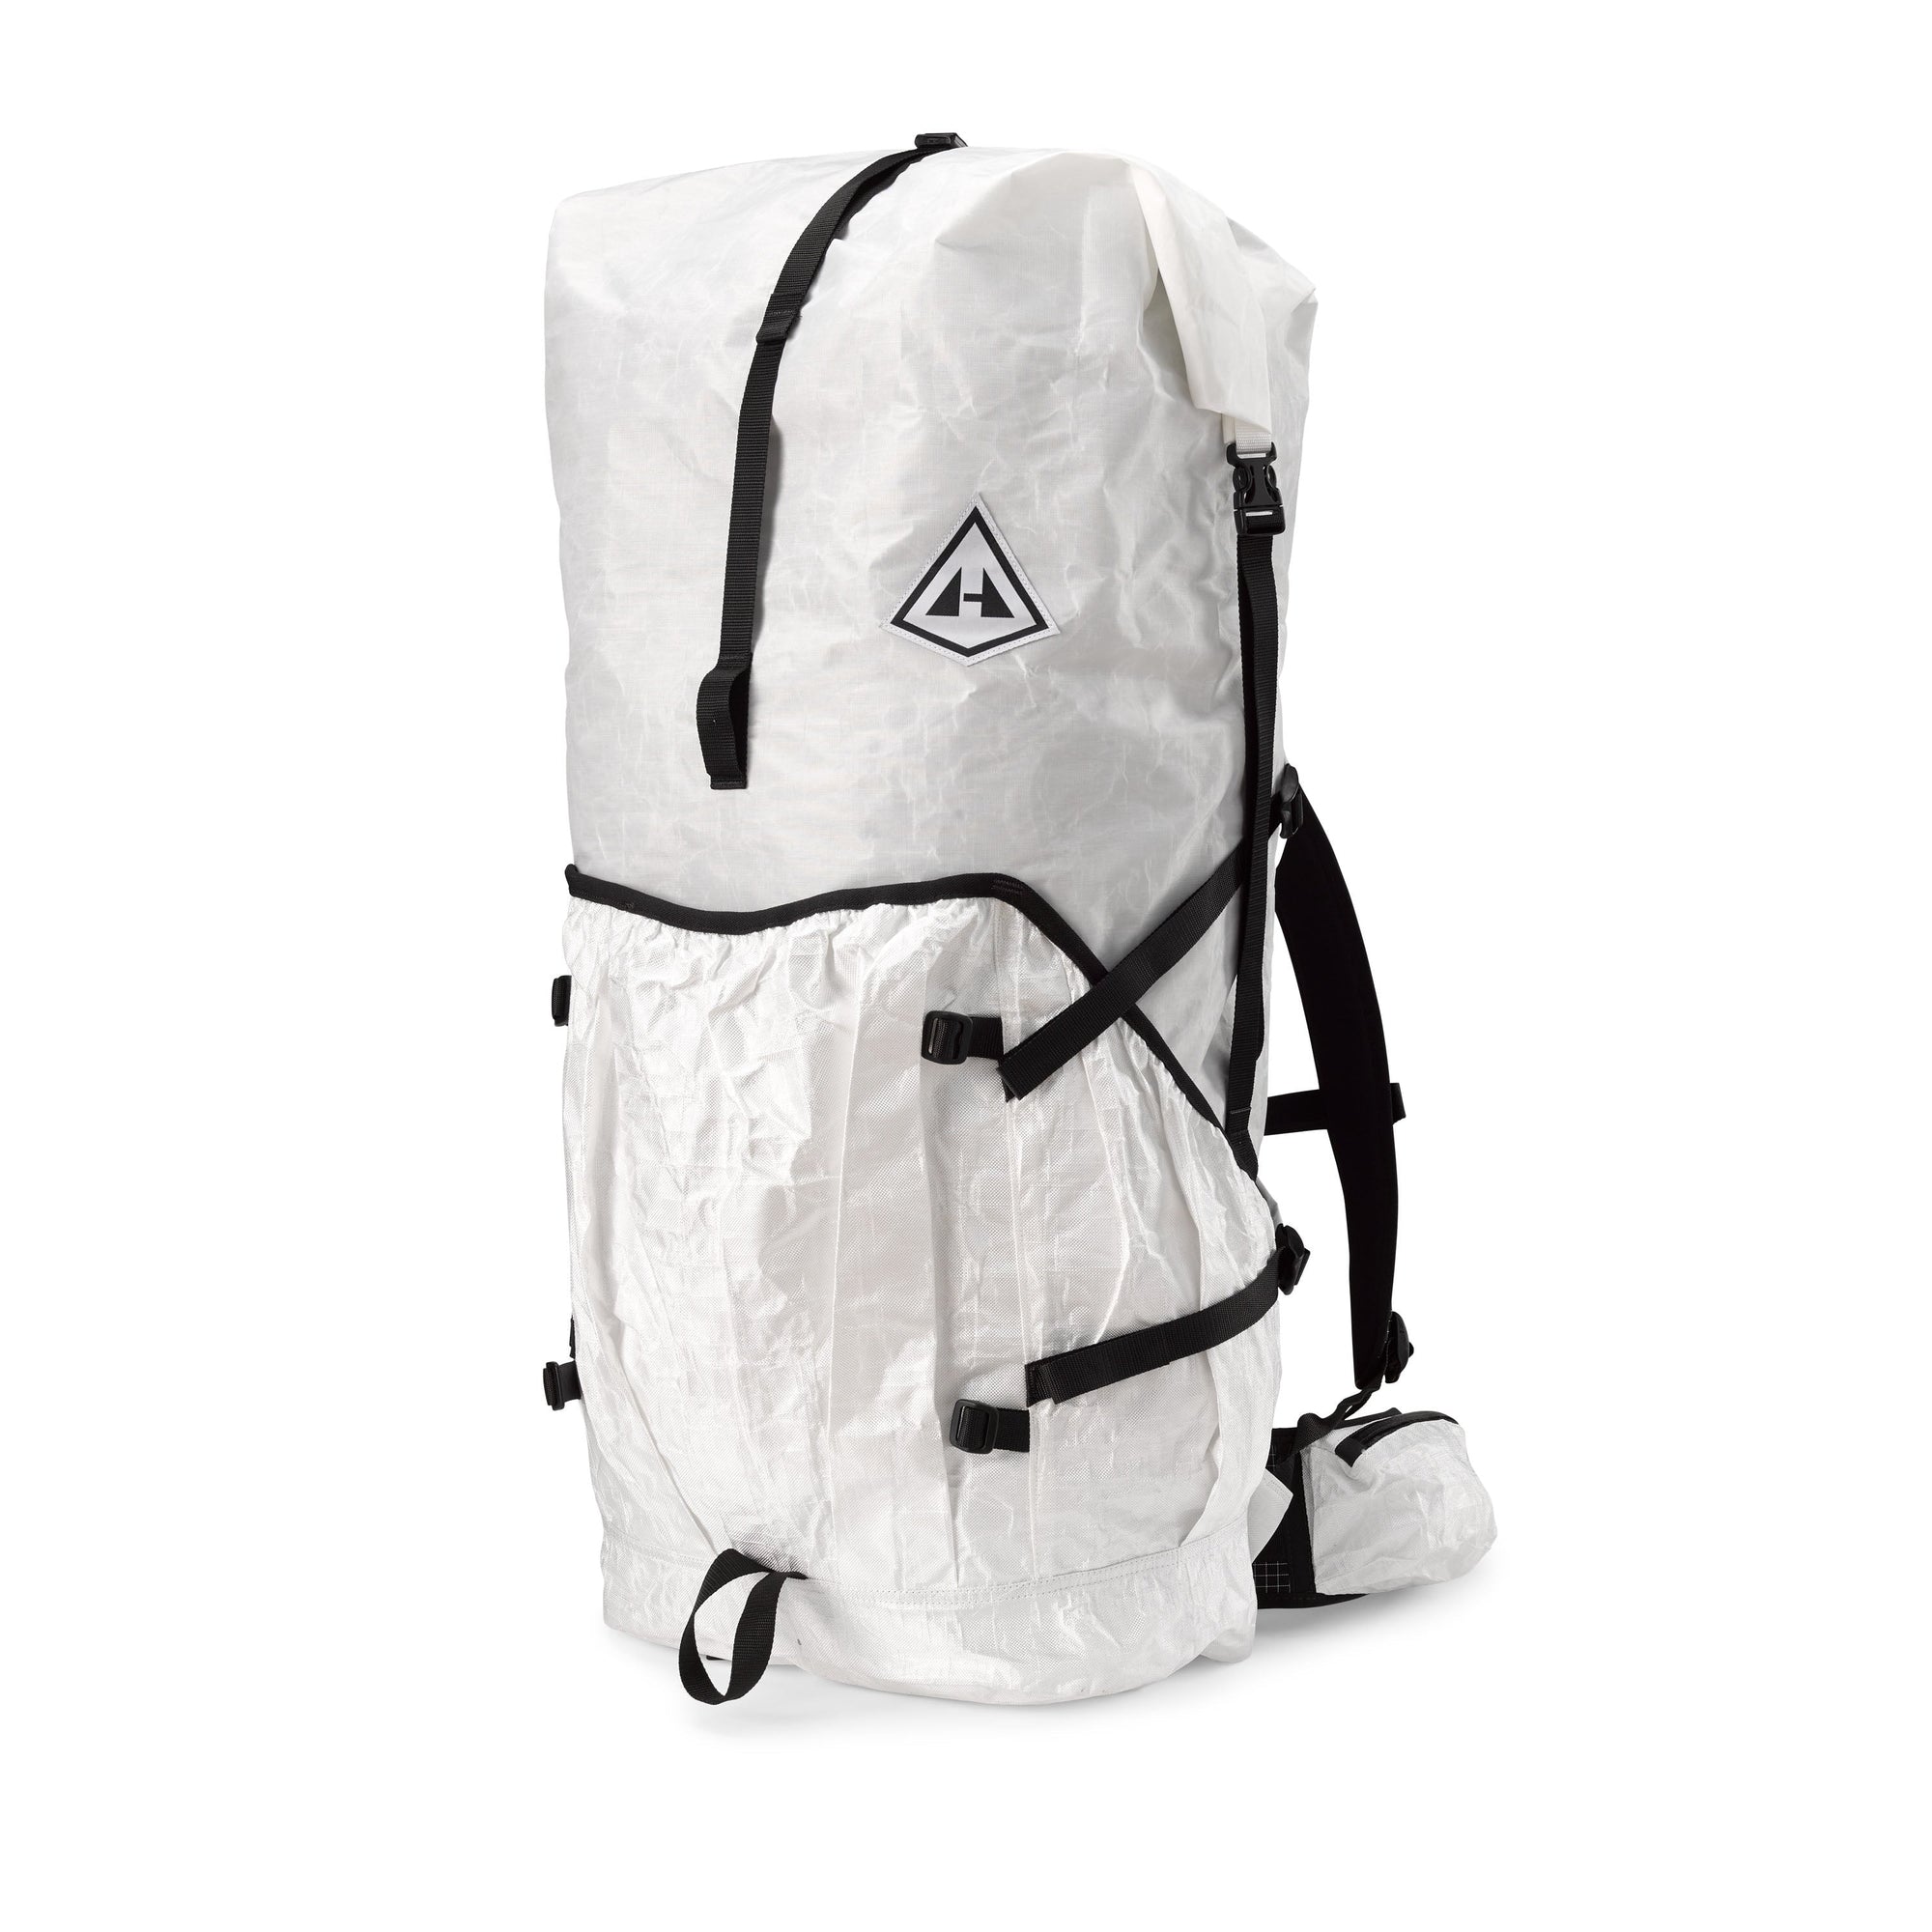
Halka 55
$425.00

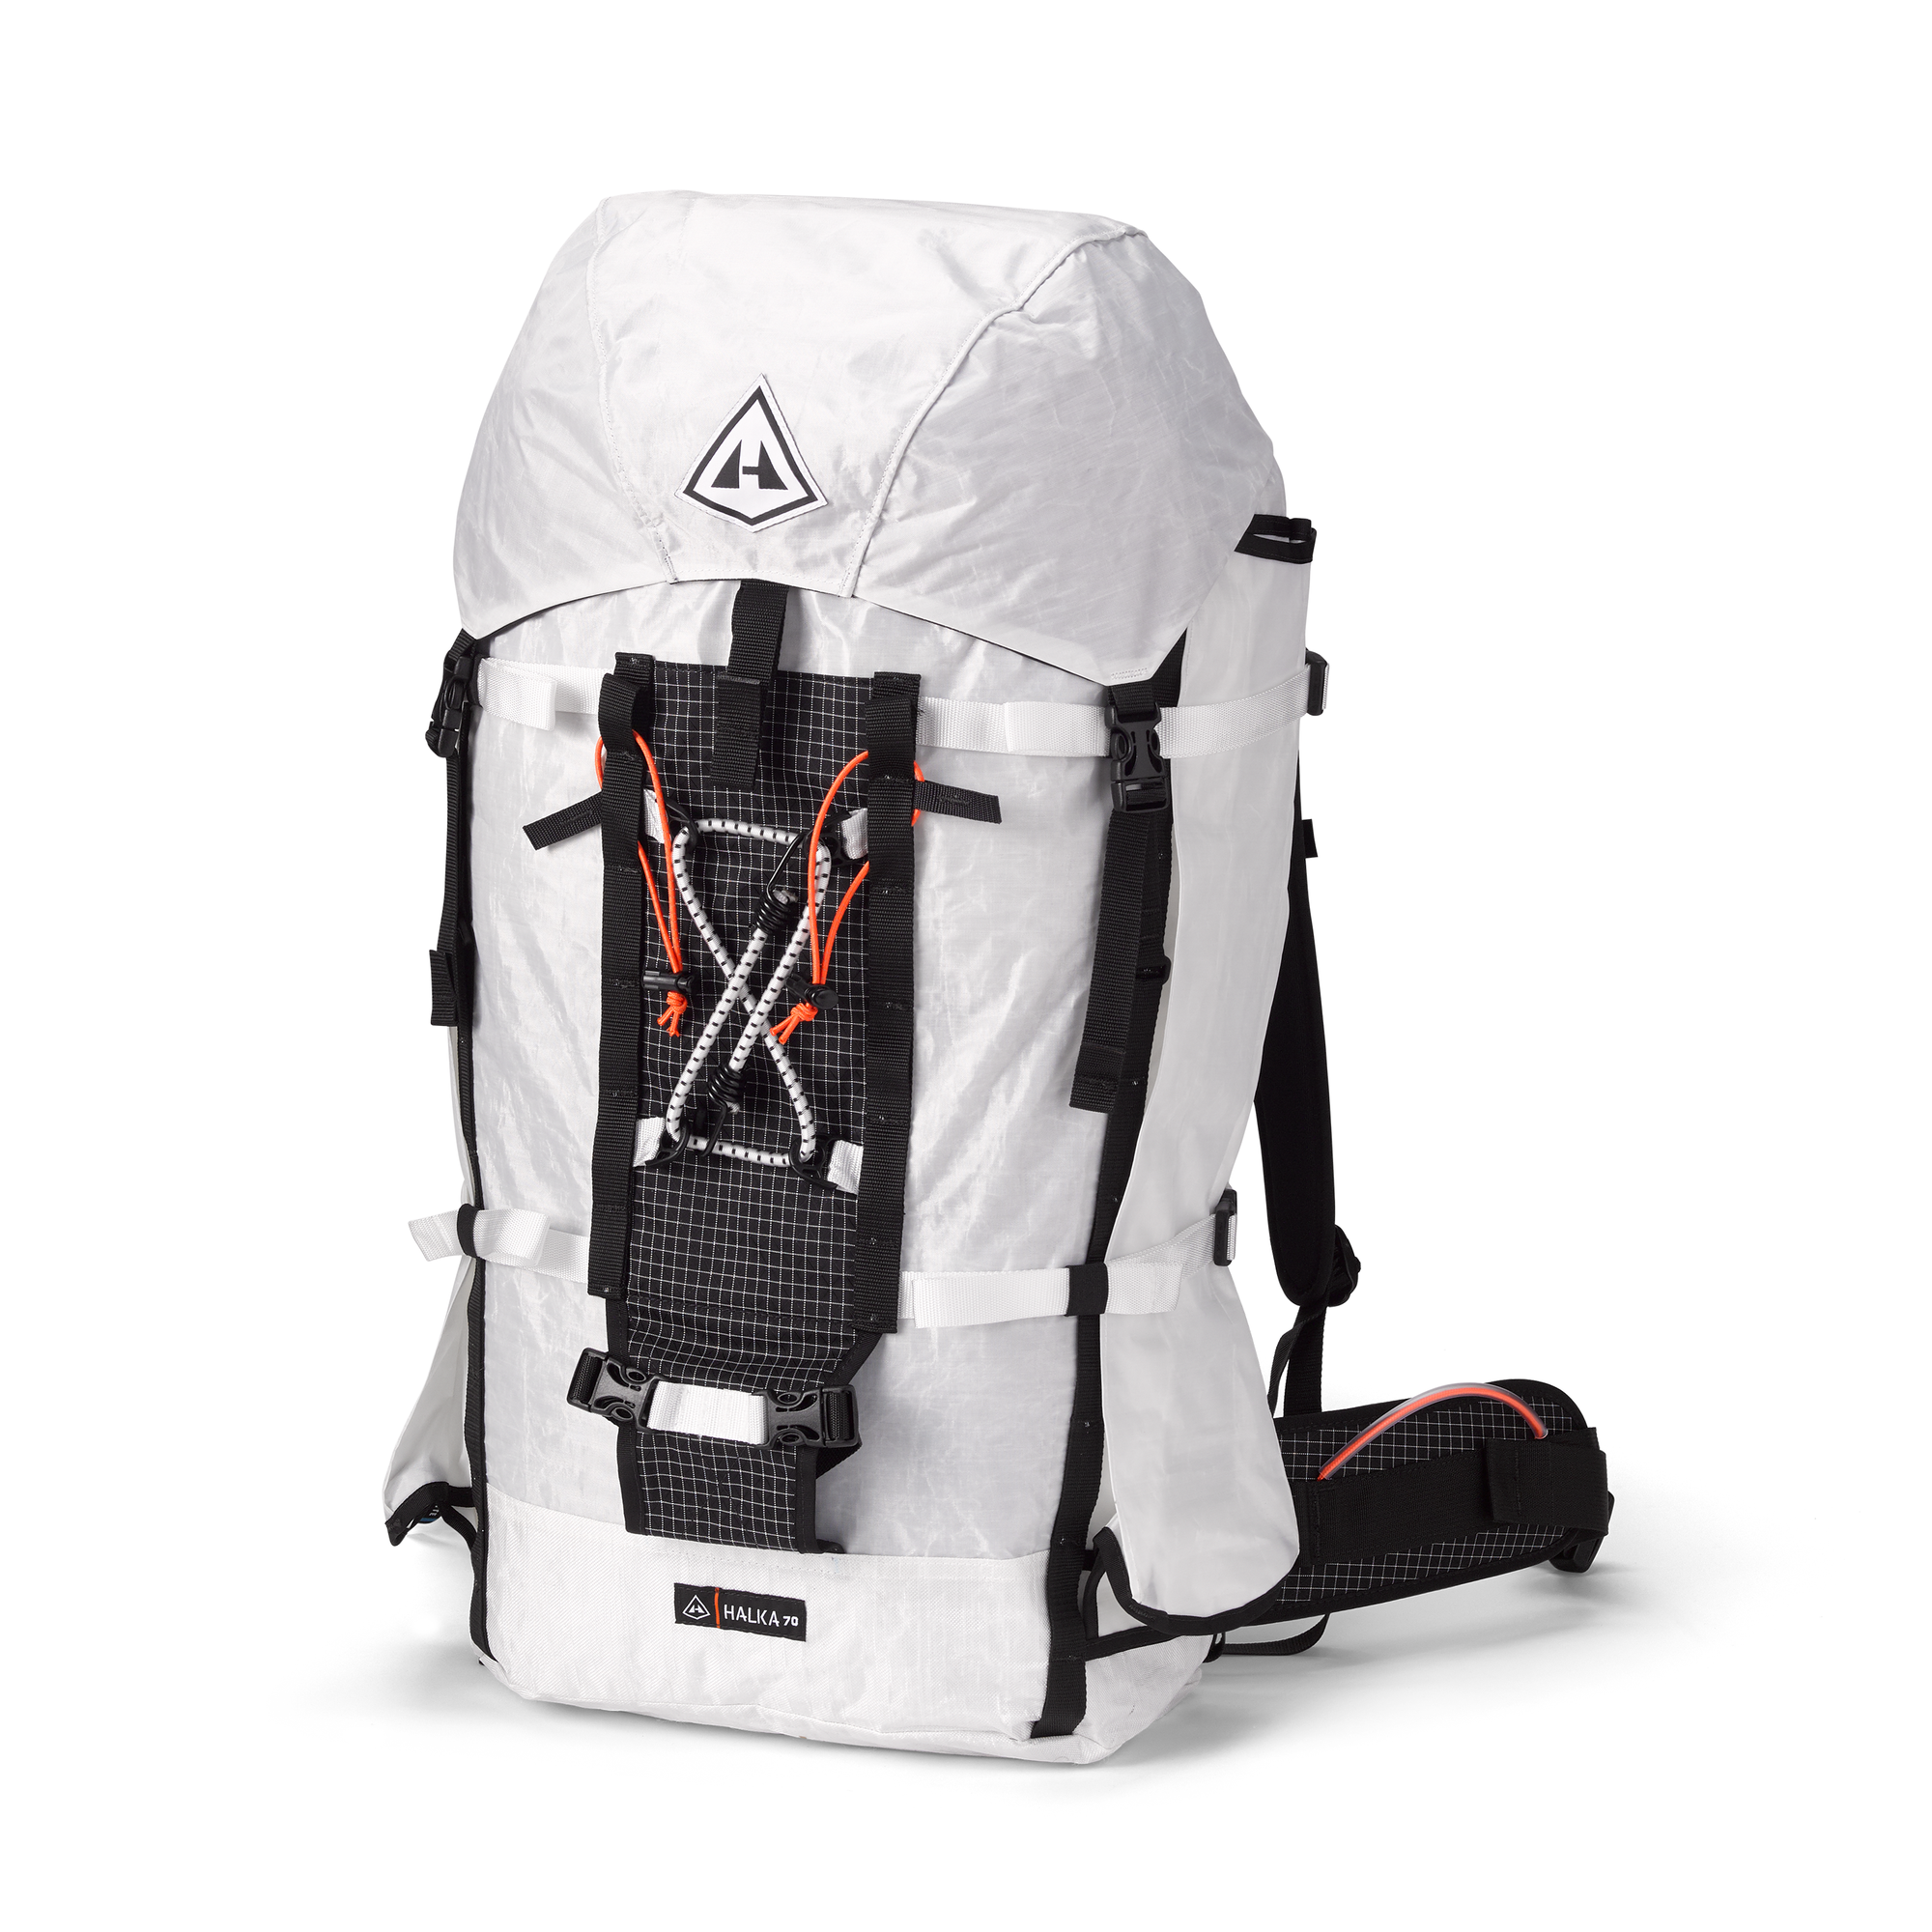
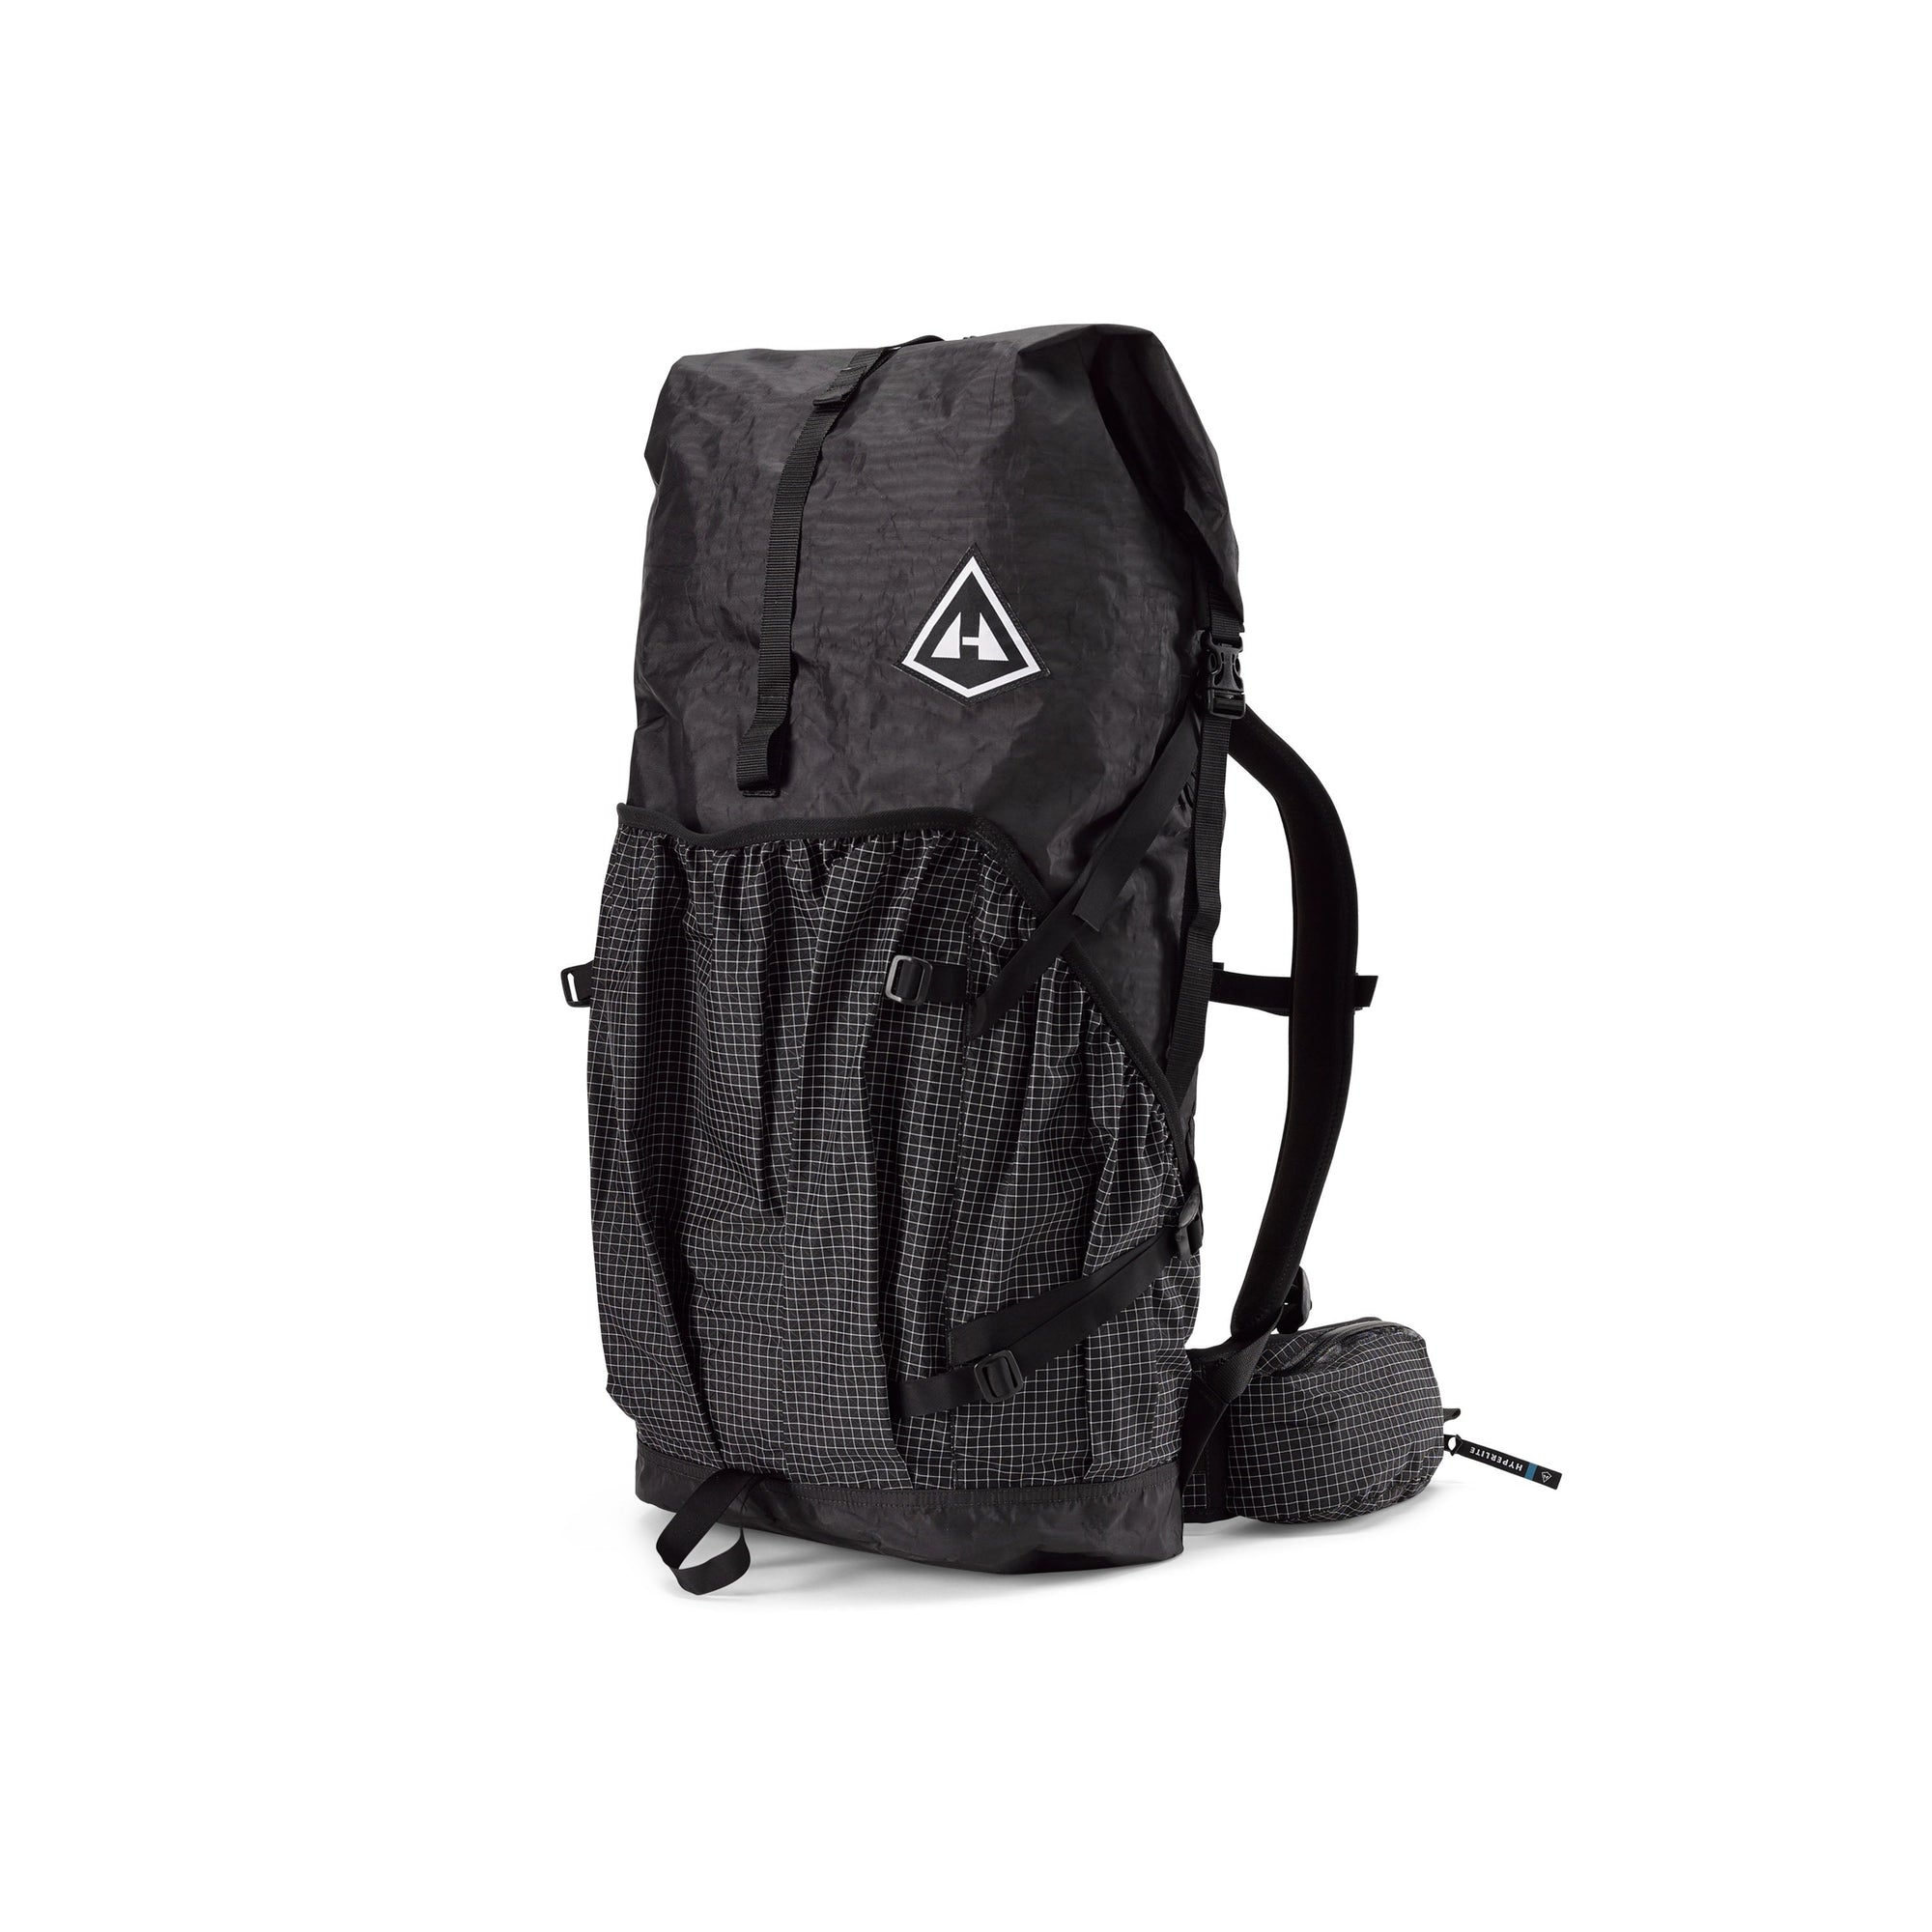
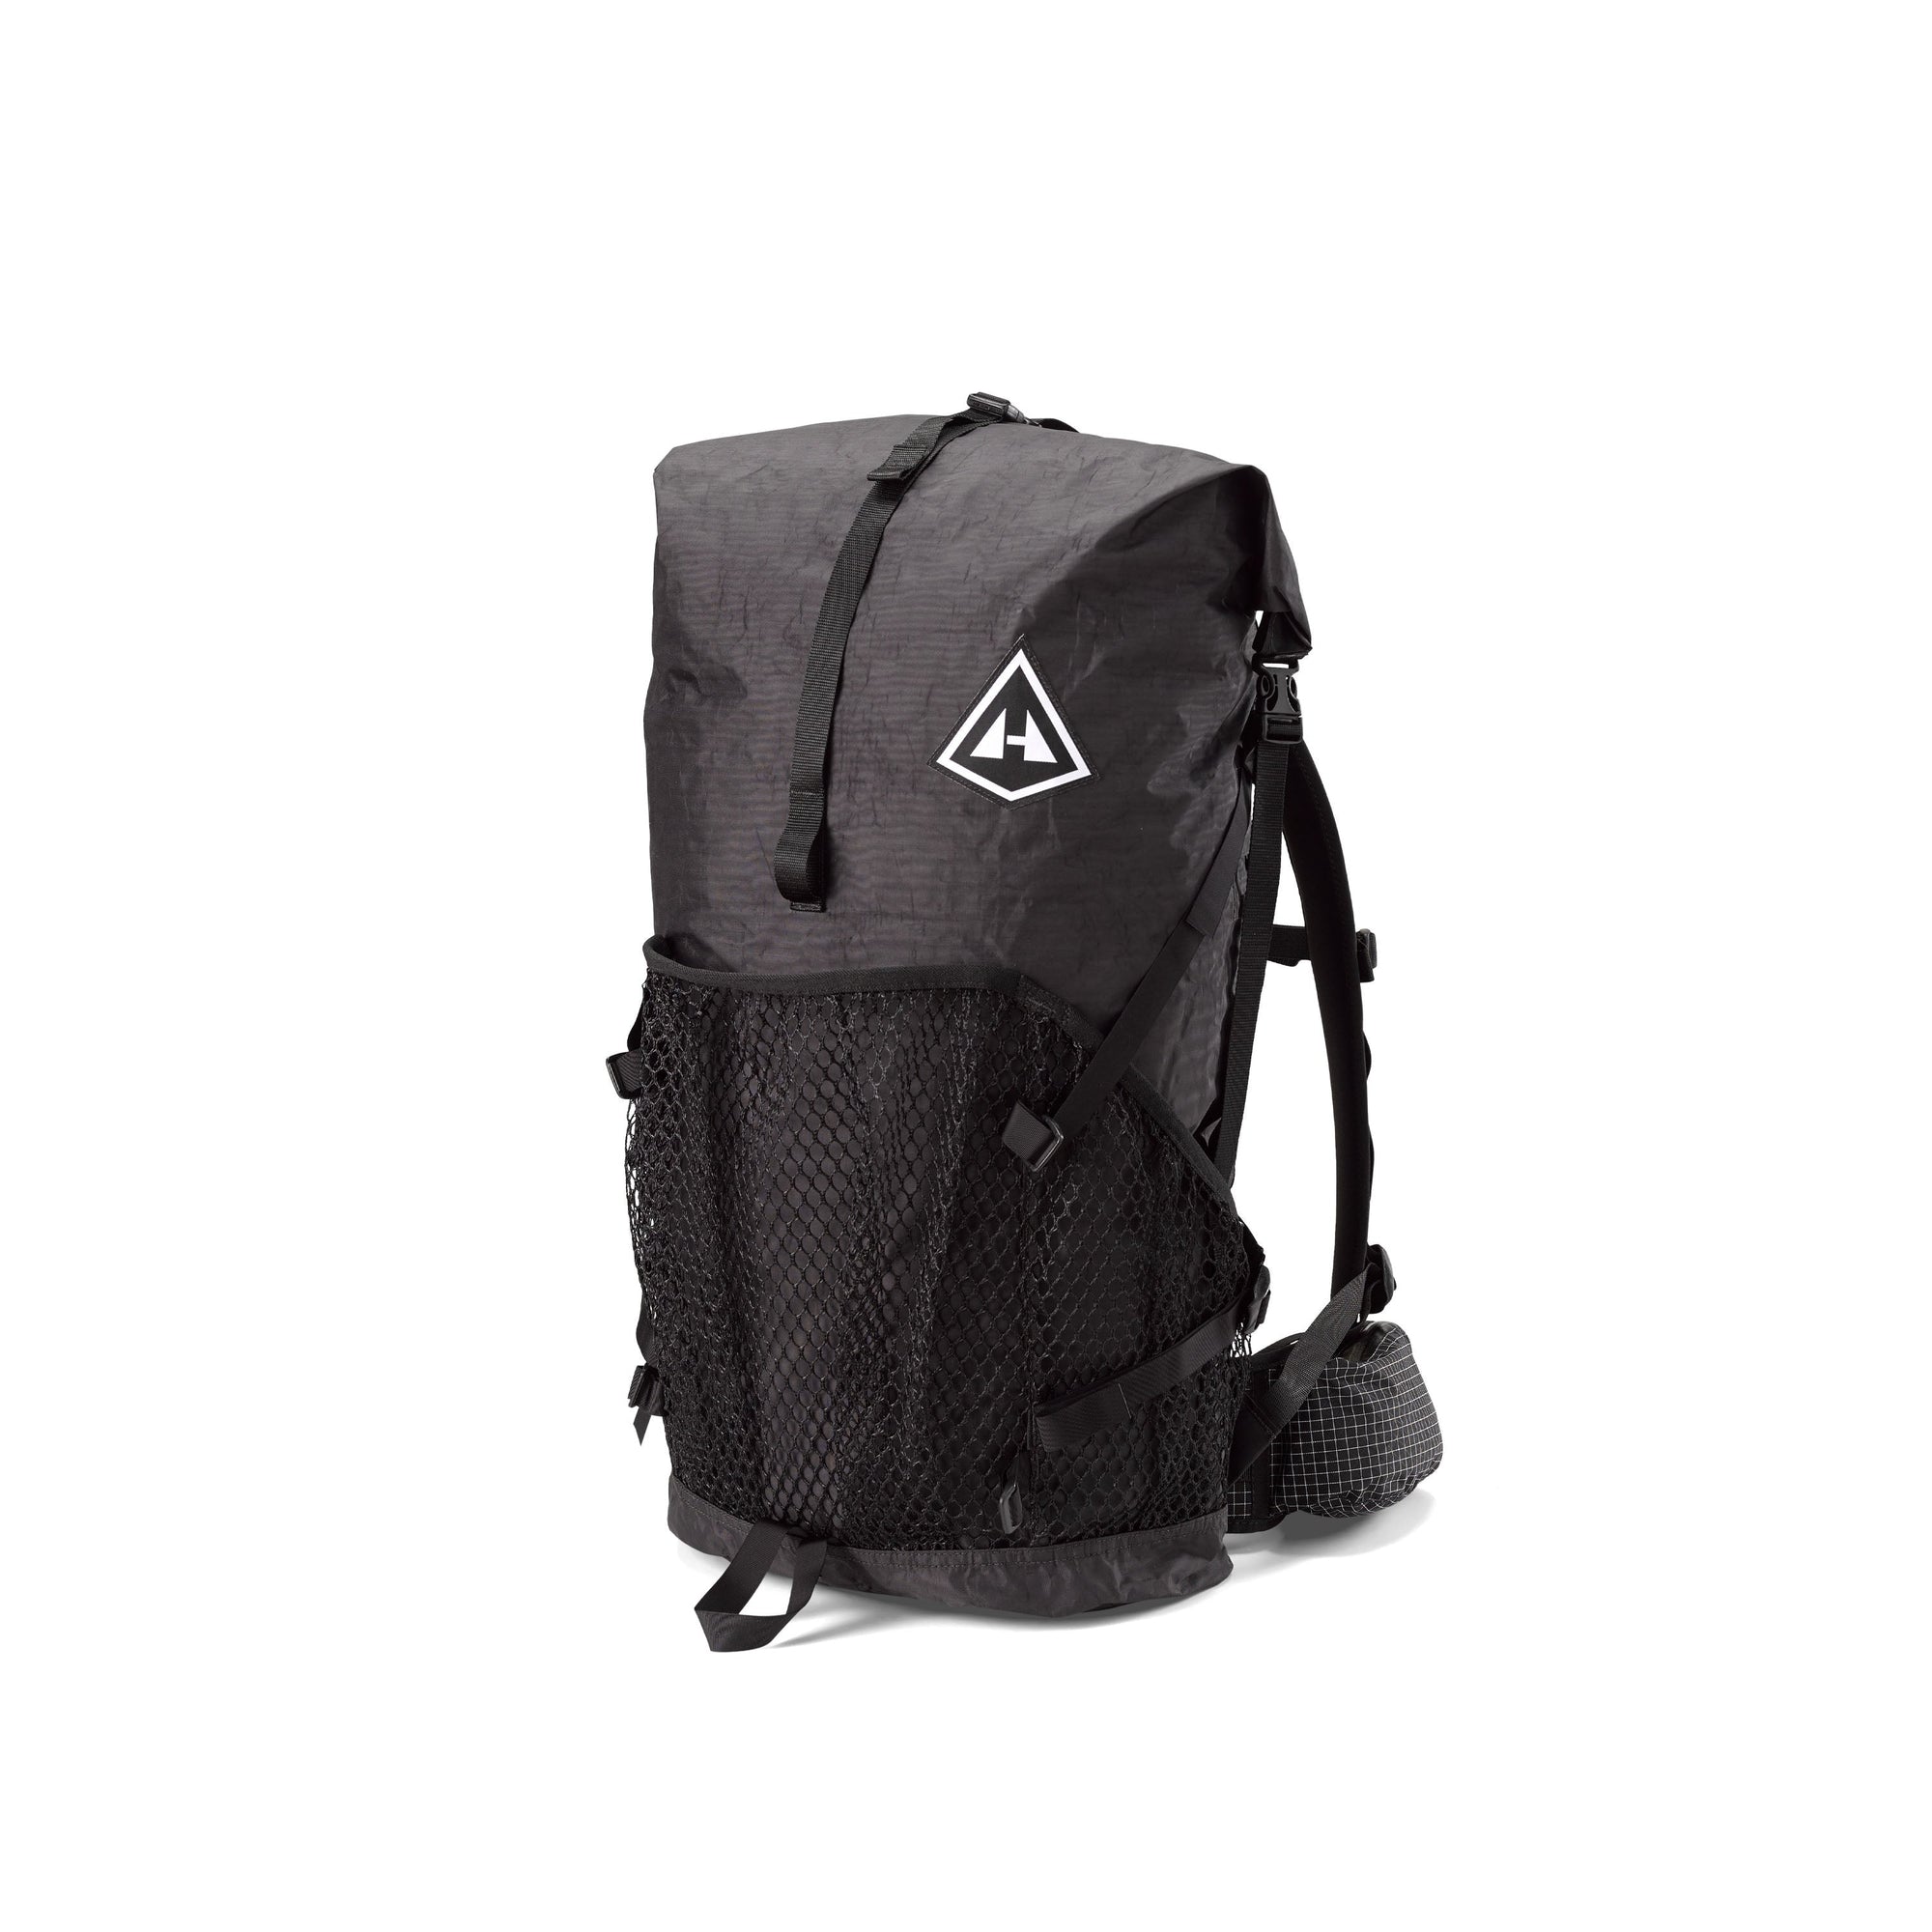
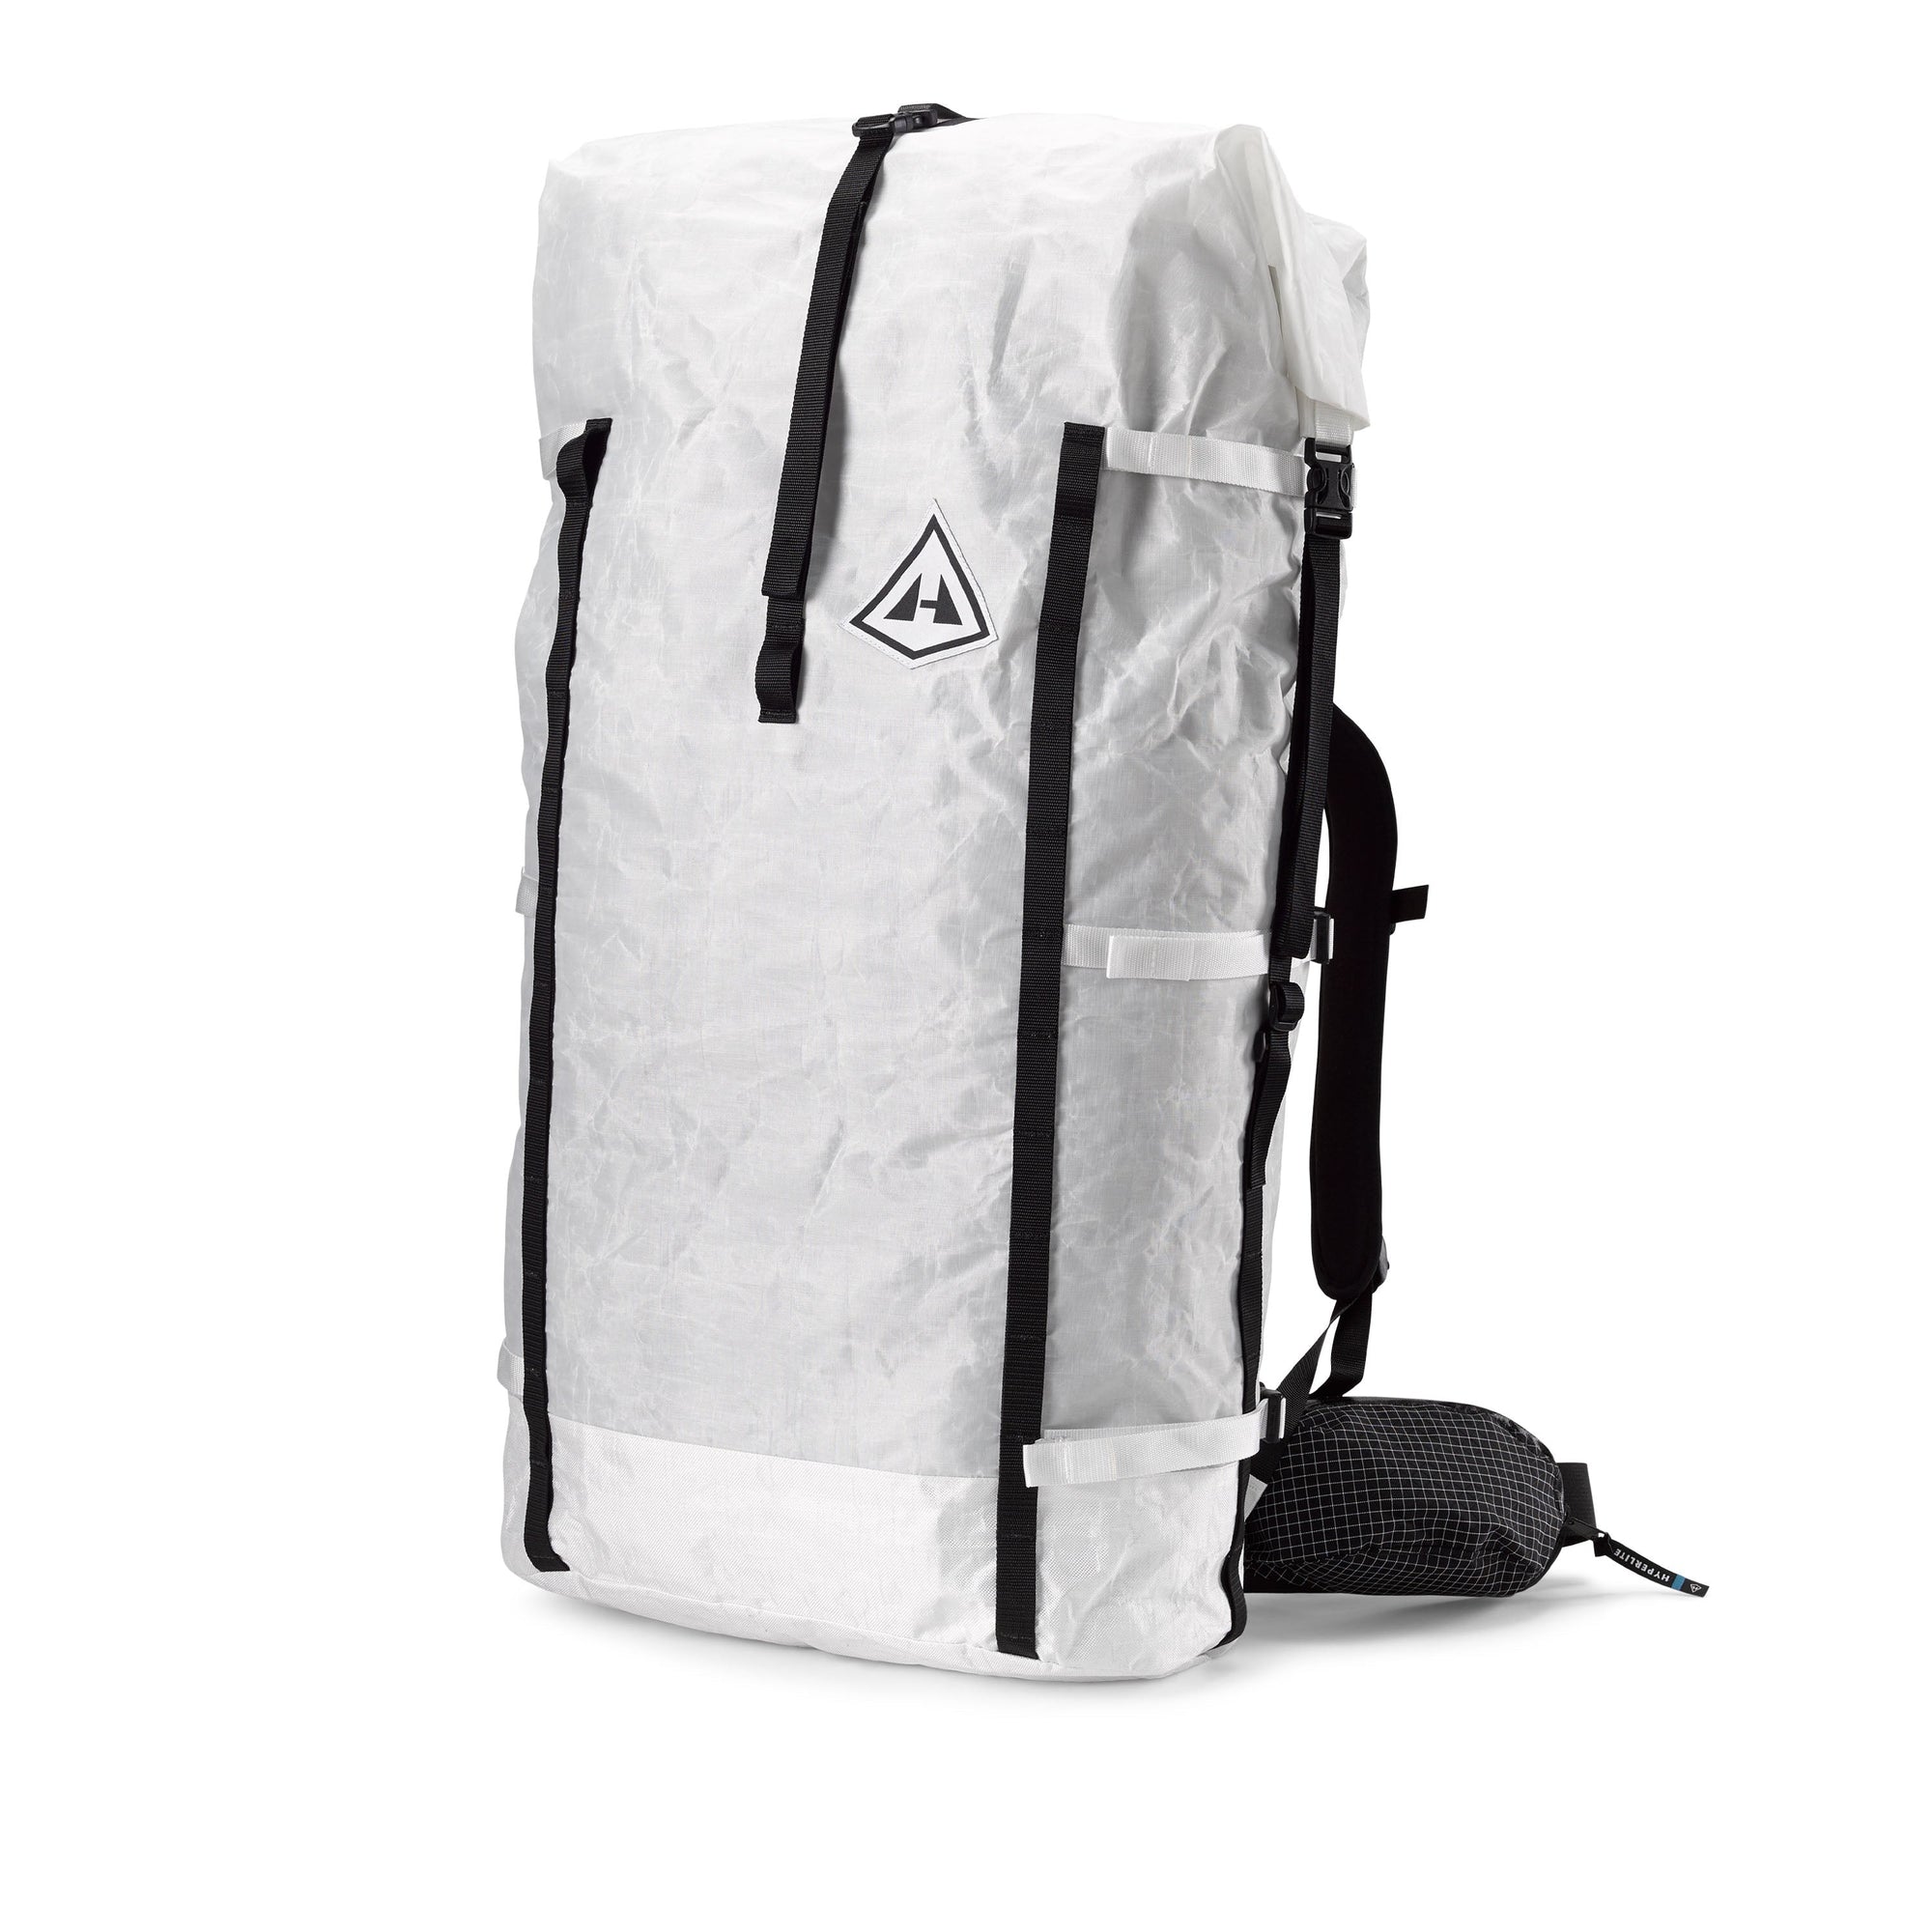
Halka 70
$499.00

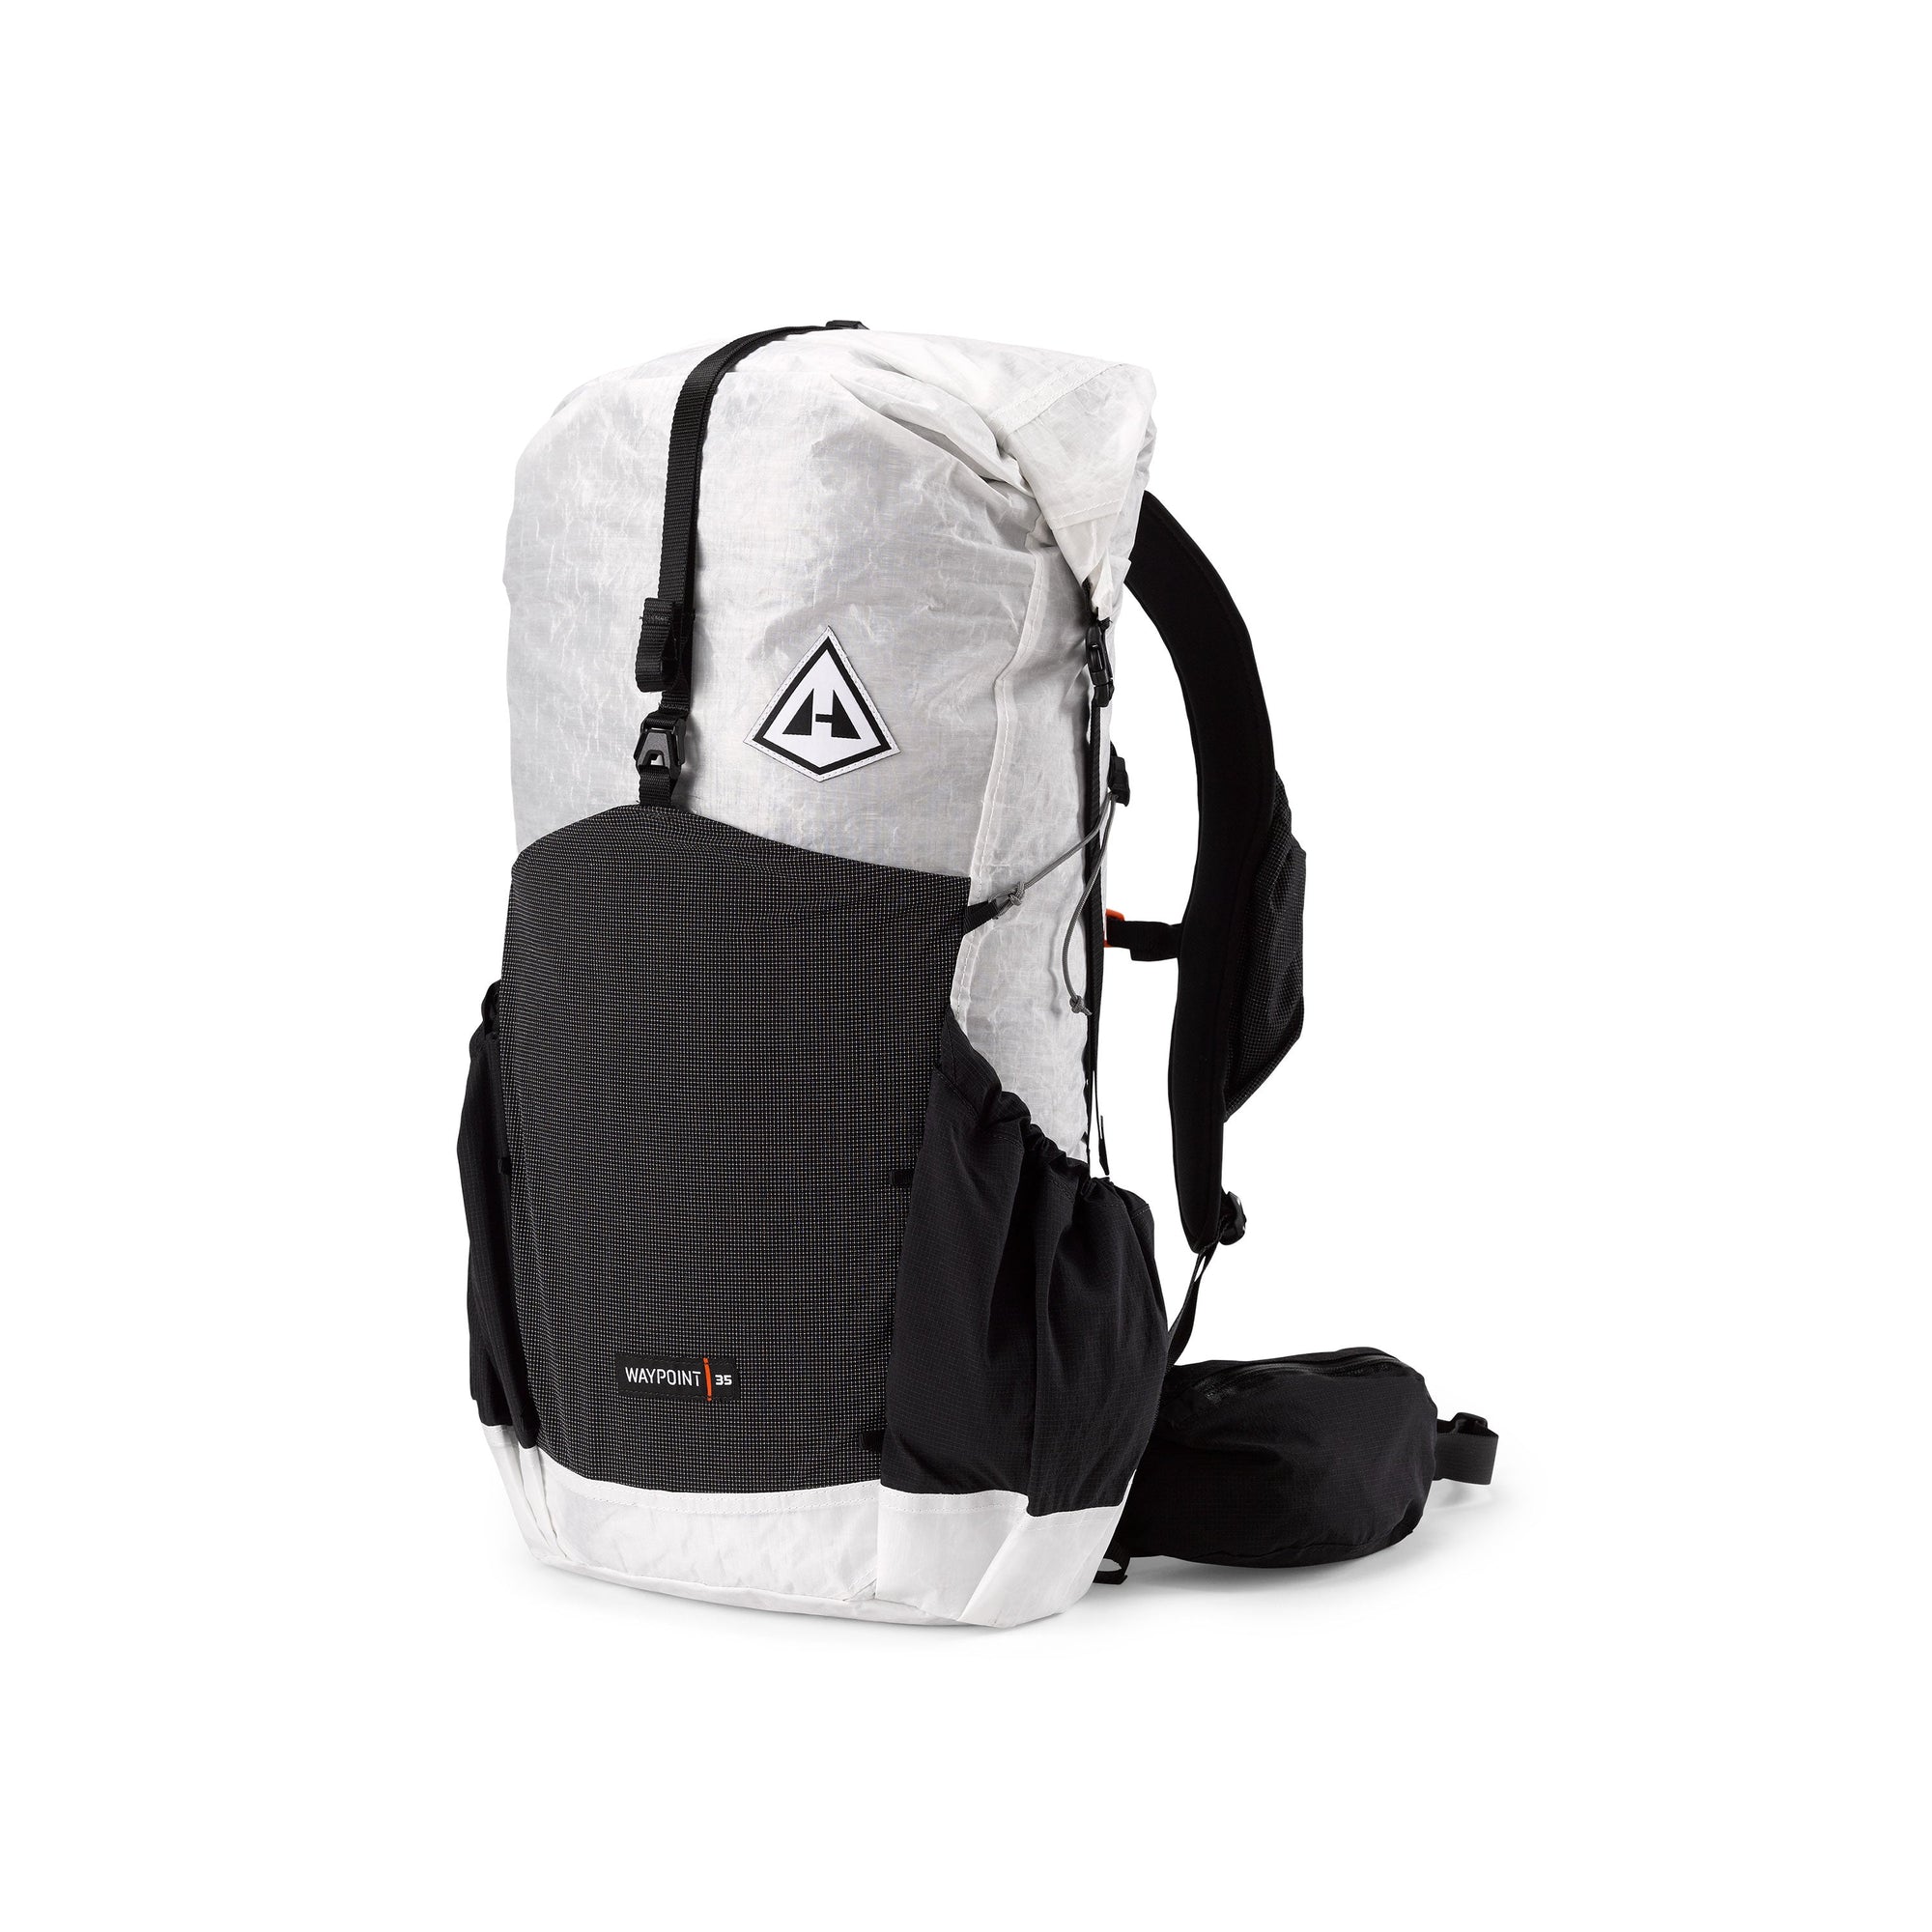
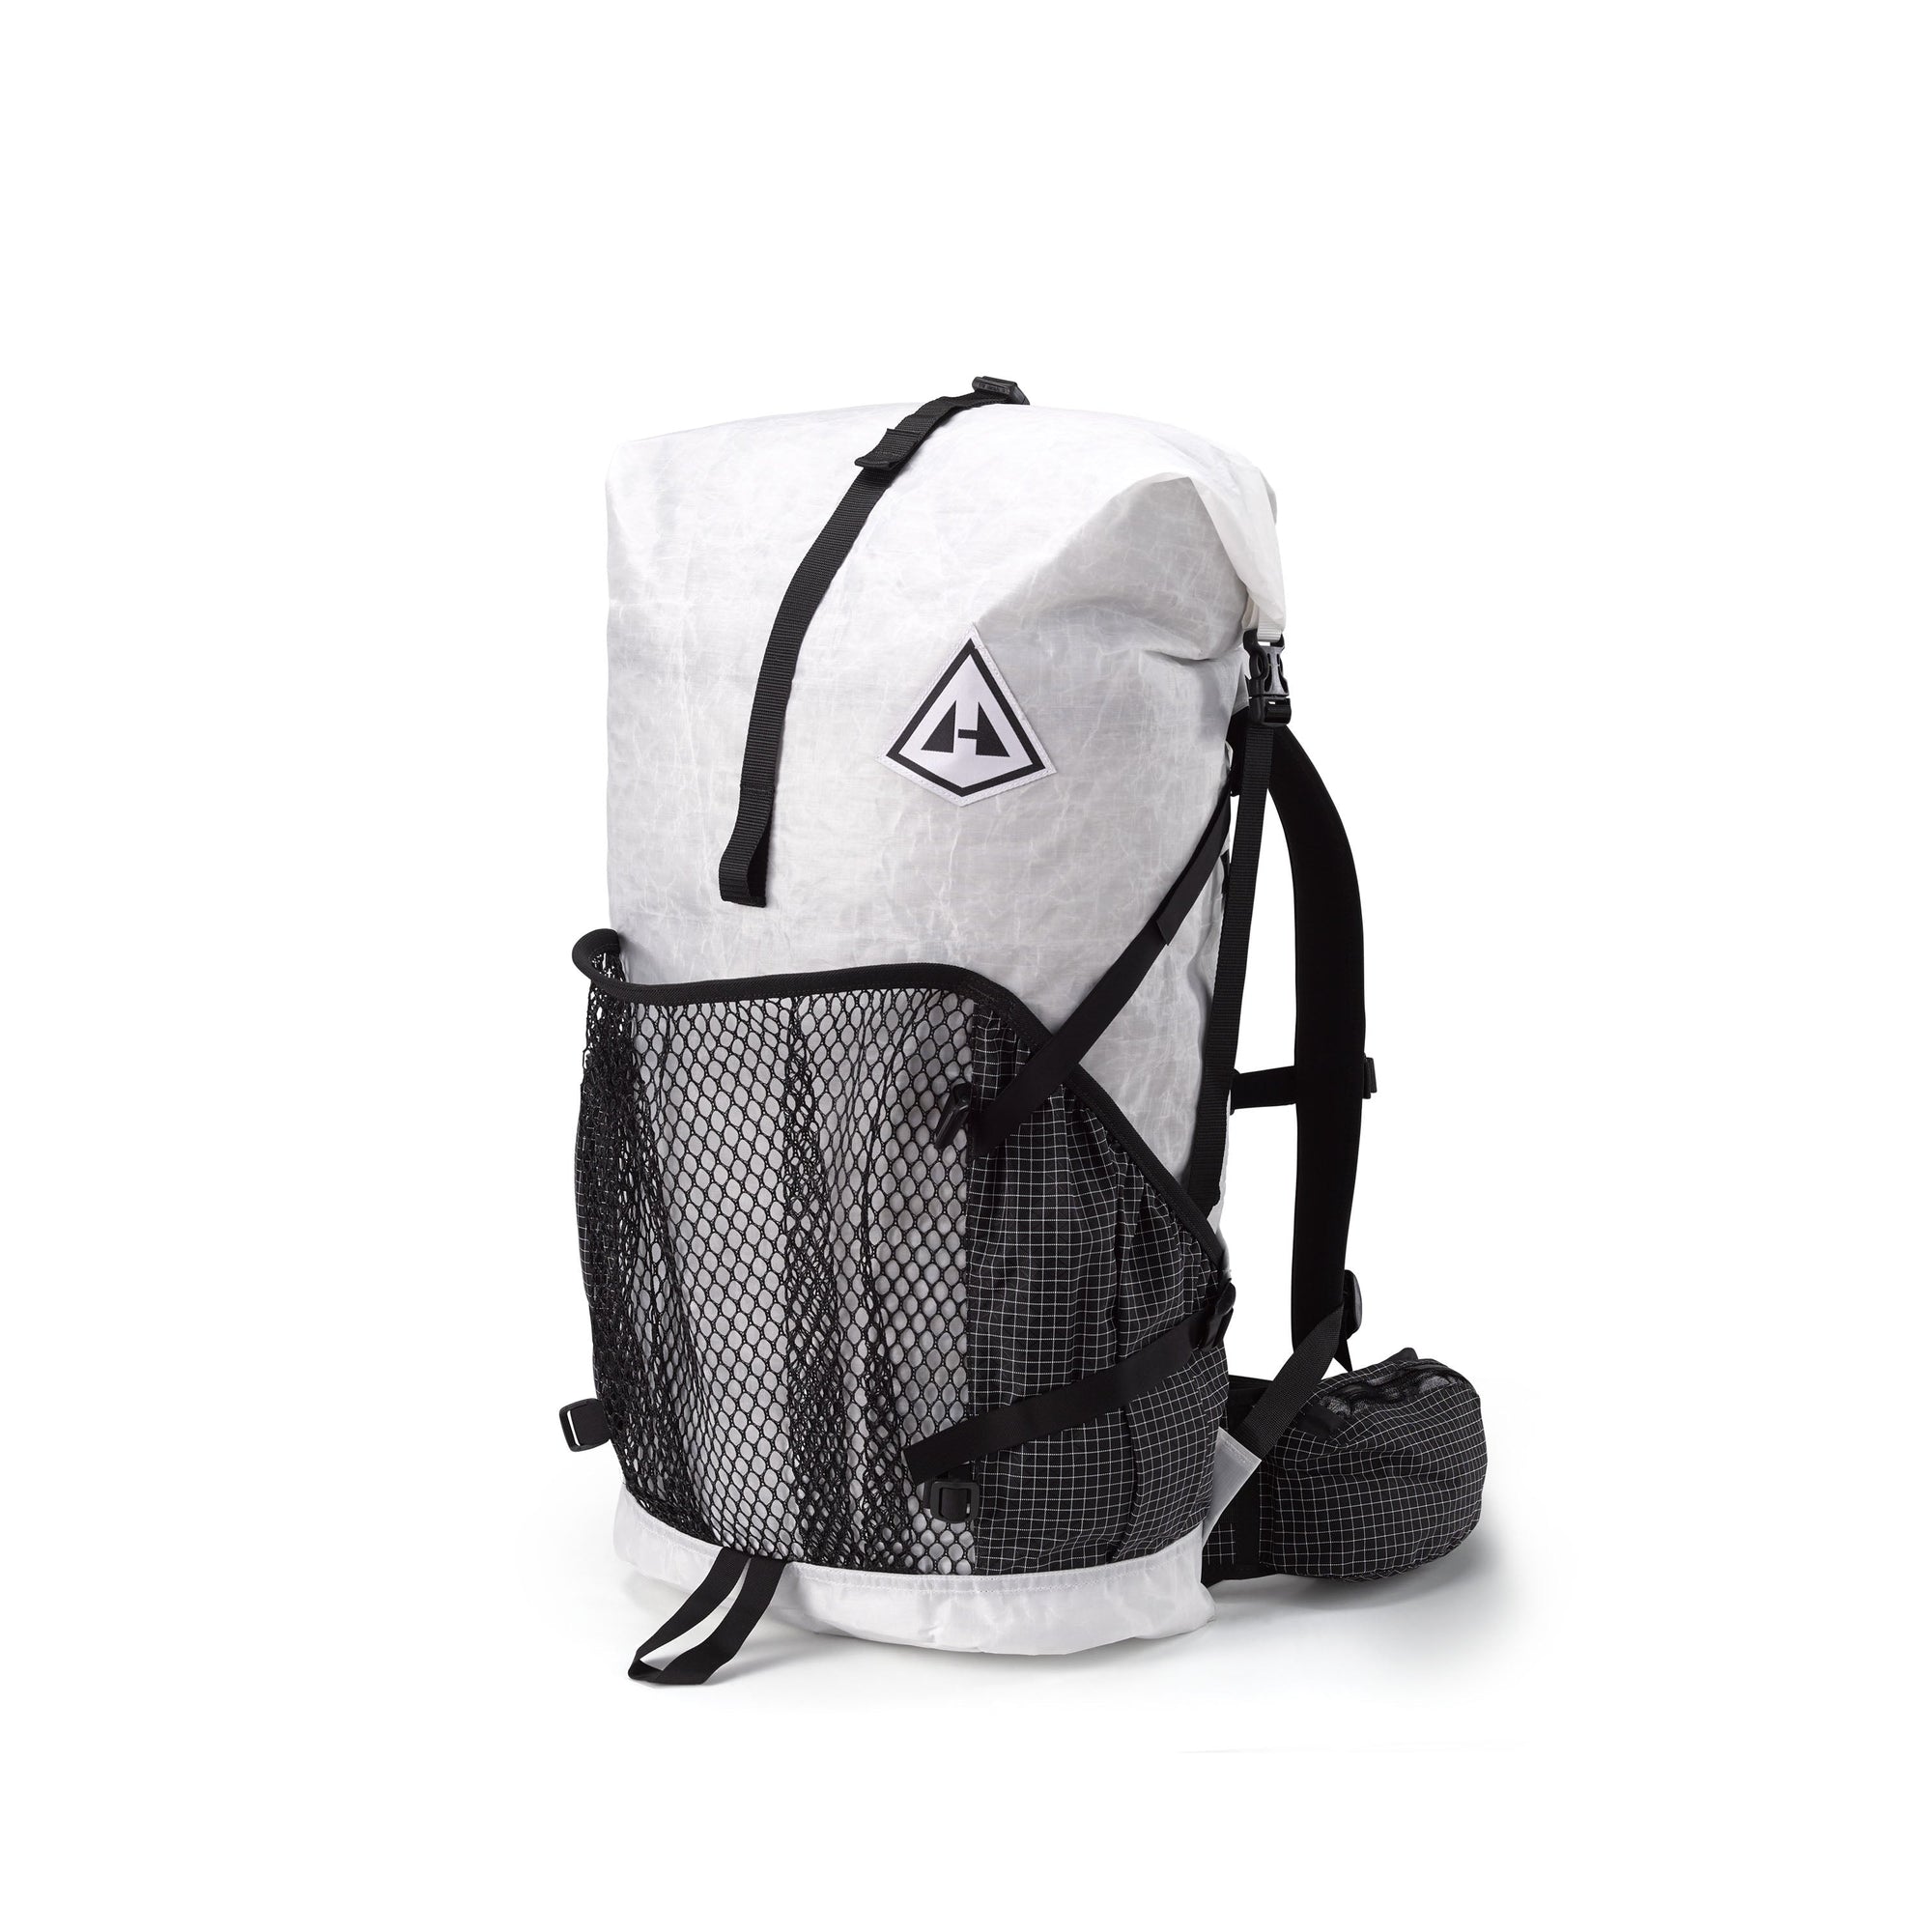
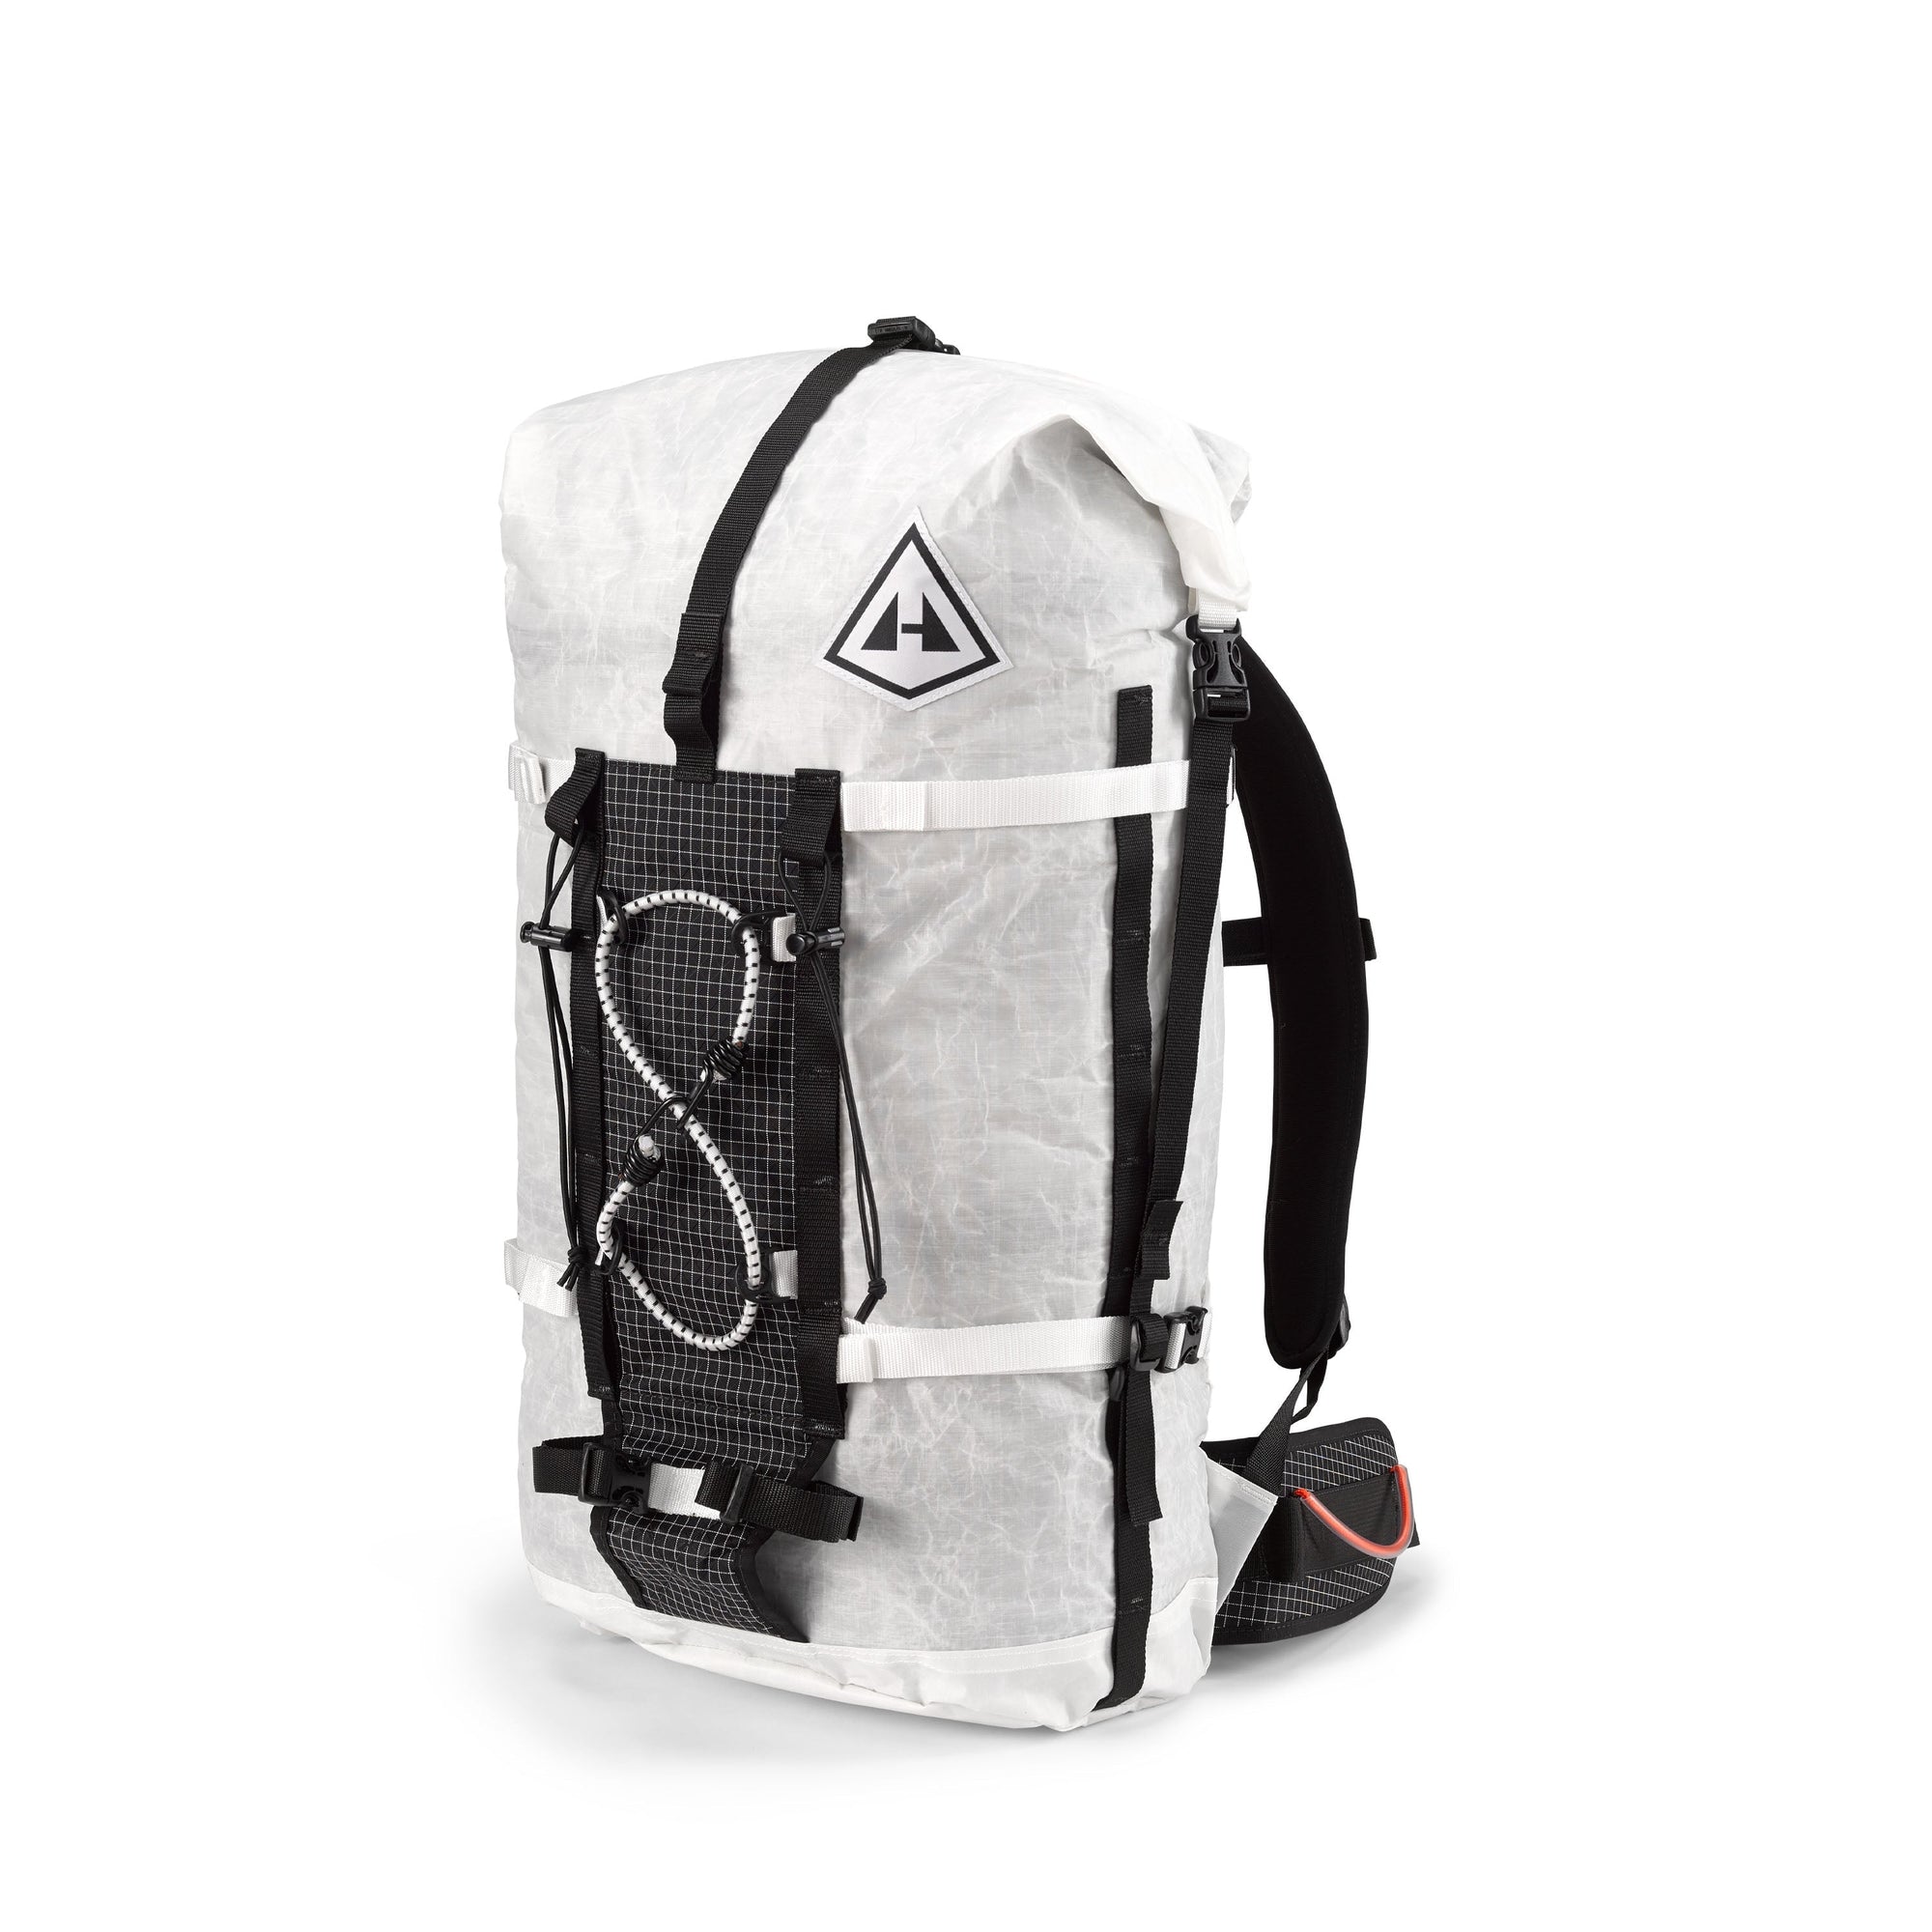
Waypoint 35
$359.00

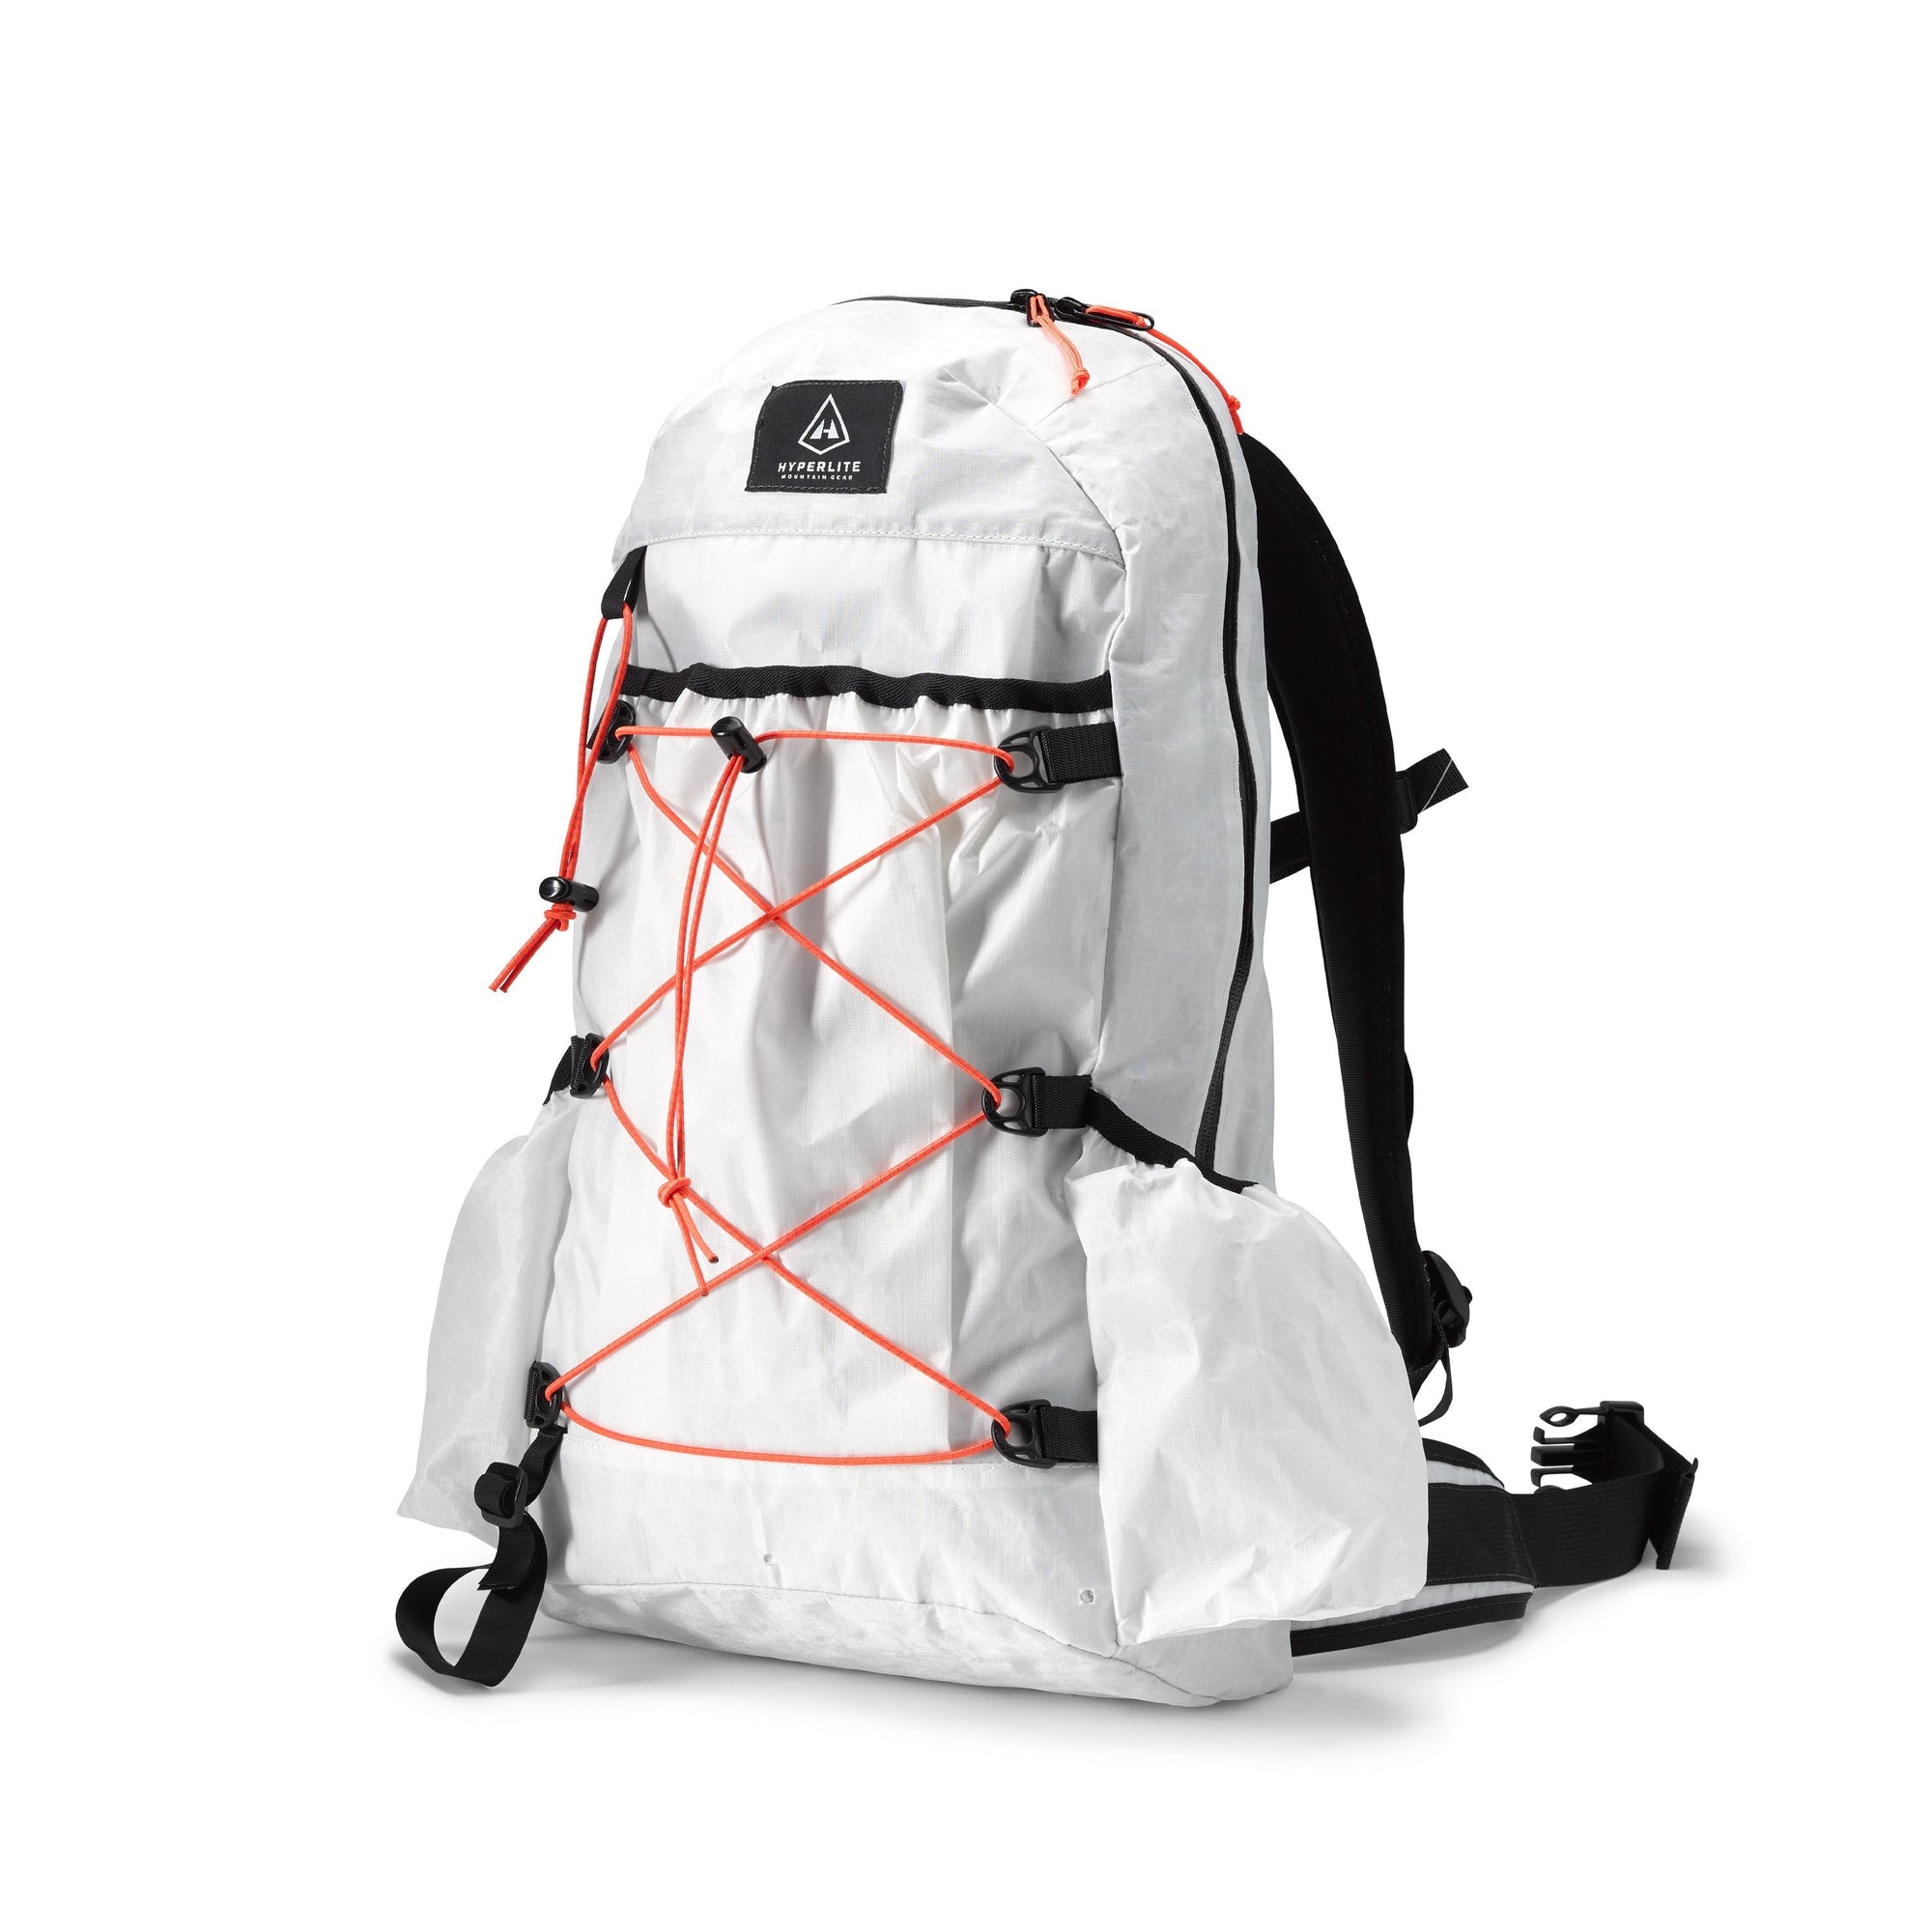
Elevate 22
$249.00

Southwest 40
From $349.00

Southwest 55
From $379.00

Southwest 70
From $425.00

Junction 40
From $349.00

Junction 55
From $379.00

Windrider 40
From $349.00

Windrider 55
From $379.00

Windrider 70
From $425.00

Porter 40
From $359.00

Porter 55
From $389.00

Porter 70
From $425.00

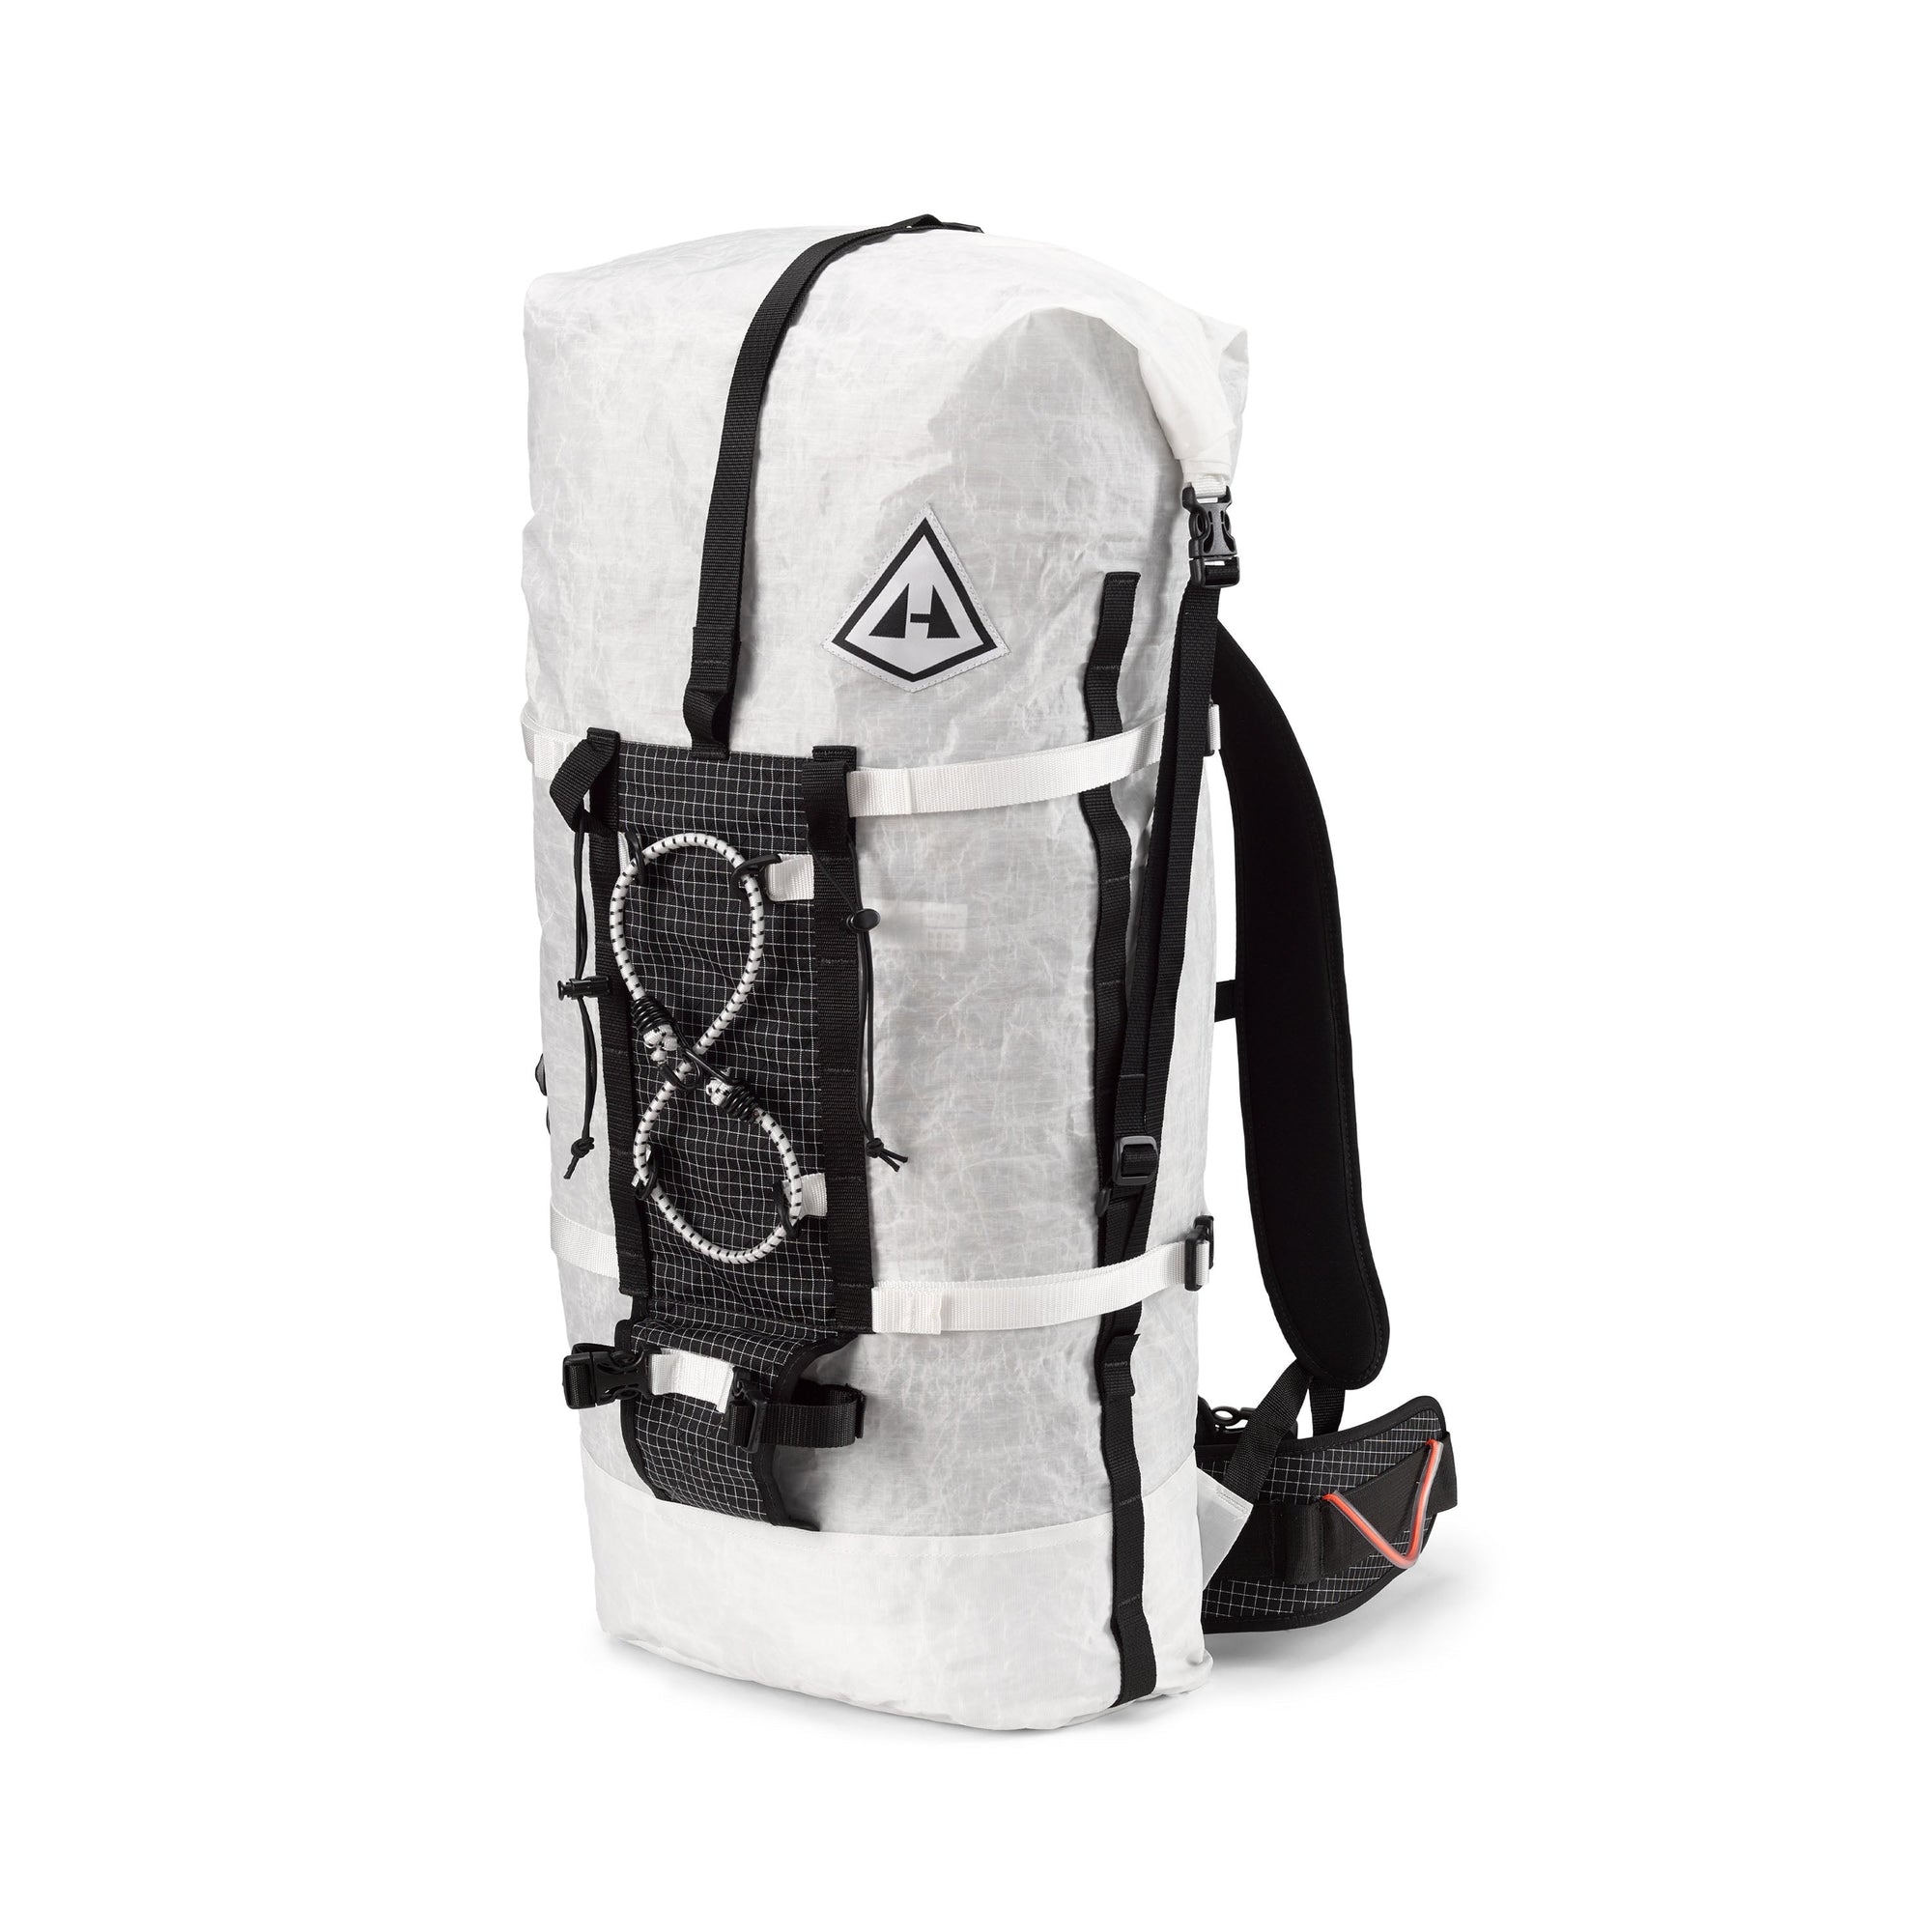
Ice Pack 40
$359.00

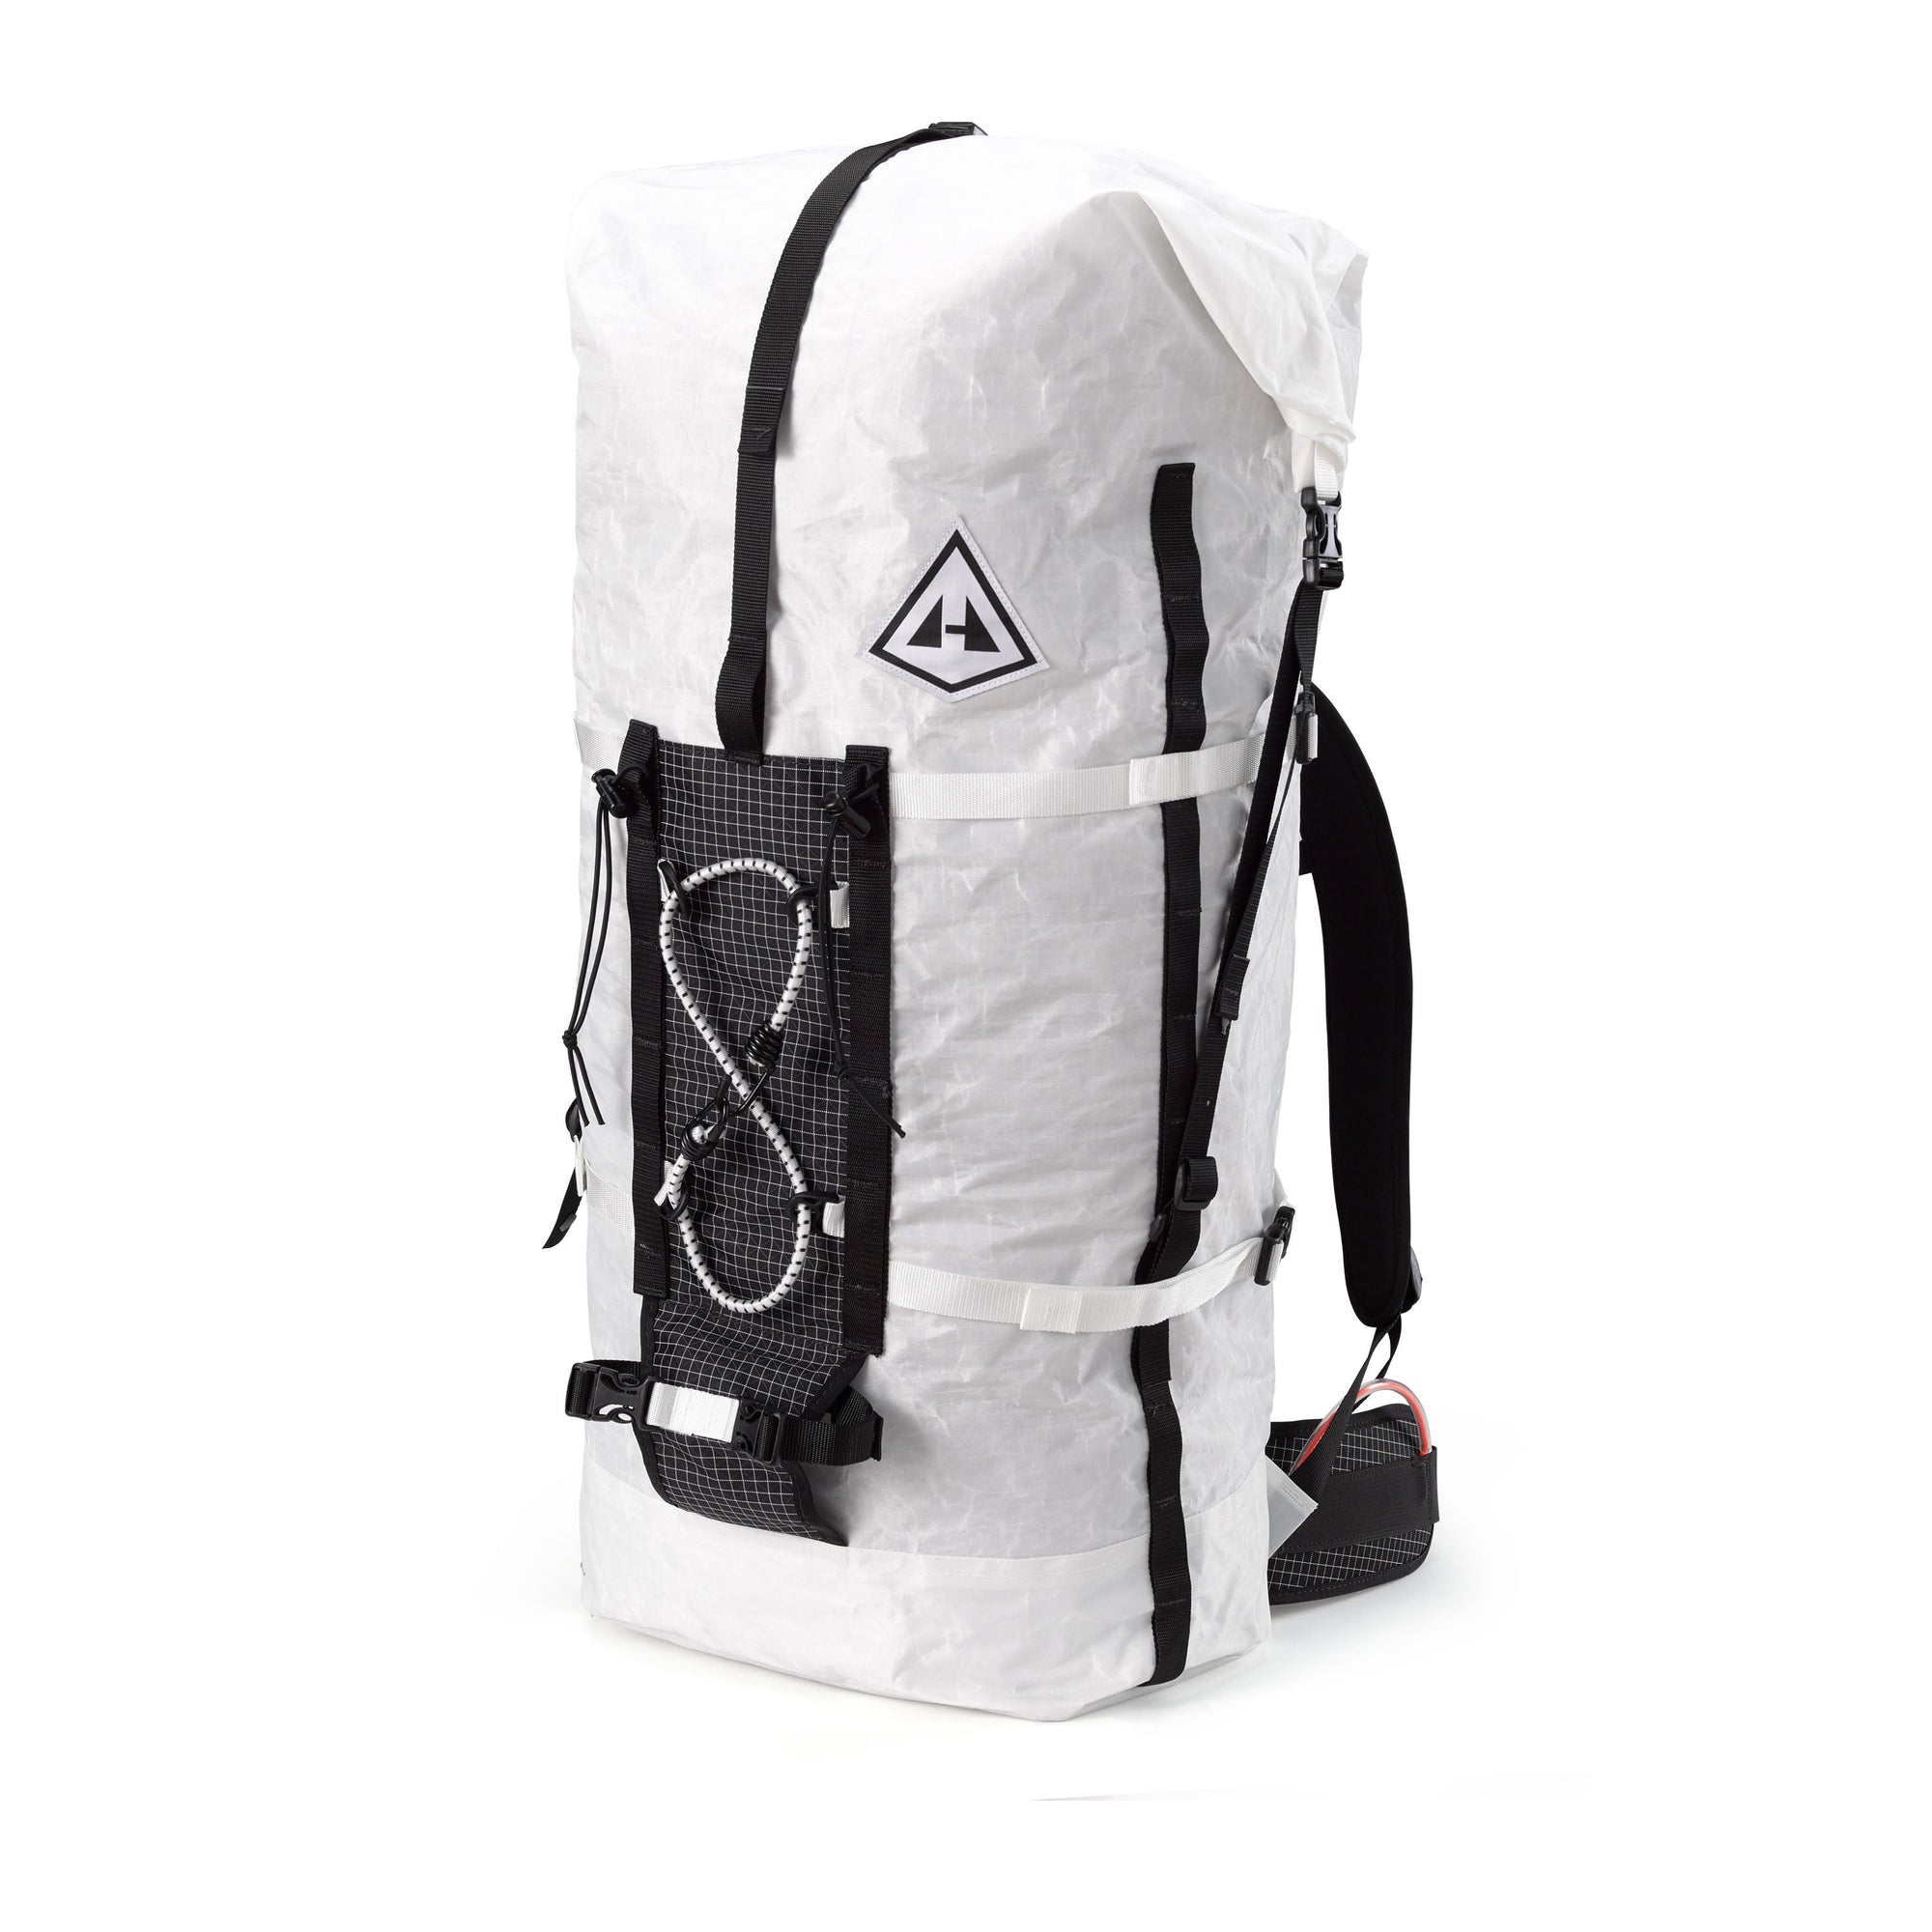
Ice Pack 55
$389.00

Ice Pack 70
$425.00

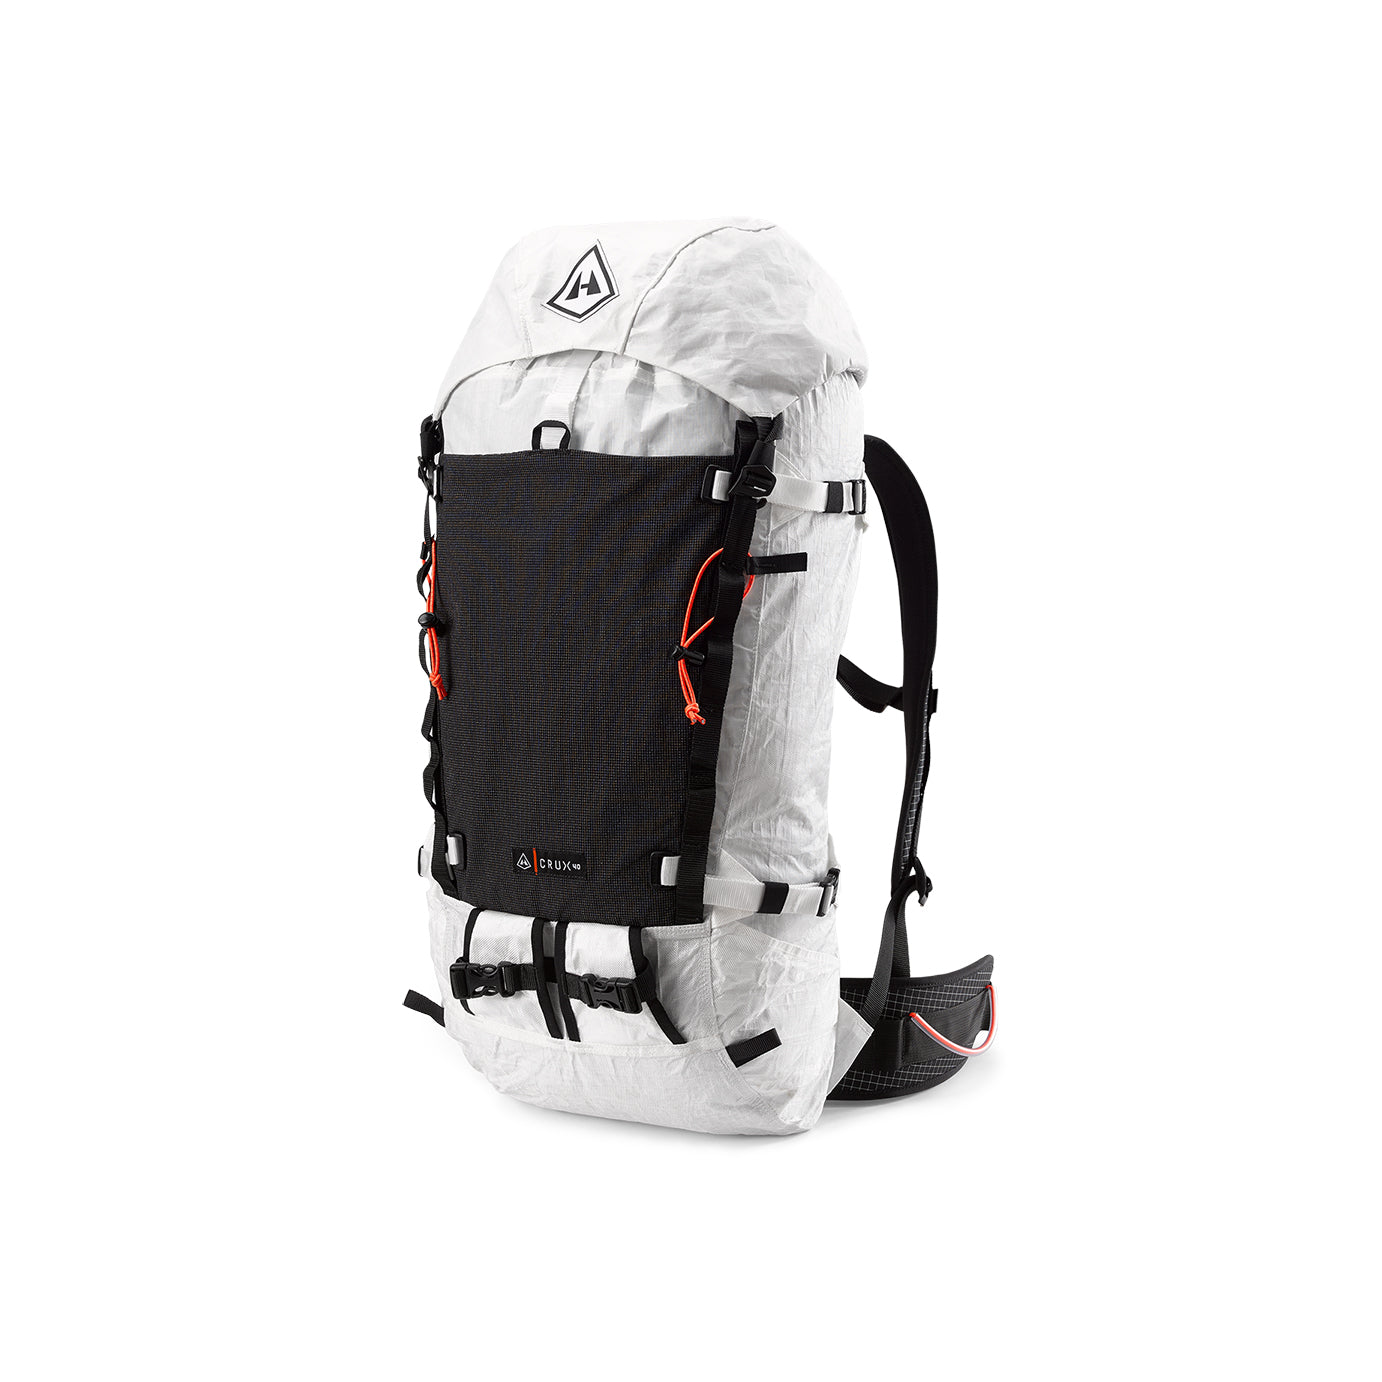
Crux 40
$499.00

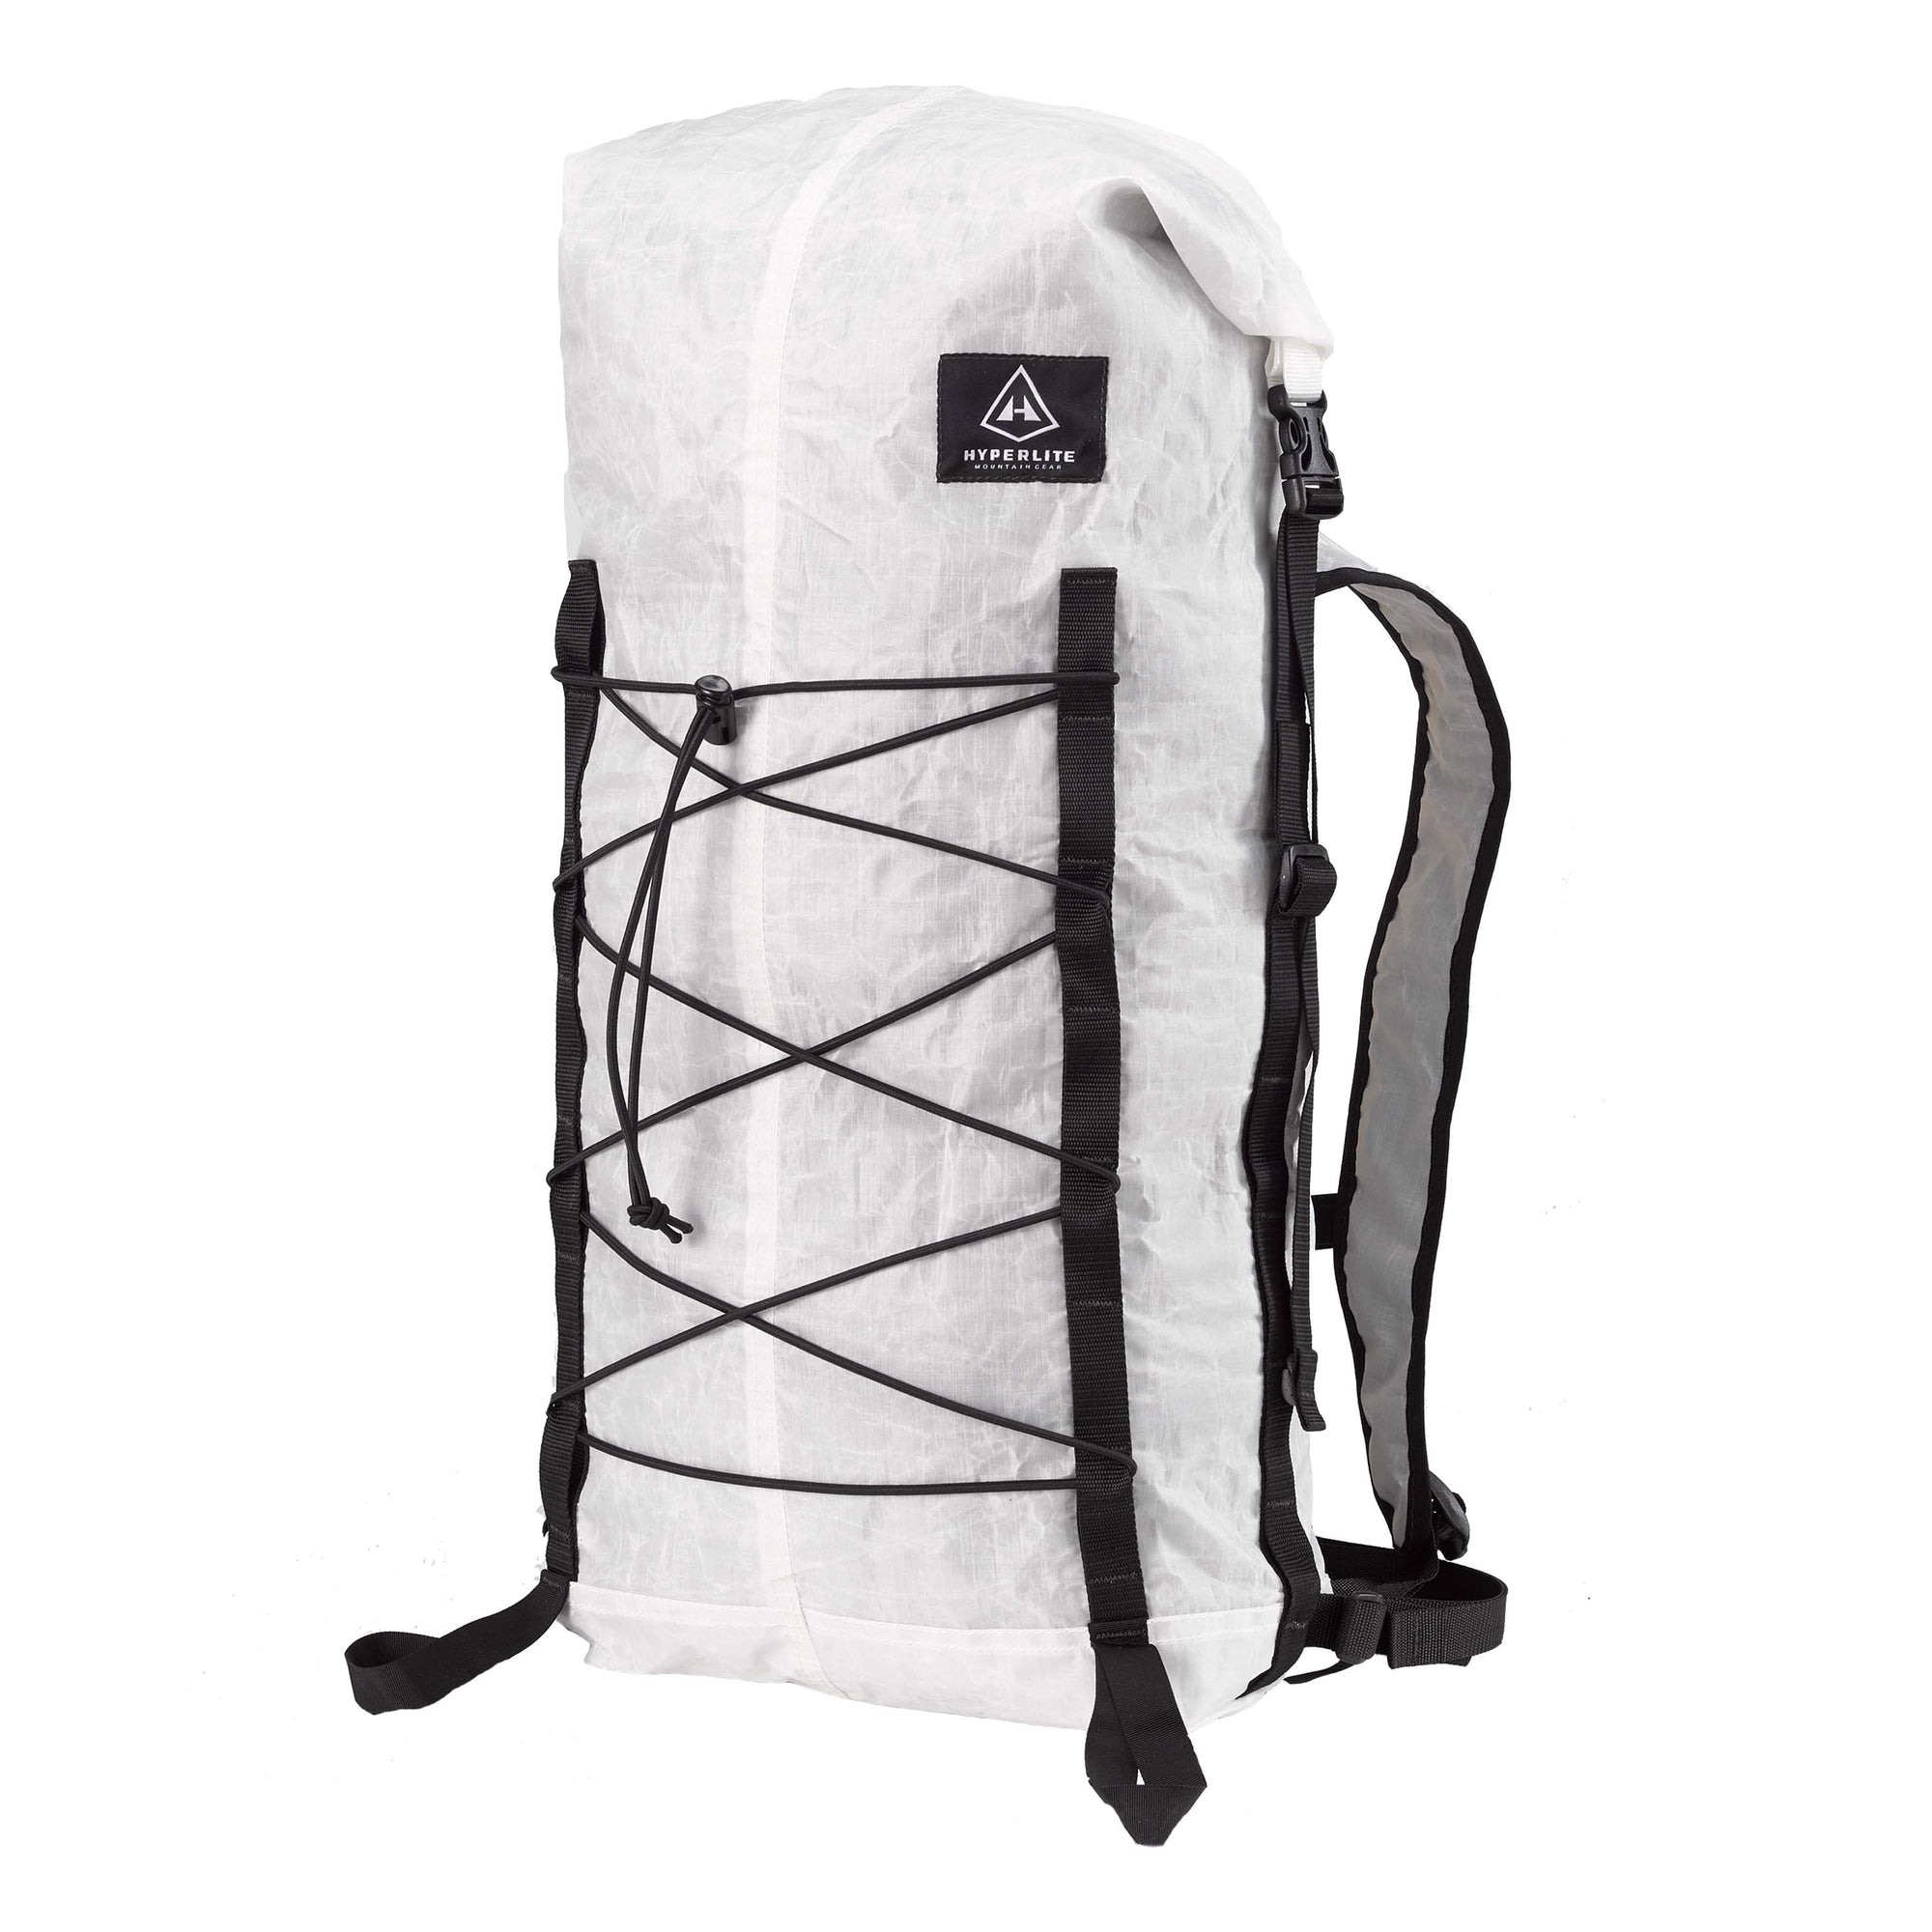
Summit 30
$199.00

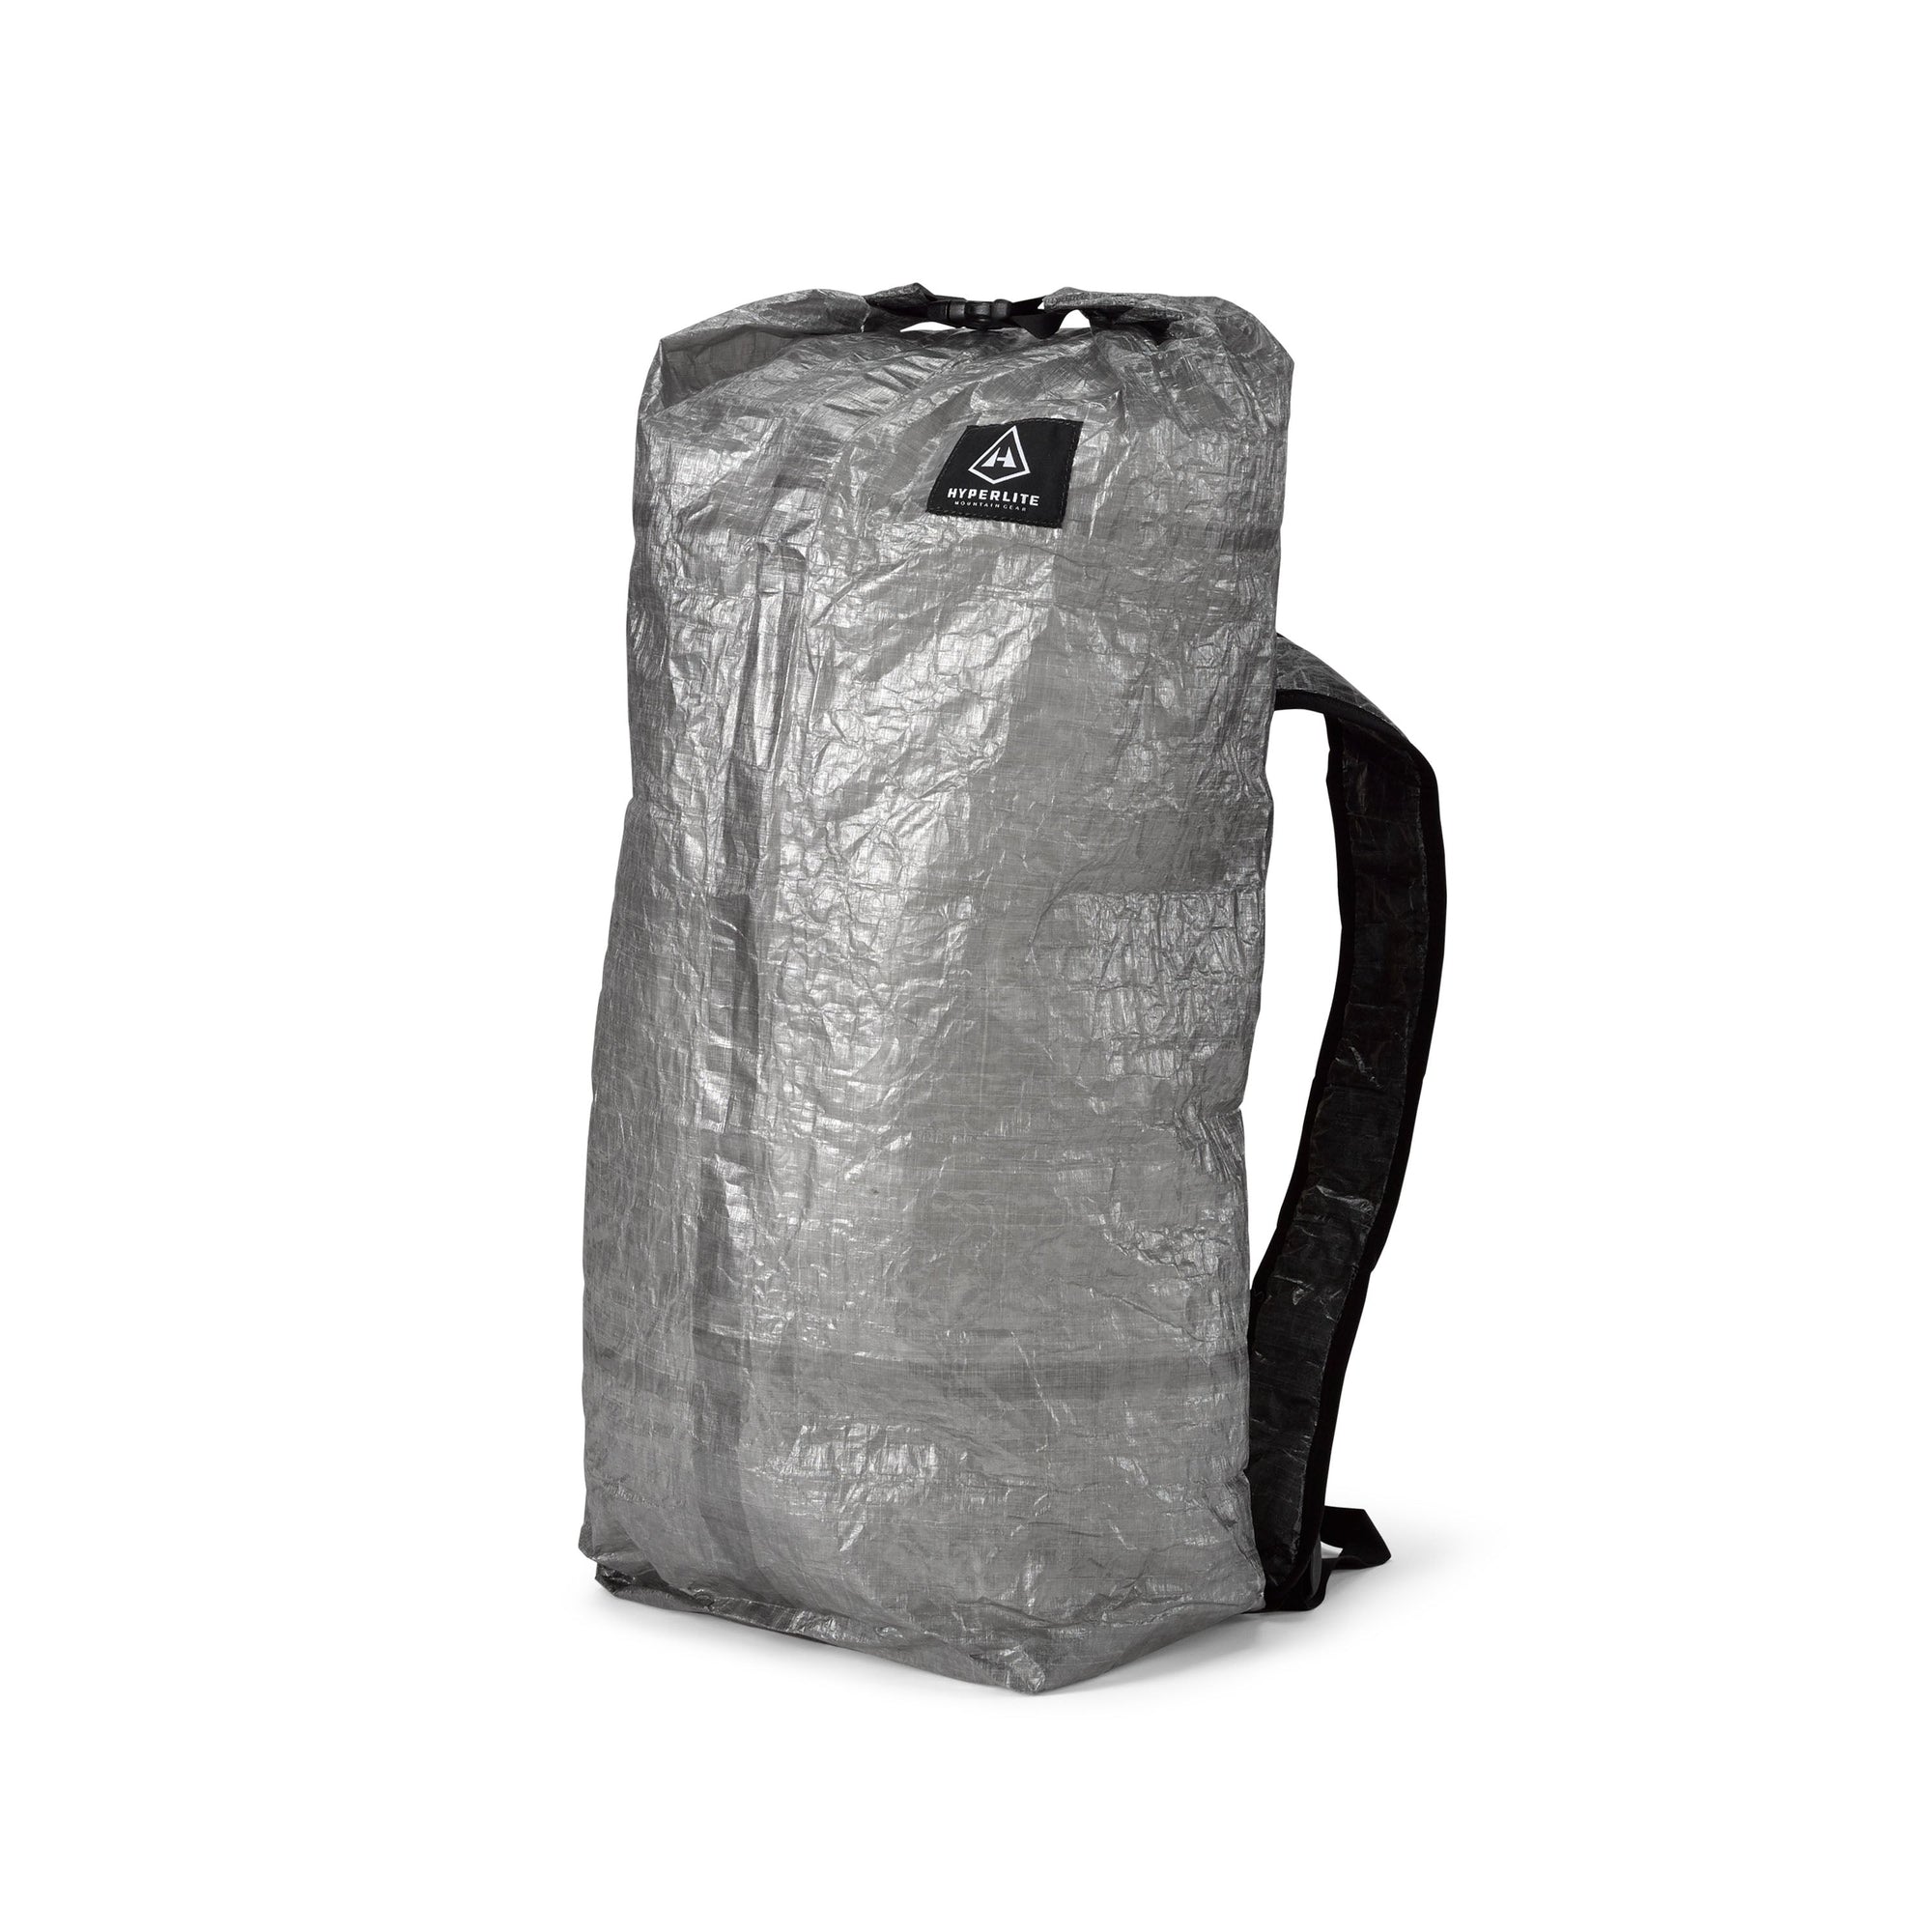
Stuff Pack 30
$129.00

Daybreak 17
$229.00

Porter 85
$475.00

NorthRim 55
$450.00

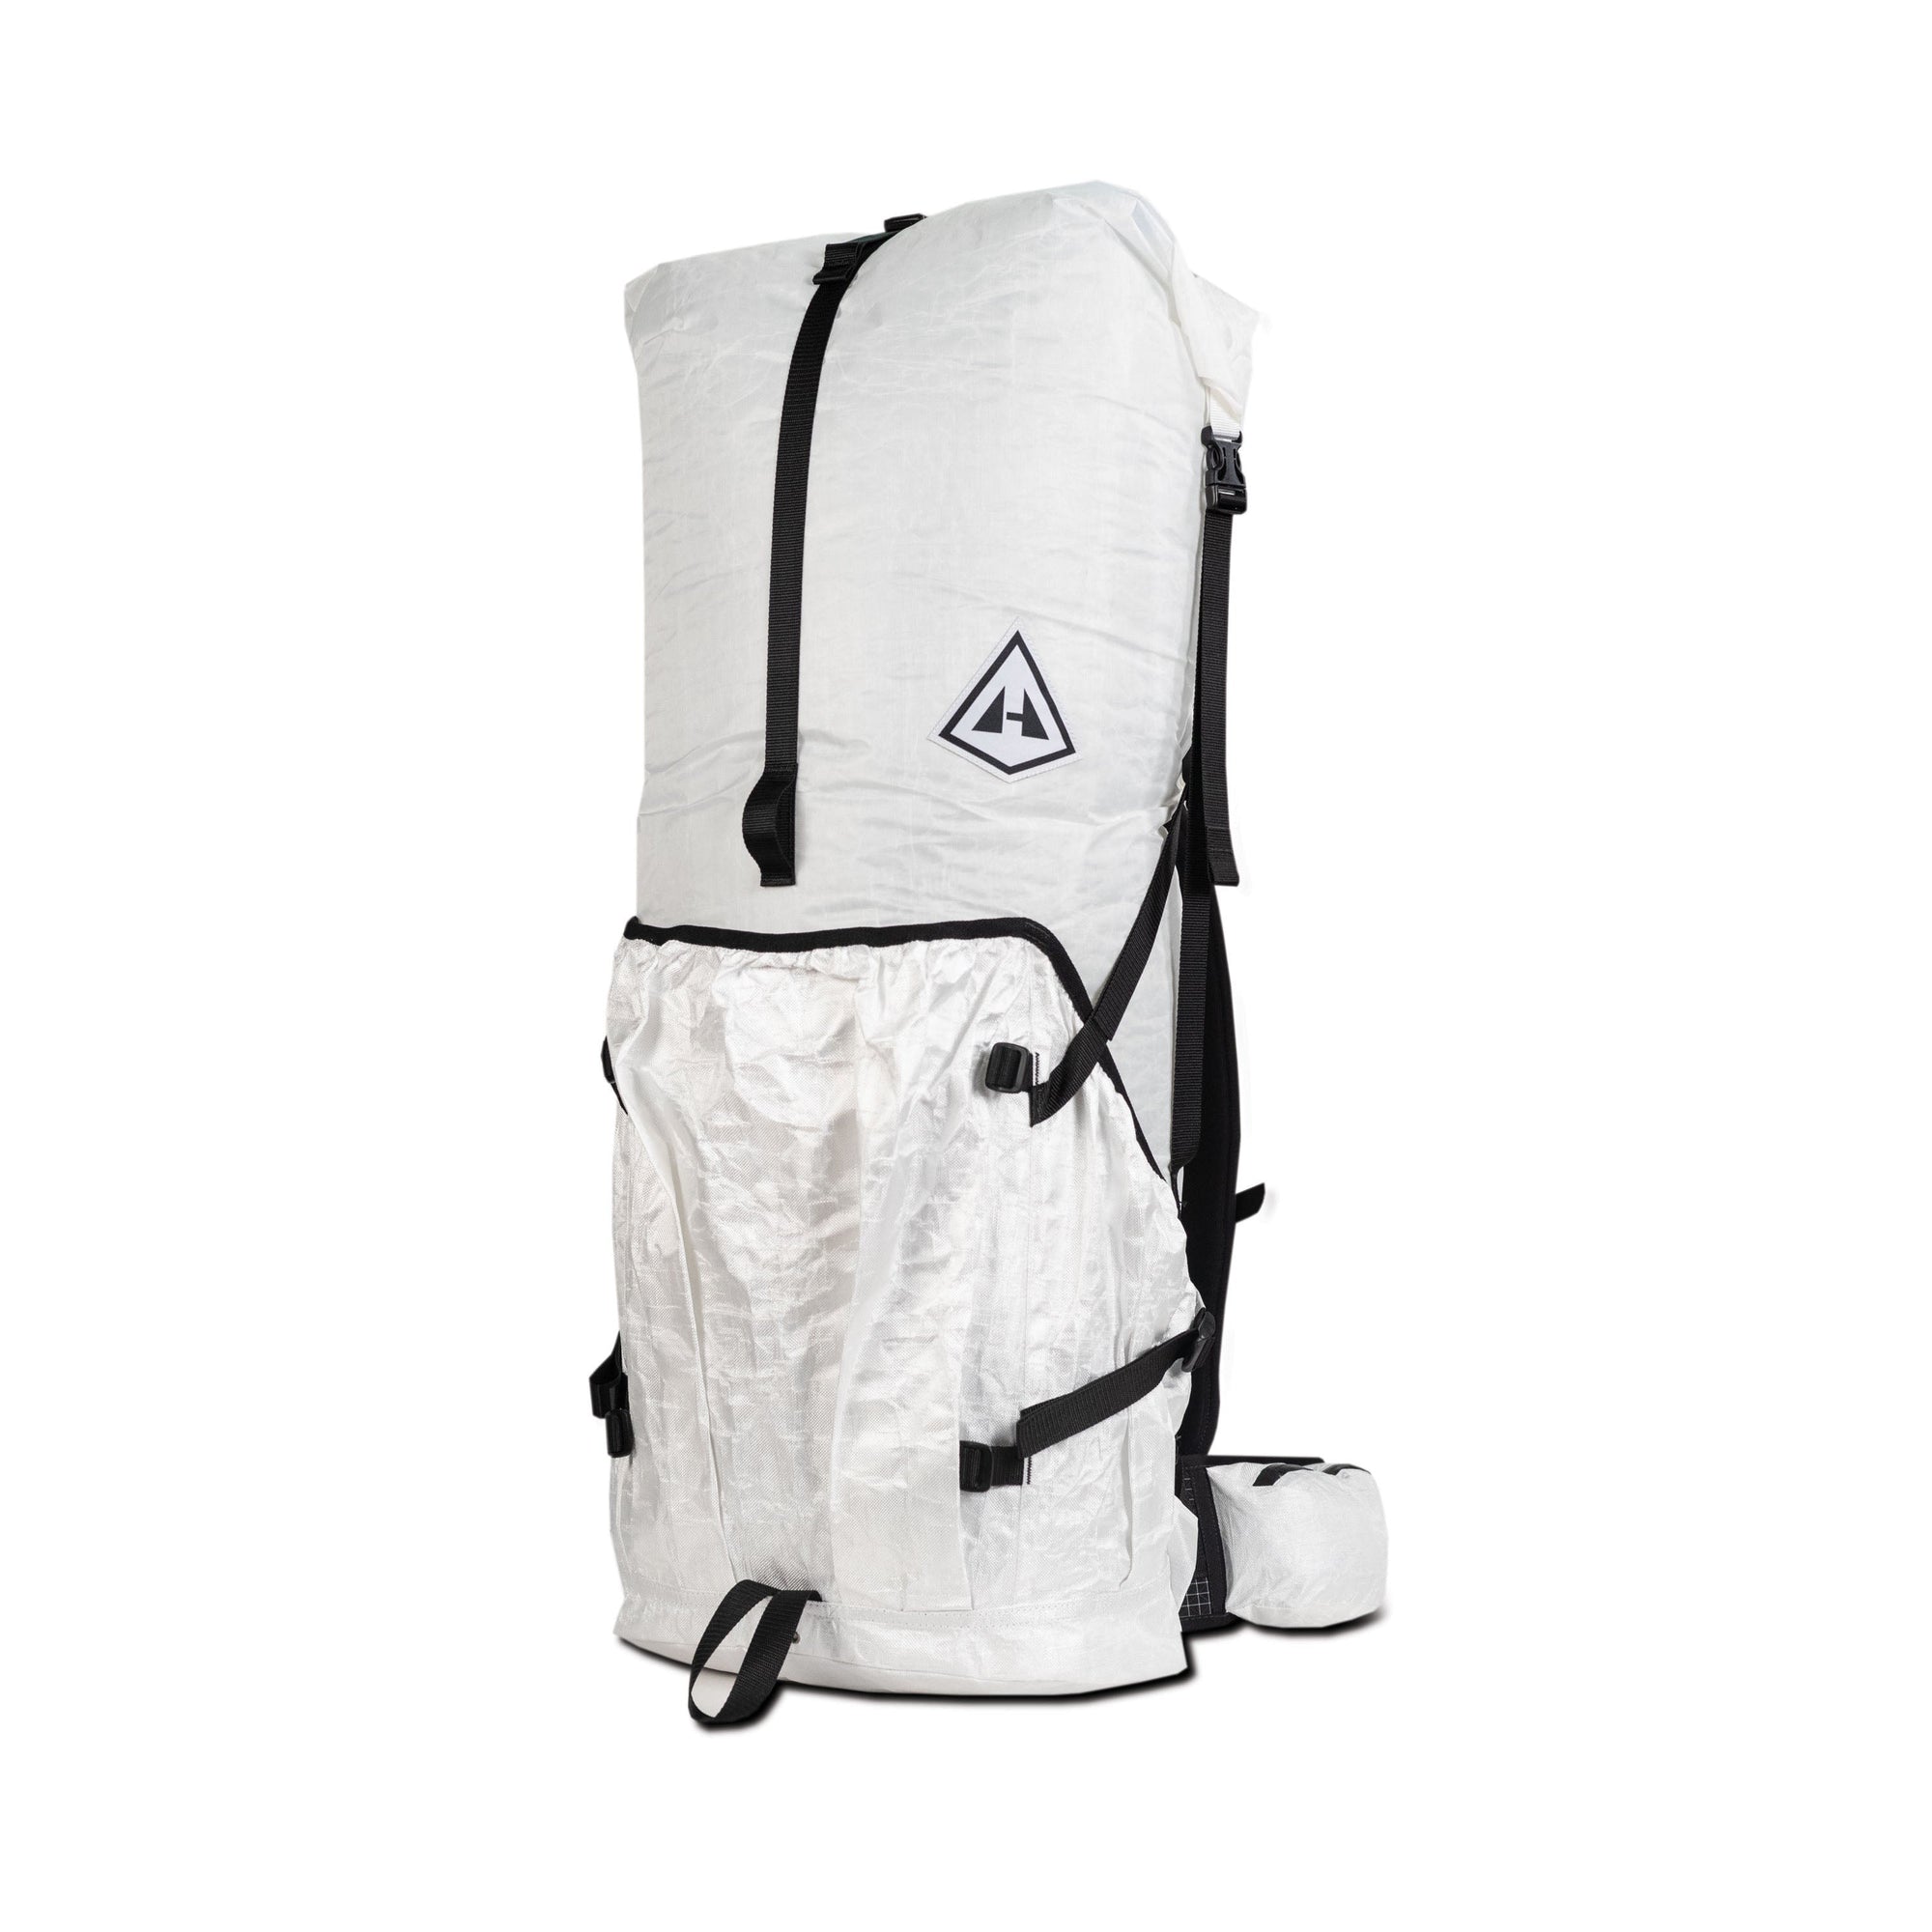
NorthRim 70
$475.00

Prism 40
$425.00

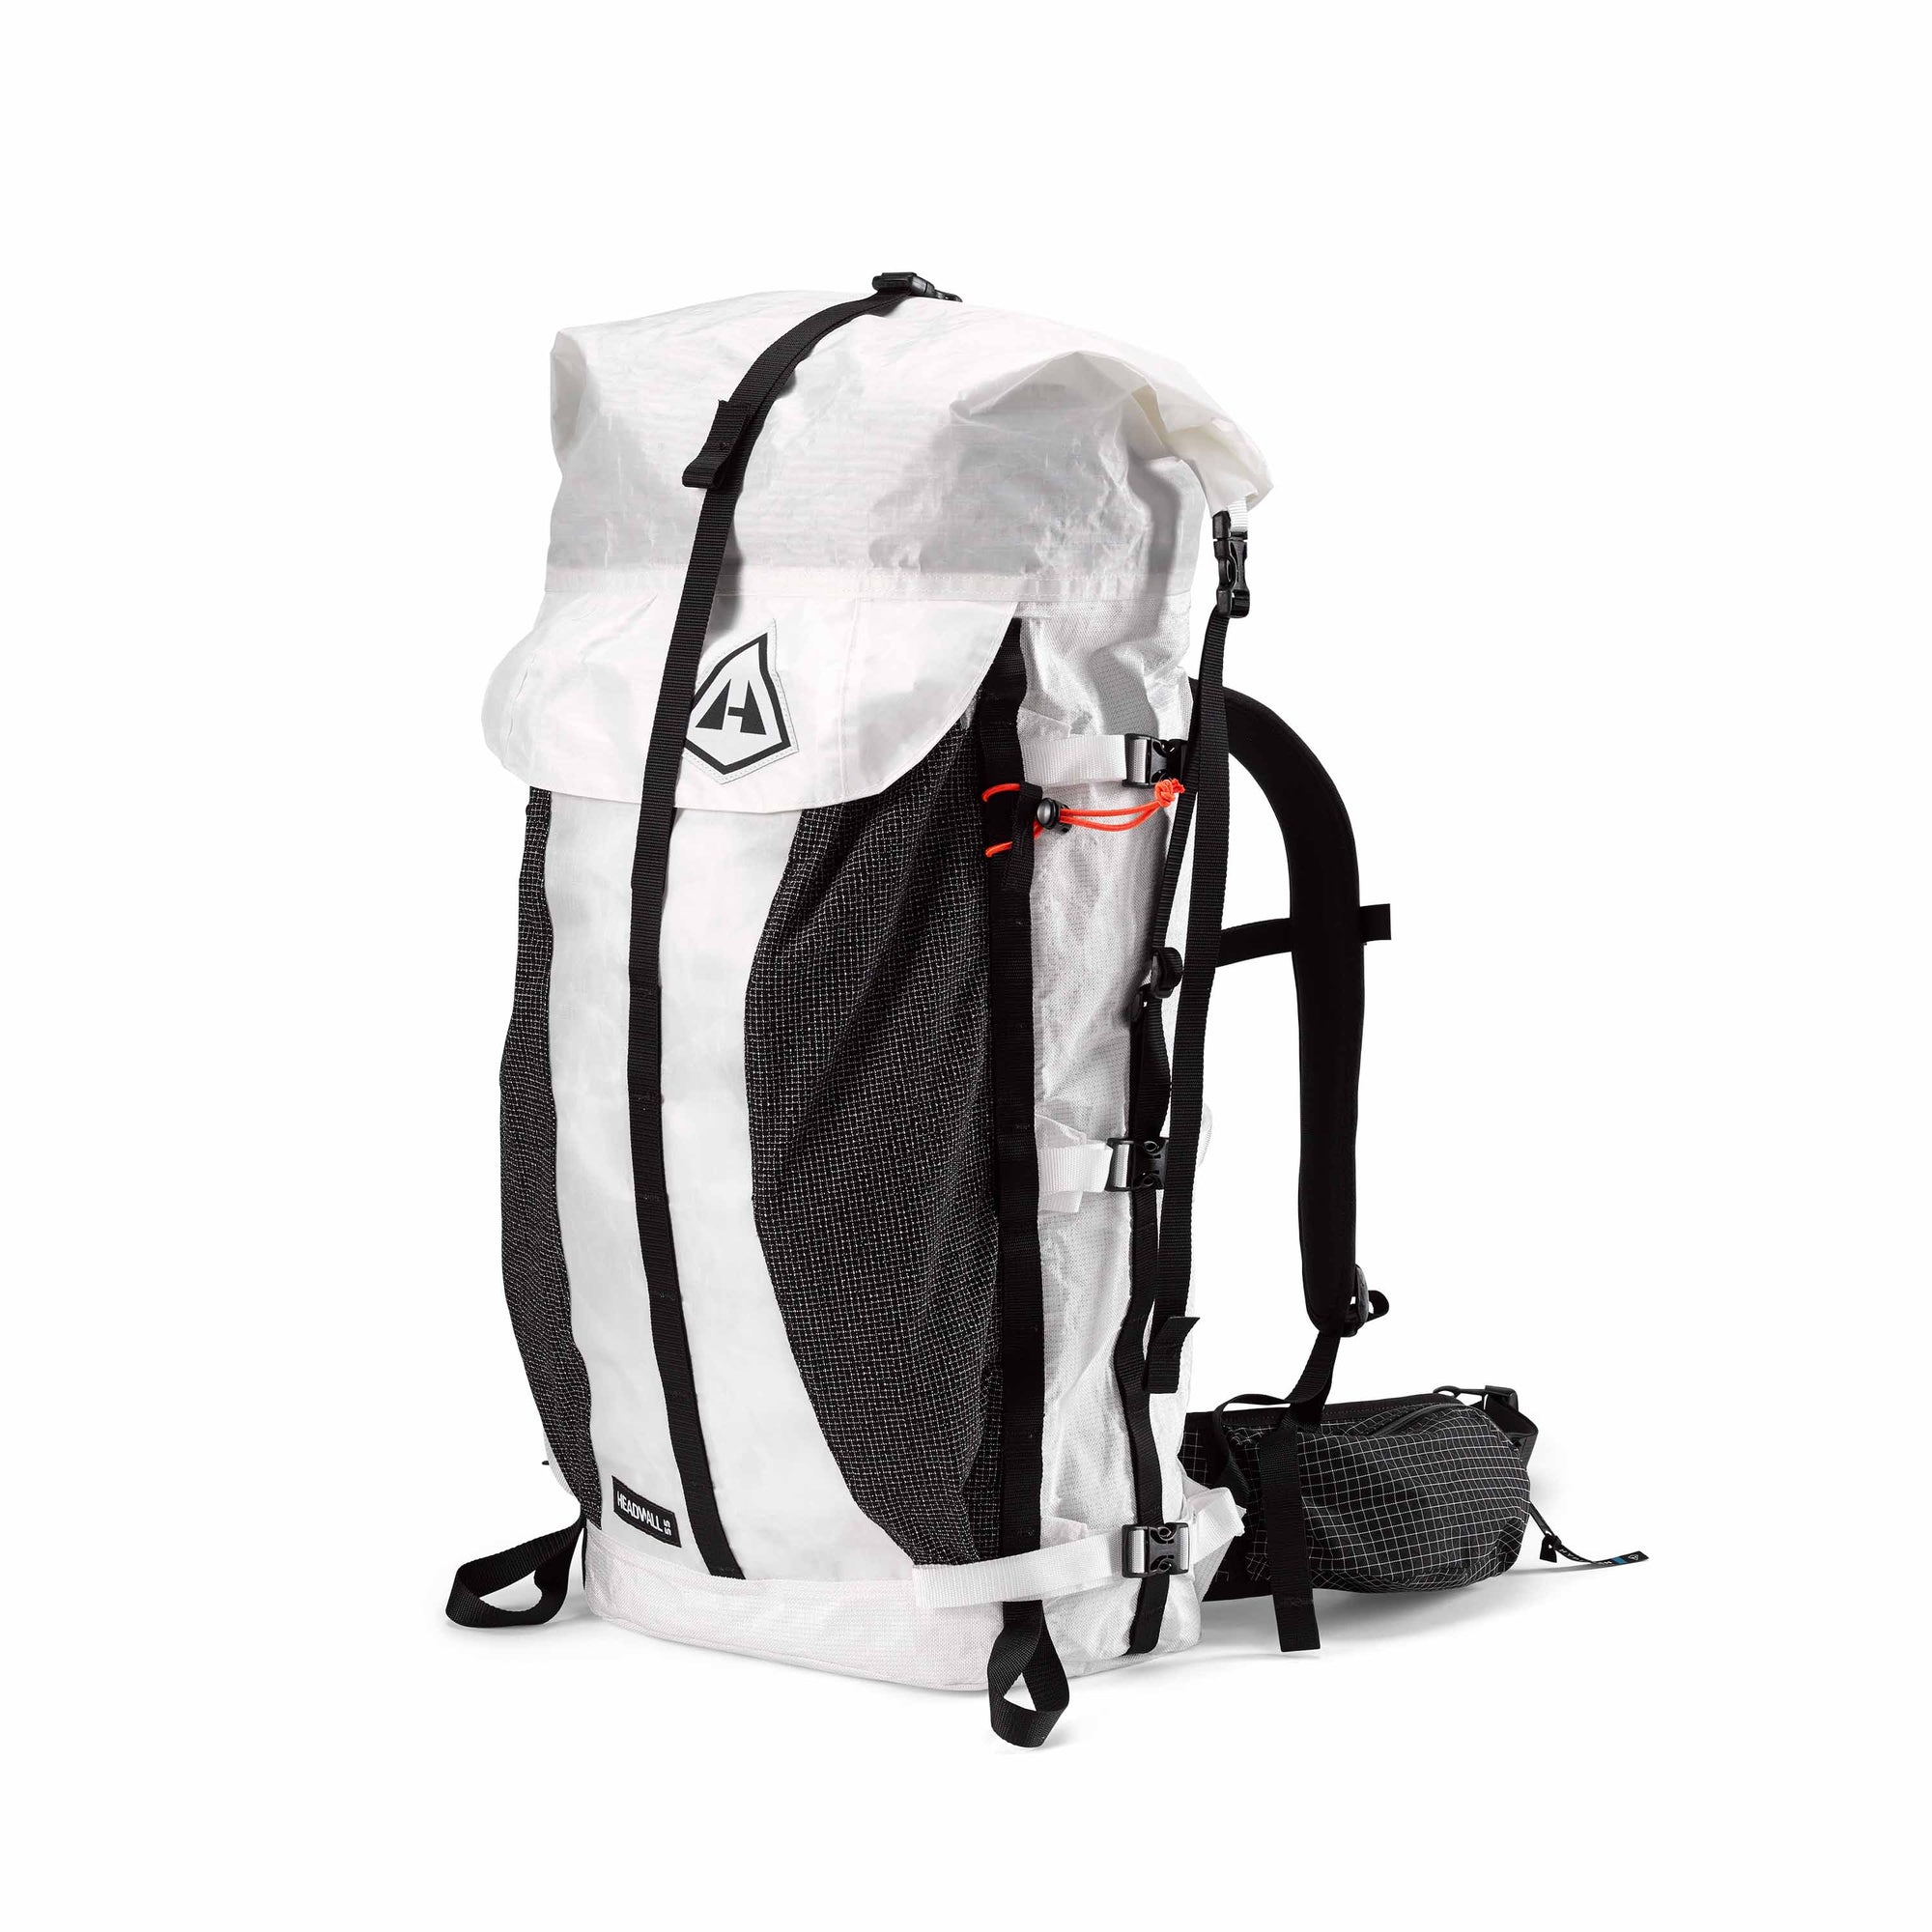
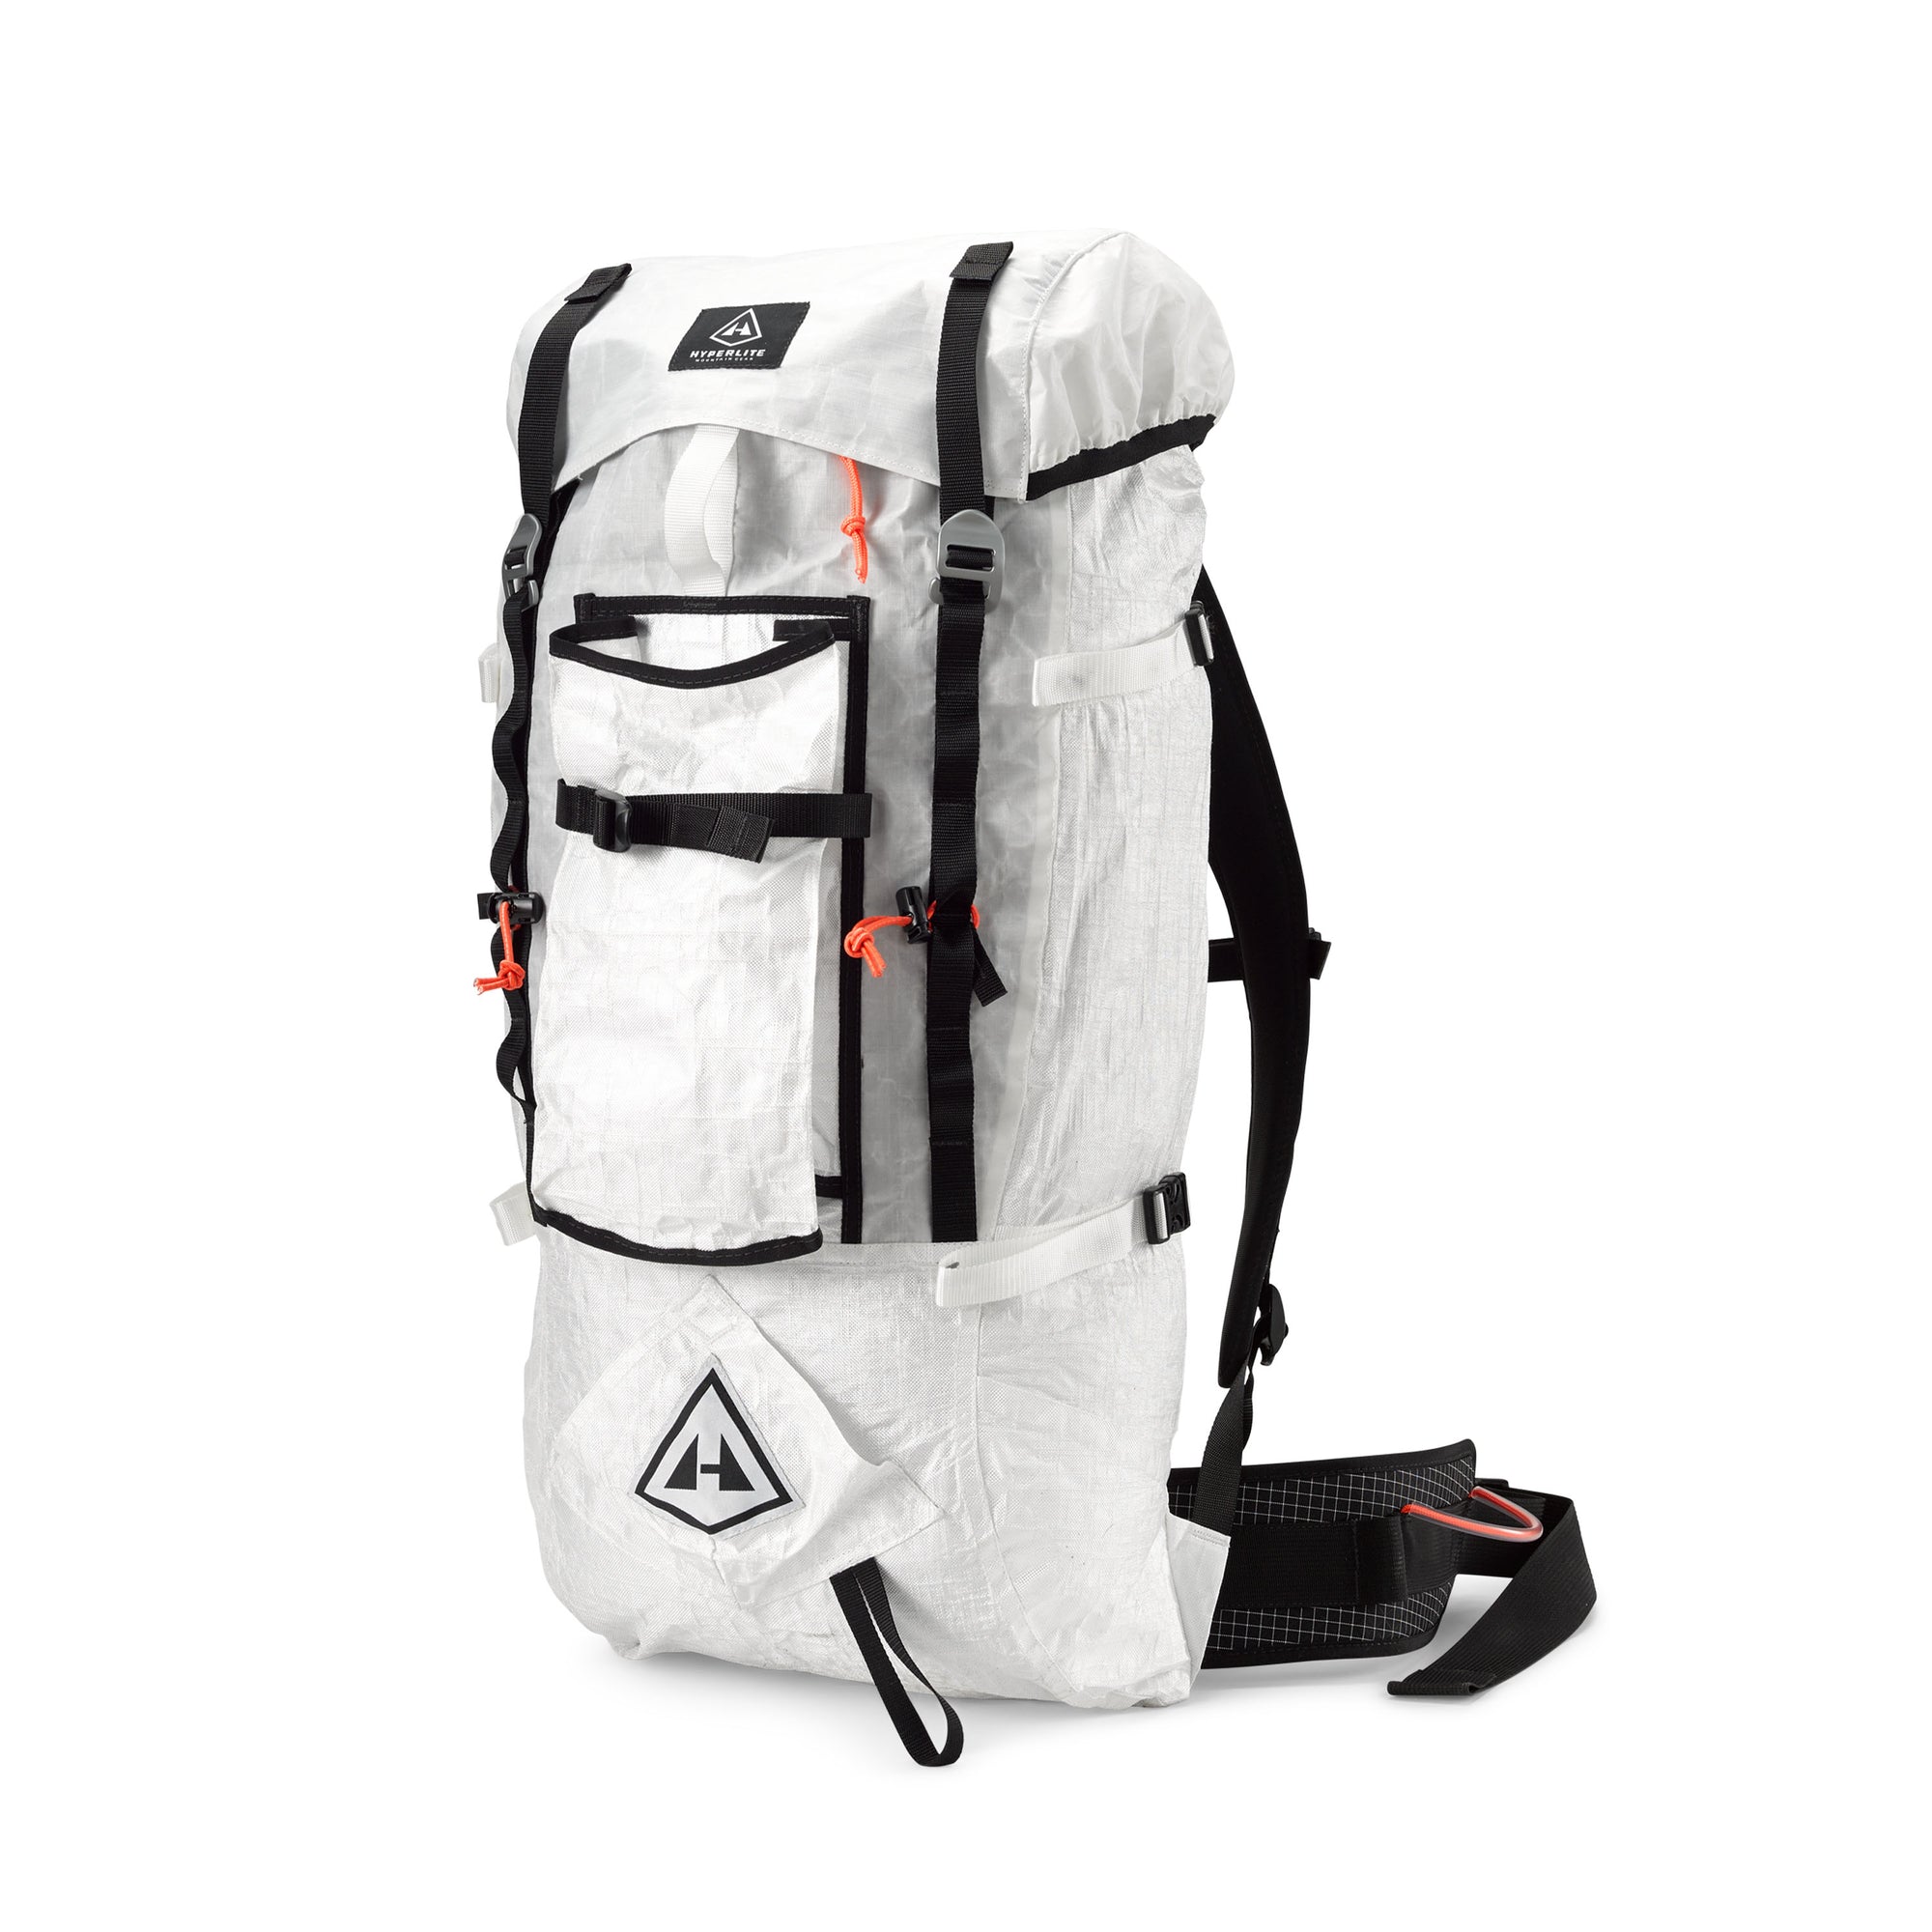
Headwall 55
$449.00

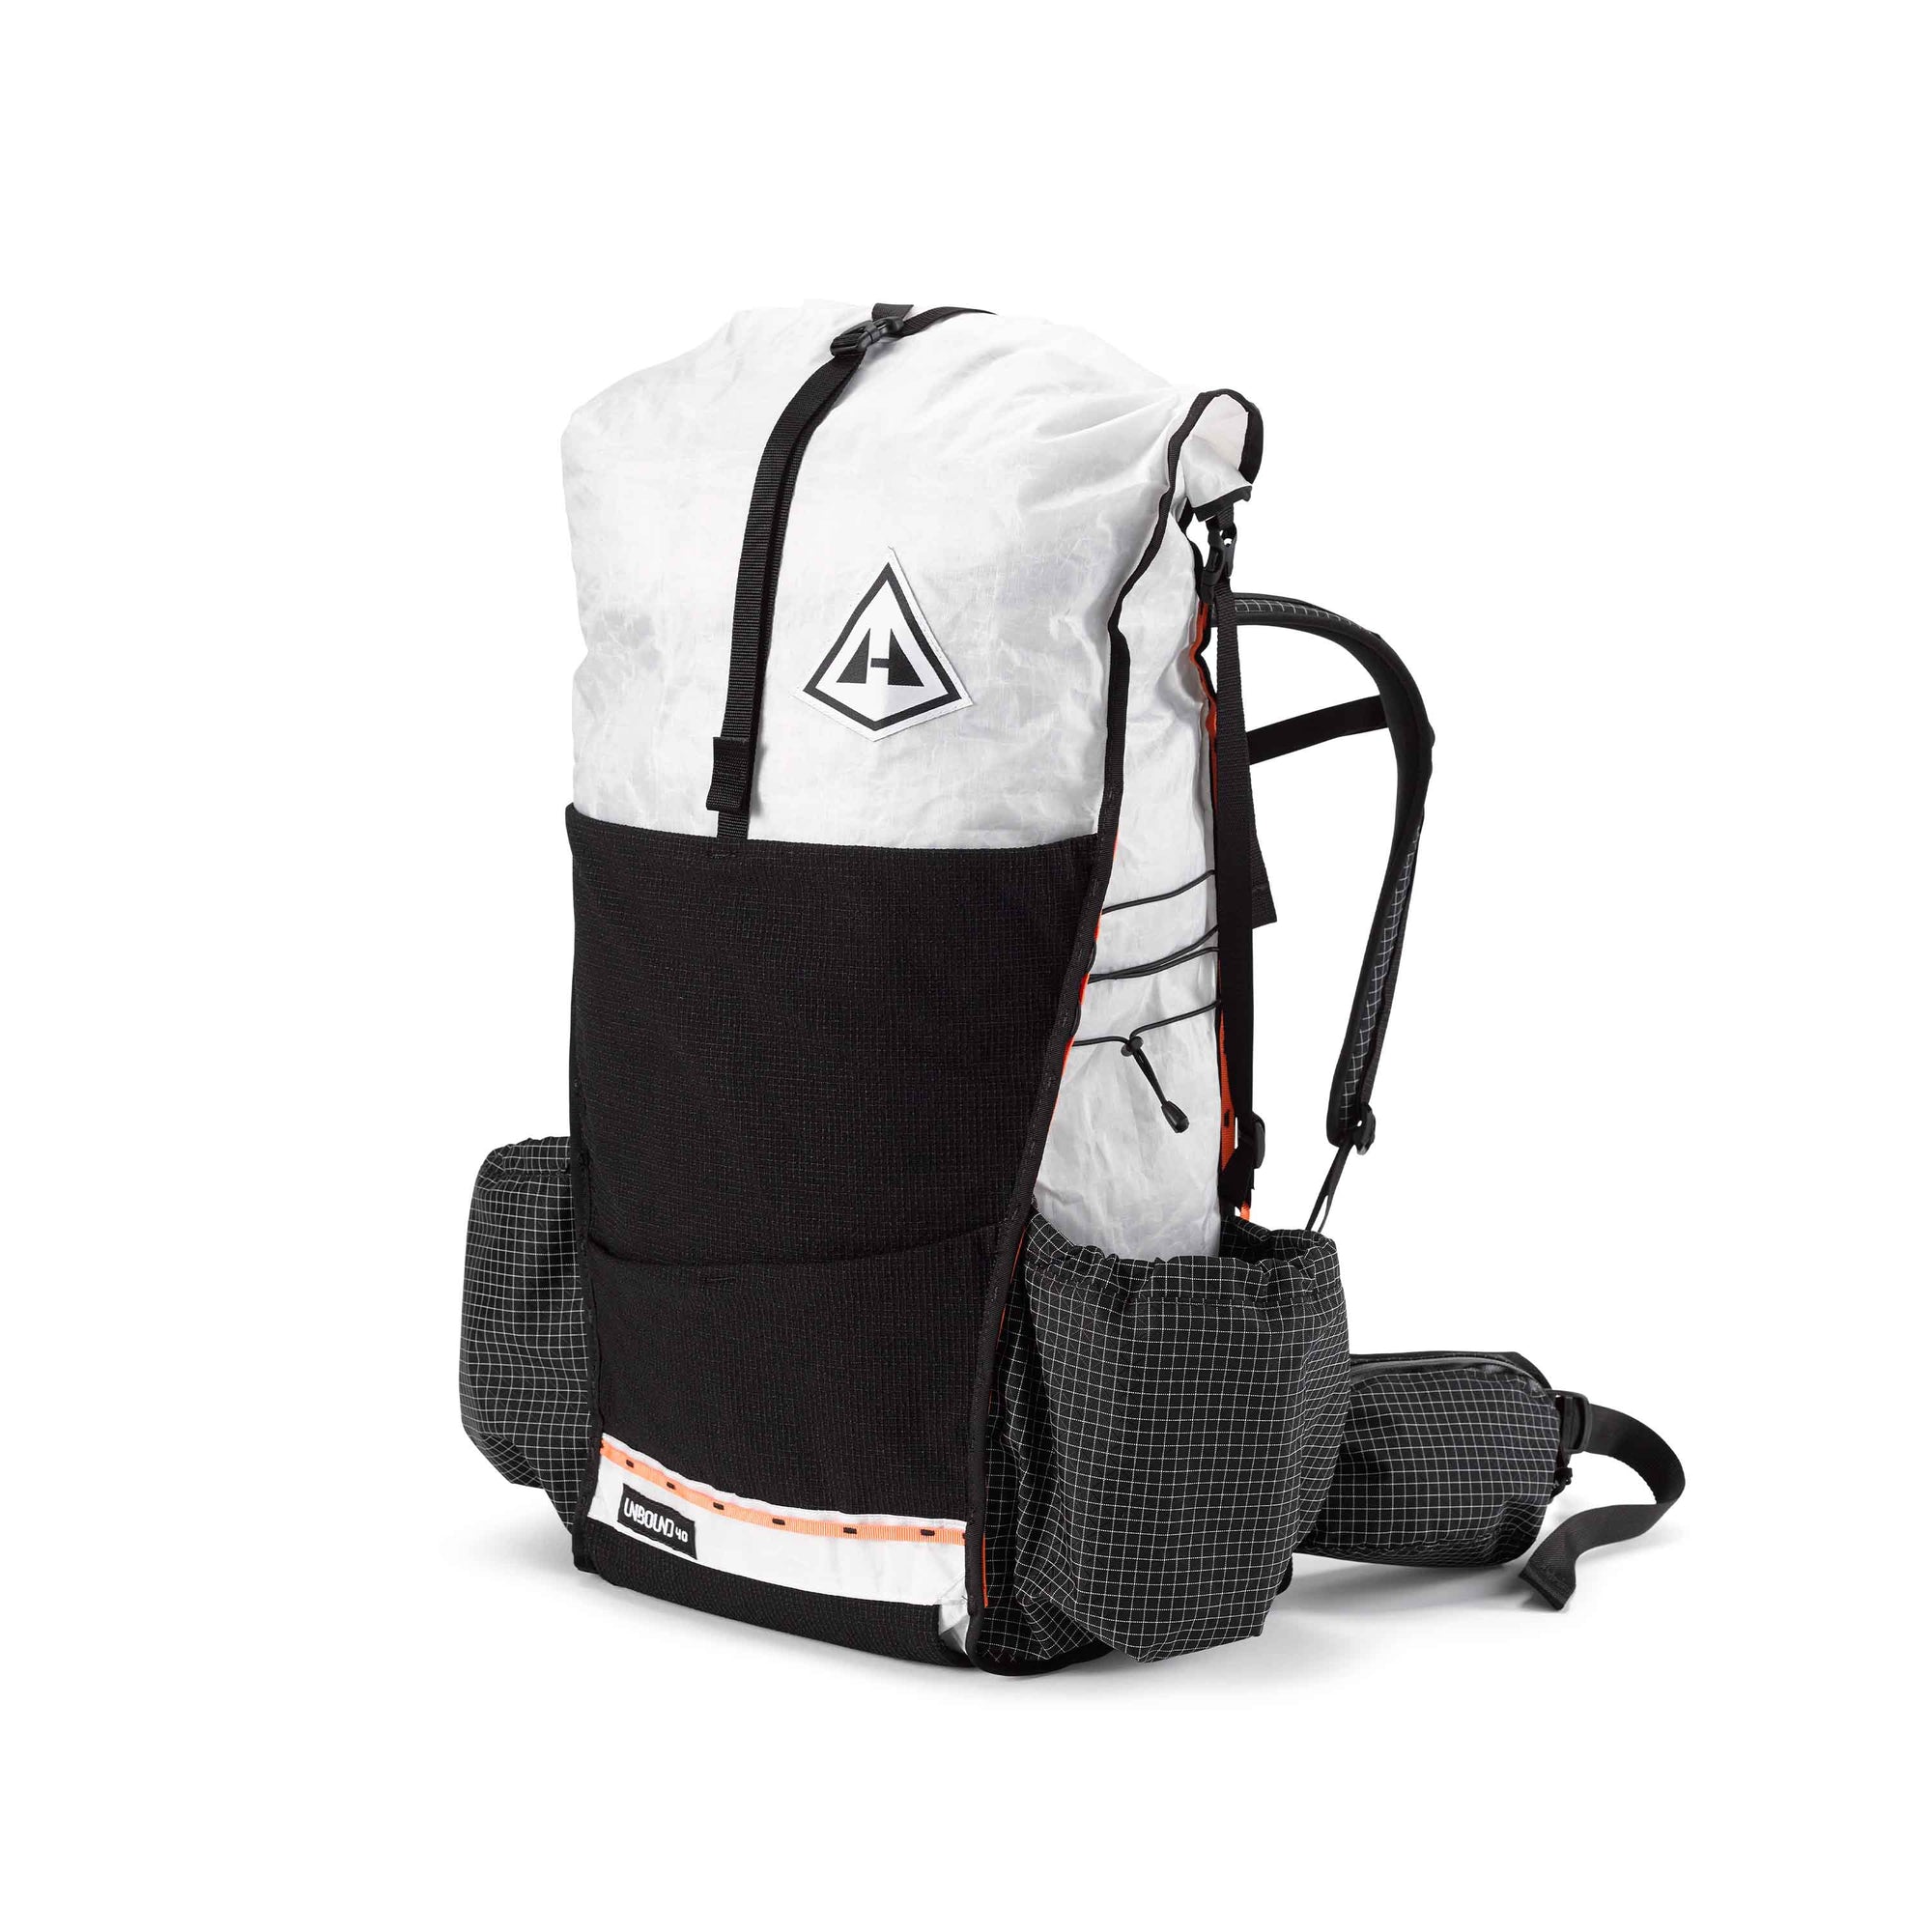
Unbound 40
From $369.00

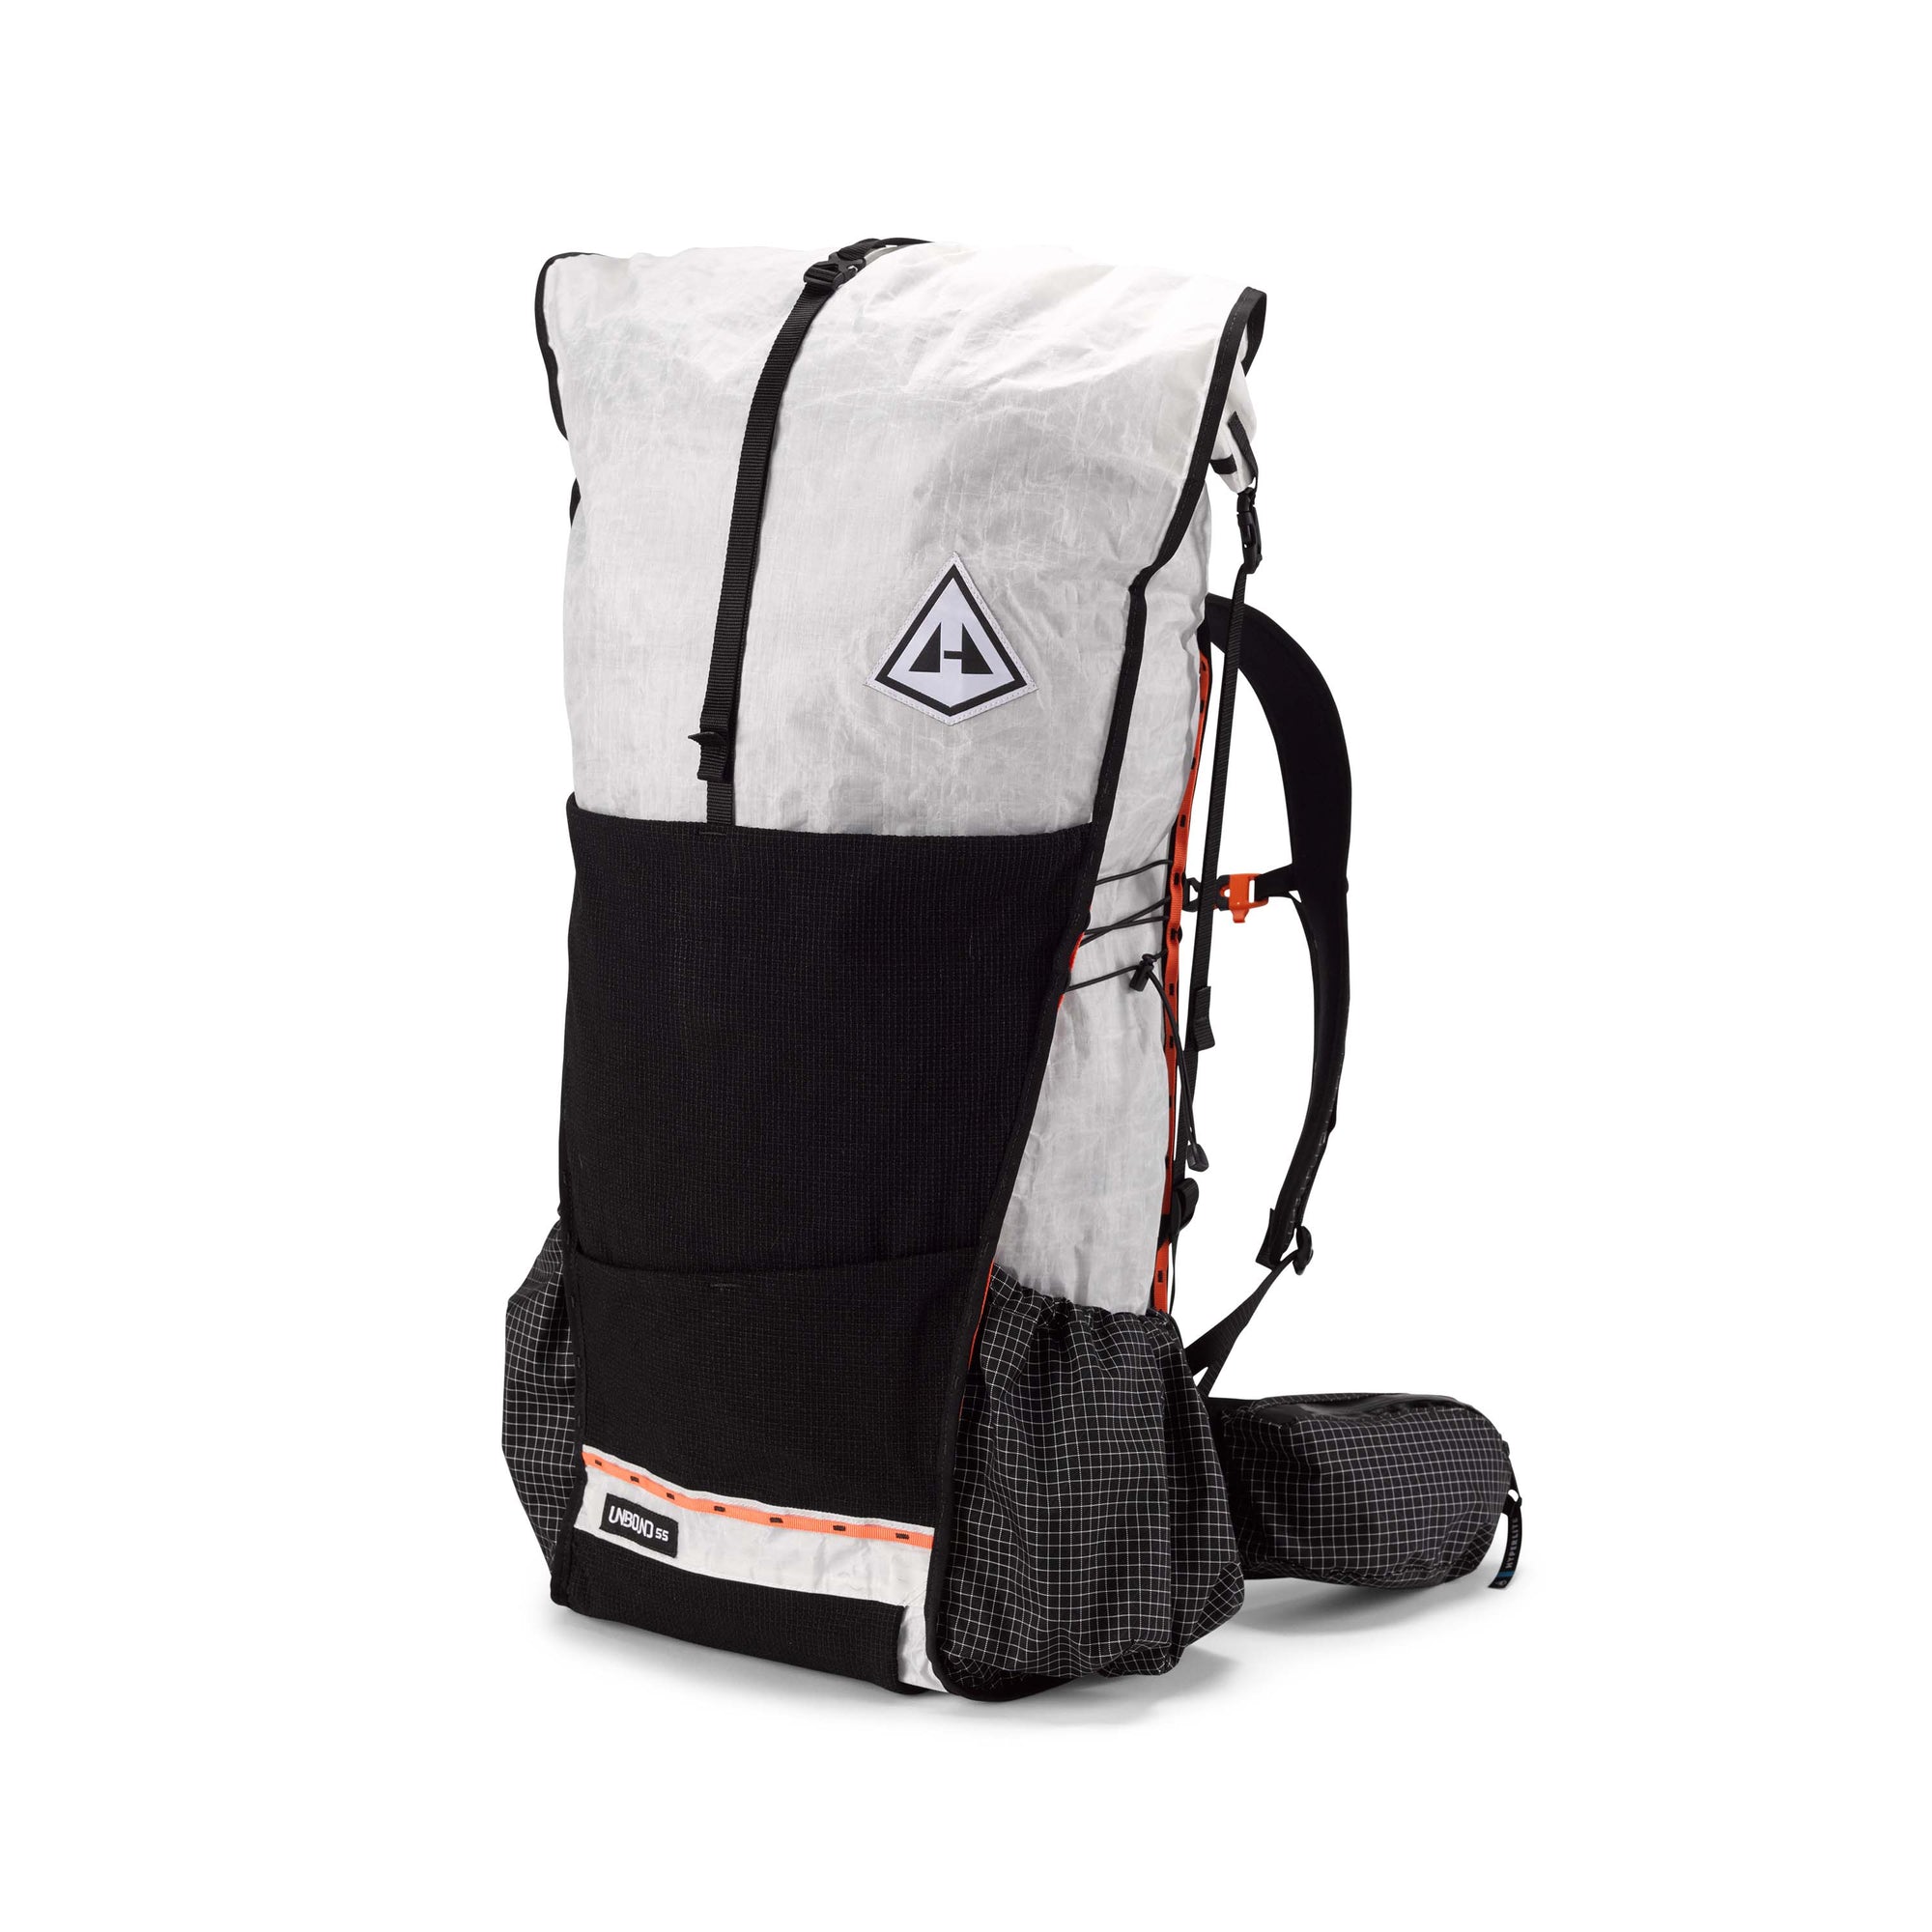
Unbound 55
From $399.00

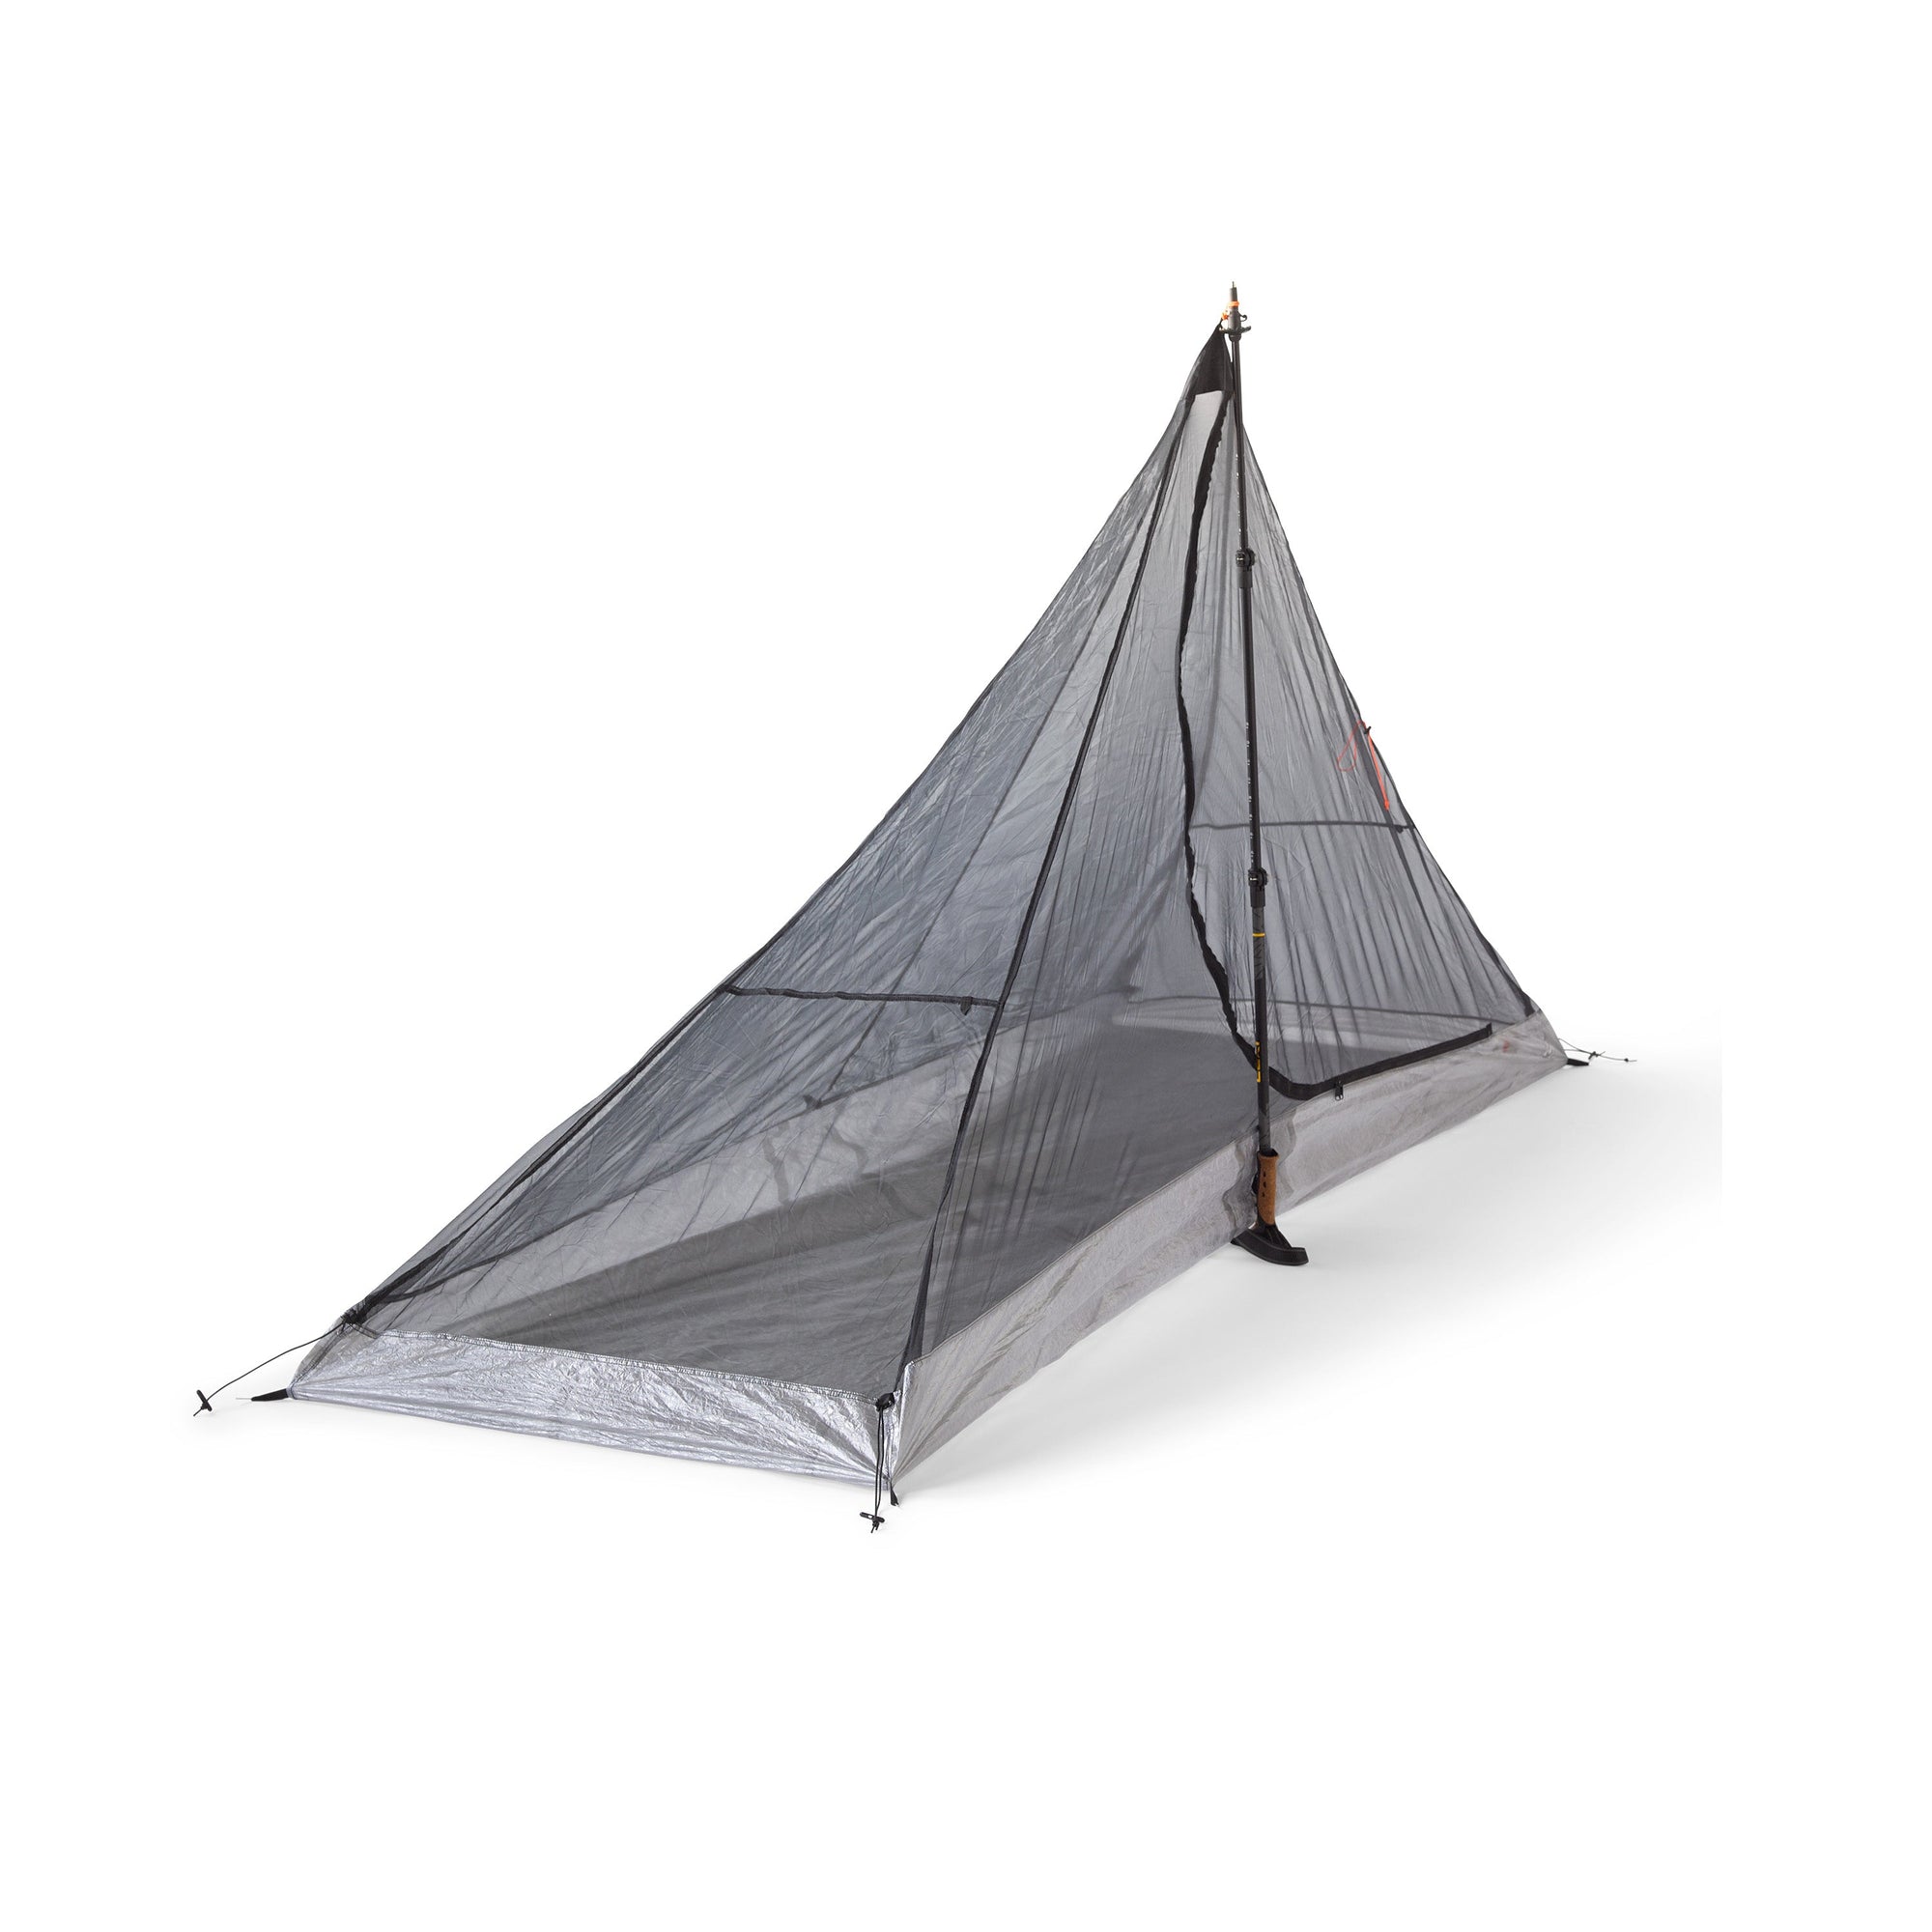
Mid 1 Tarp Insert
$249.00

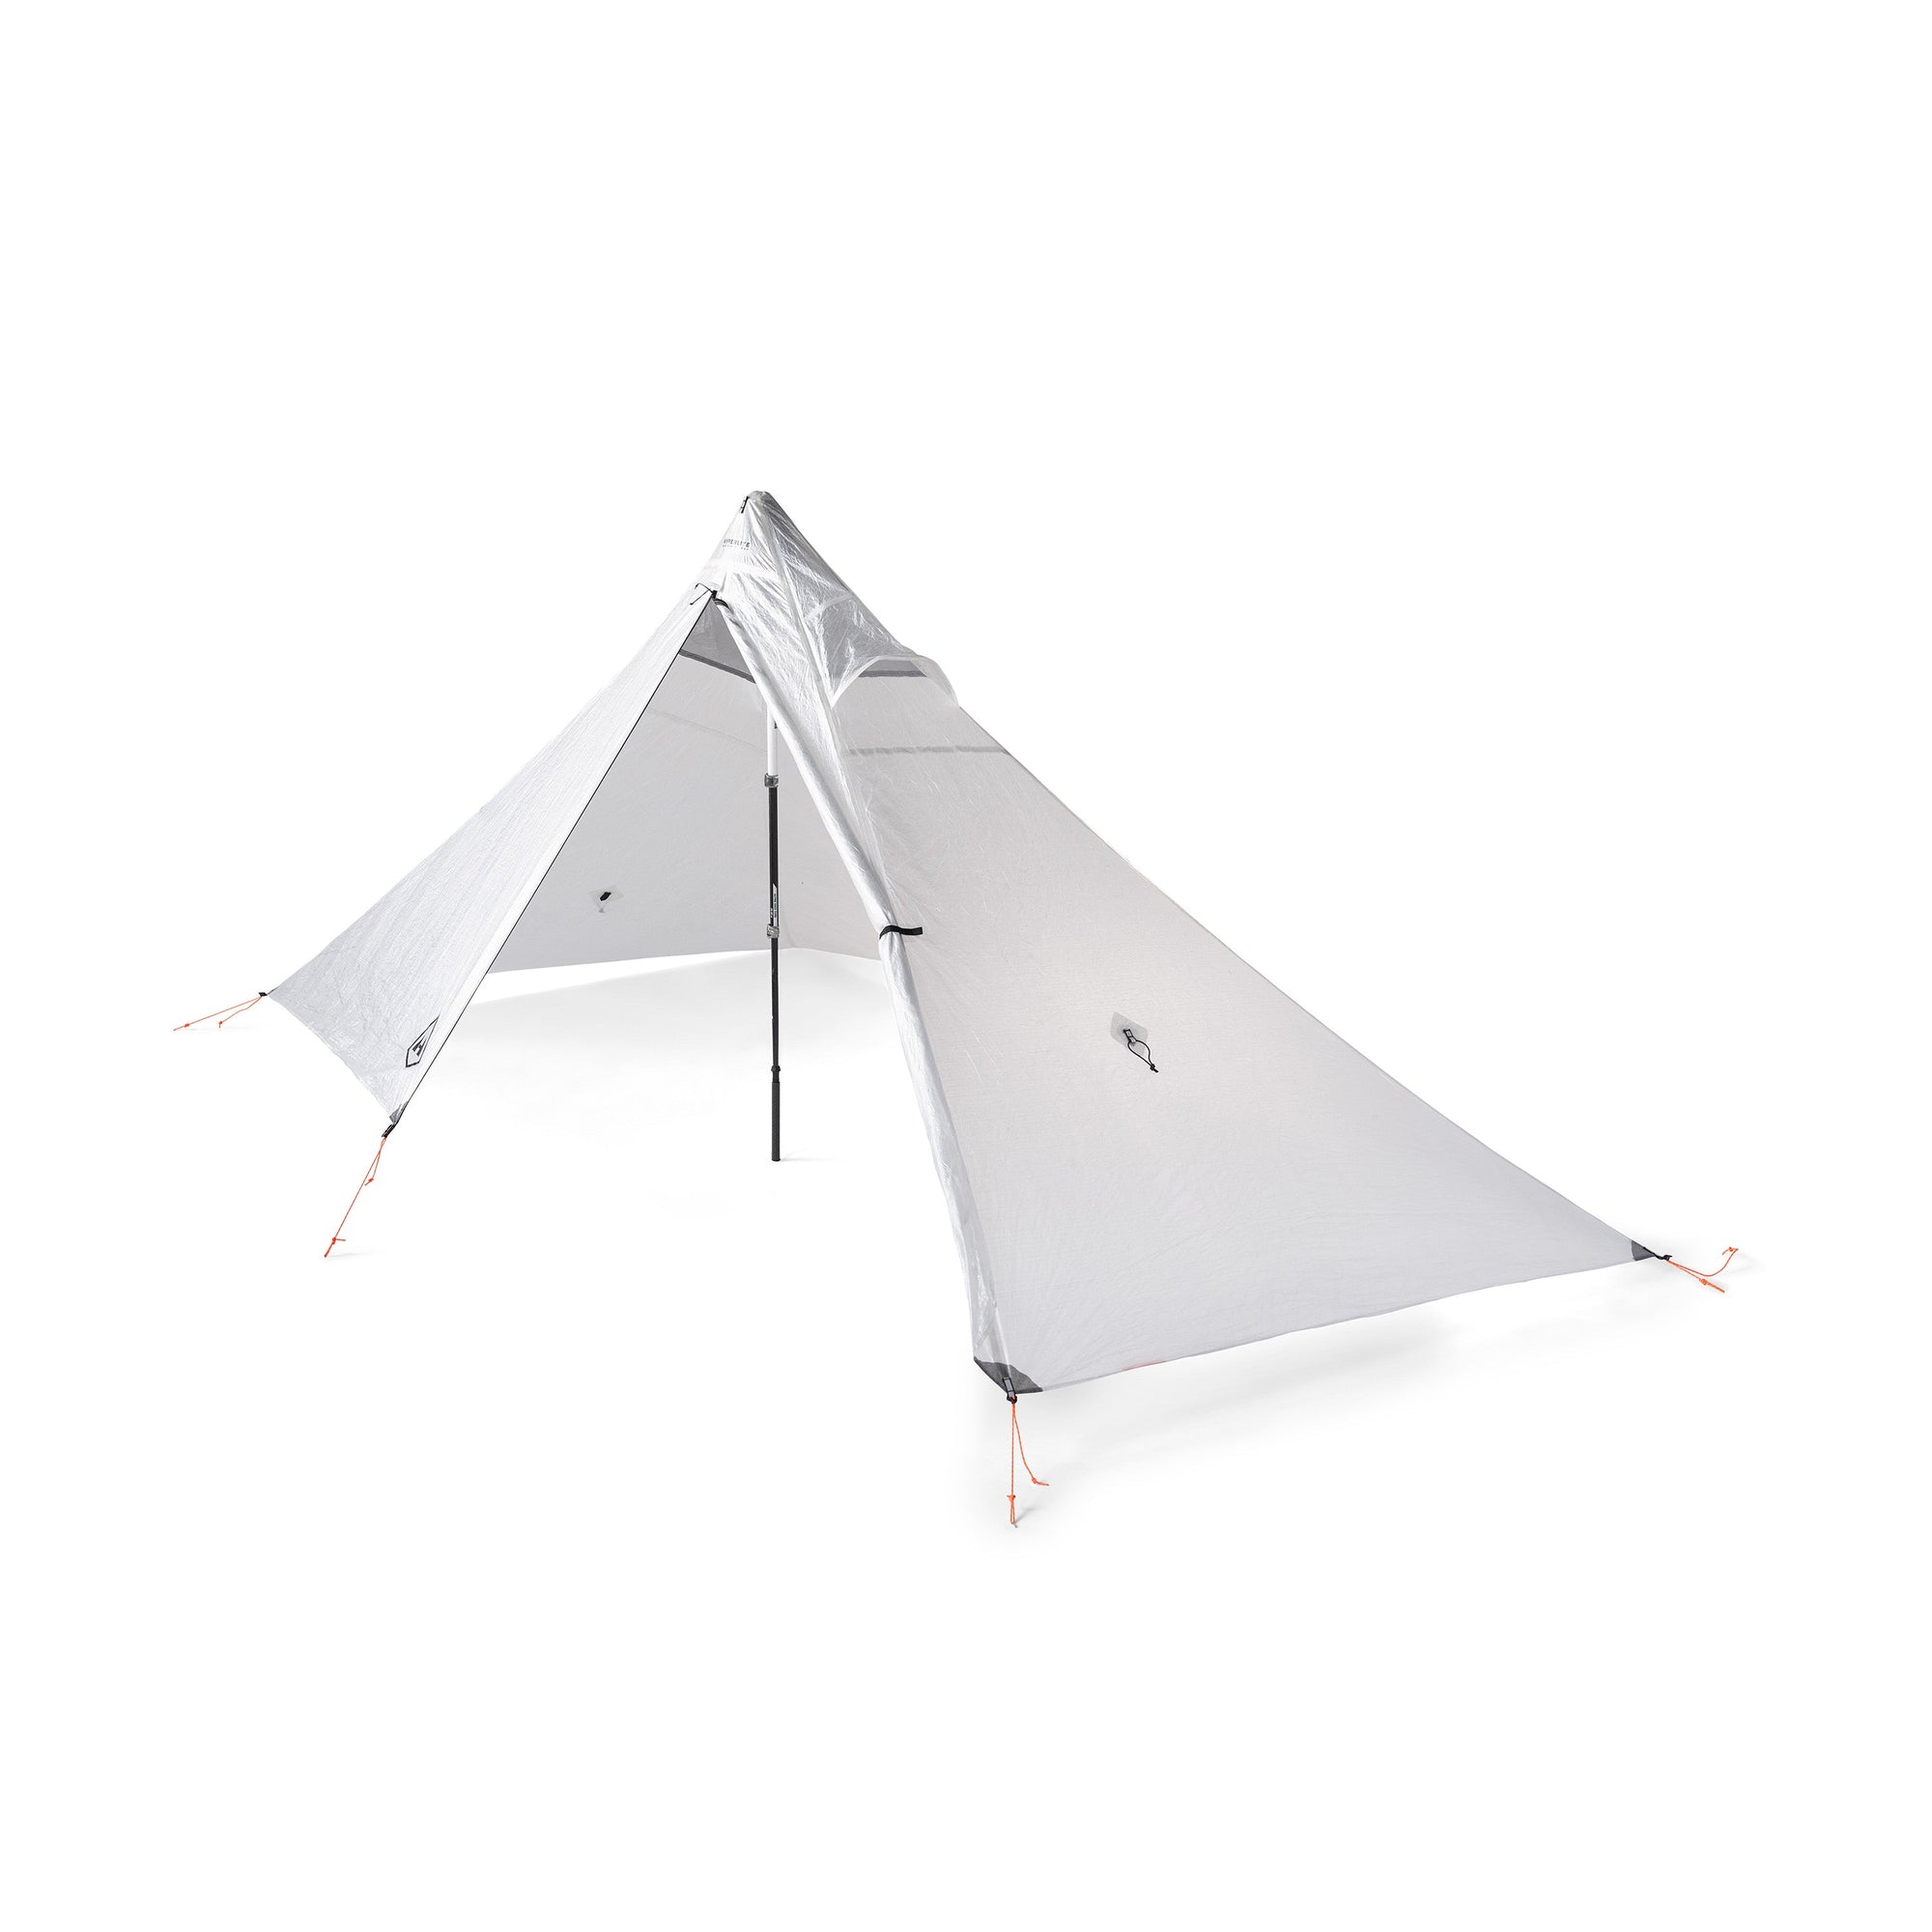
Mid 1 Tarp
$479.00

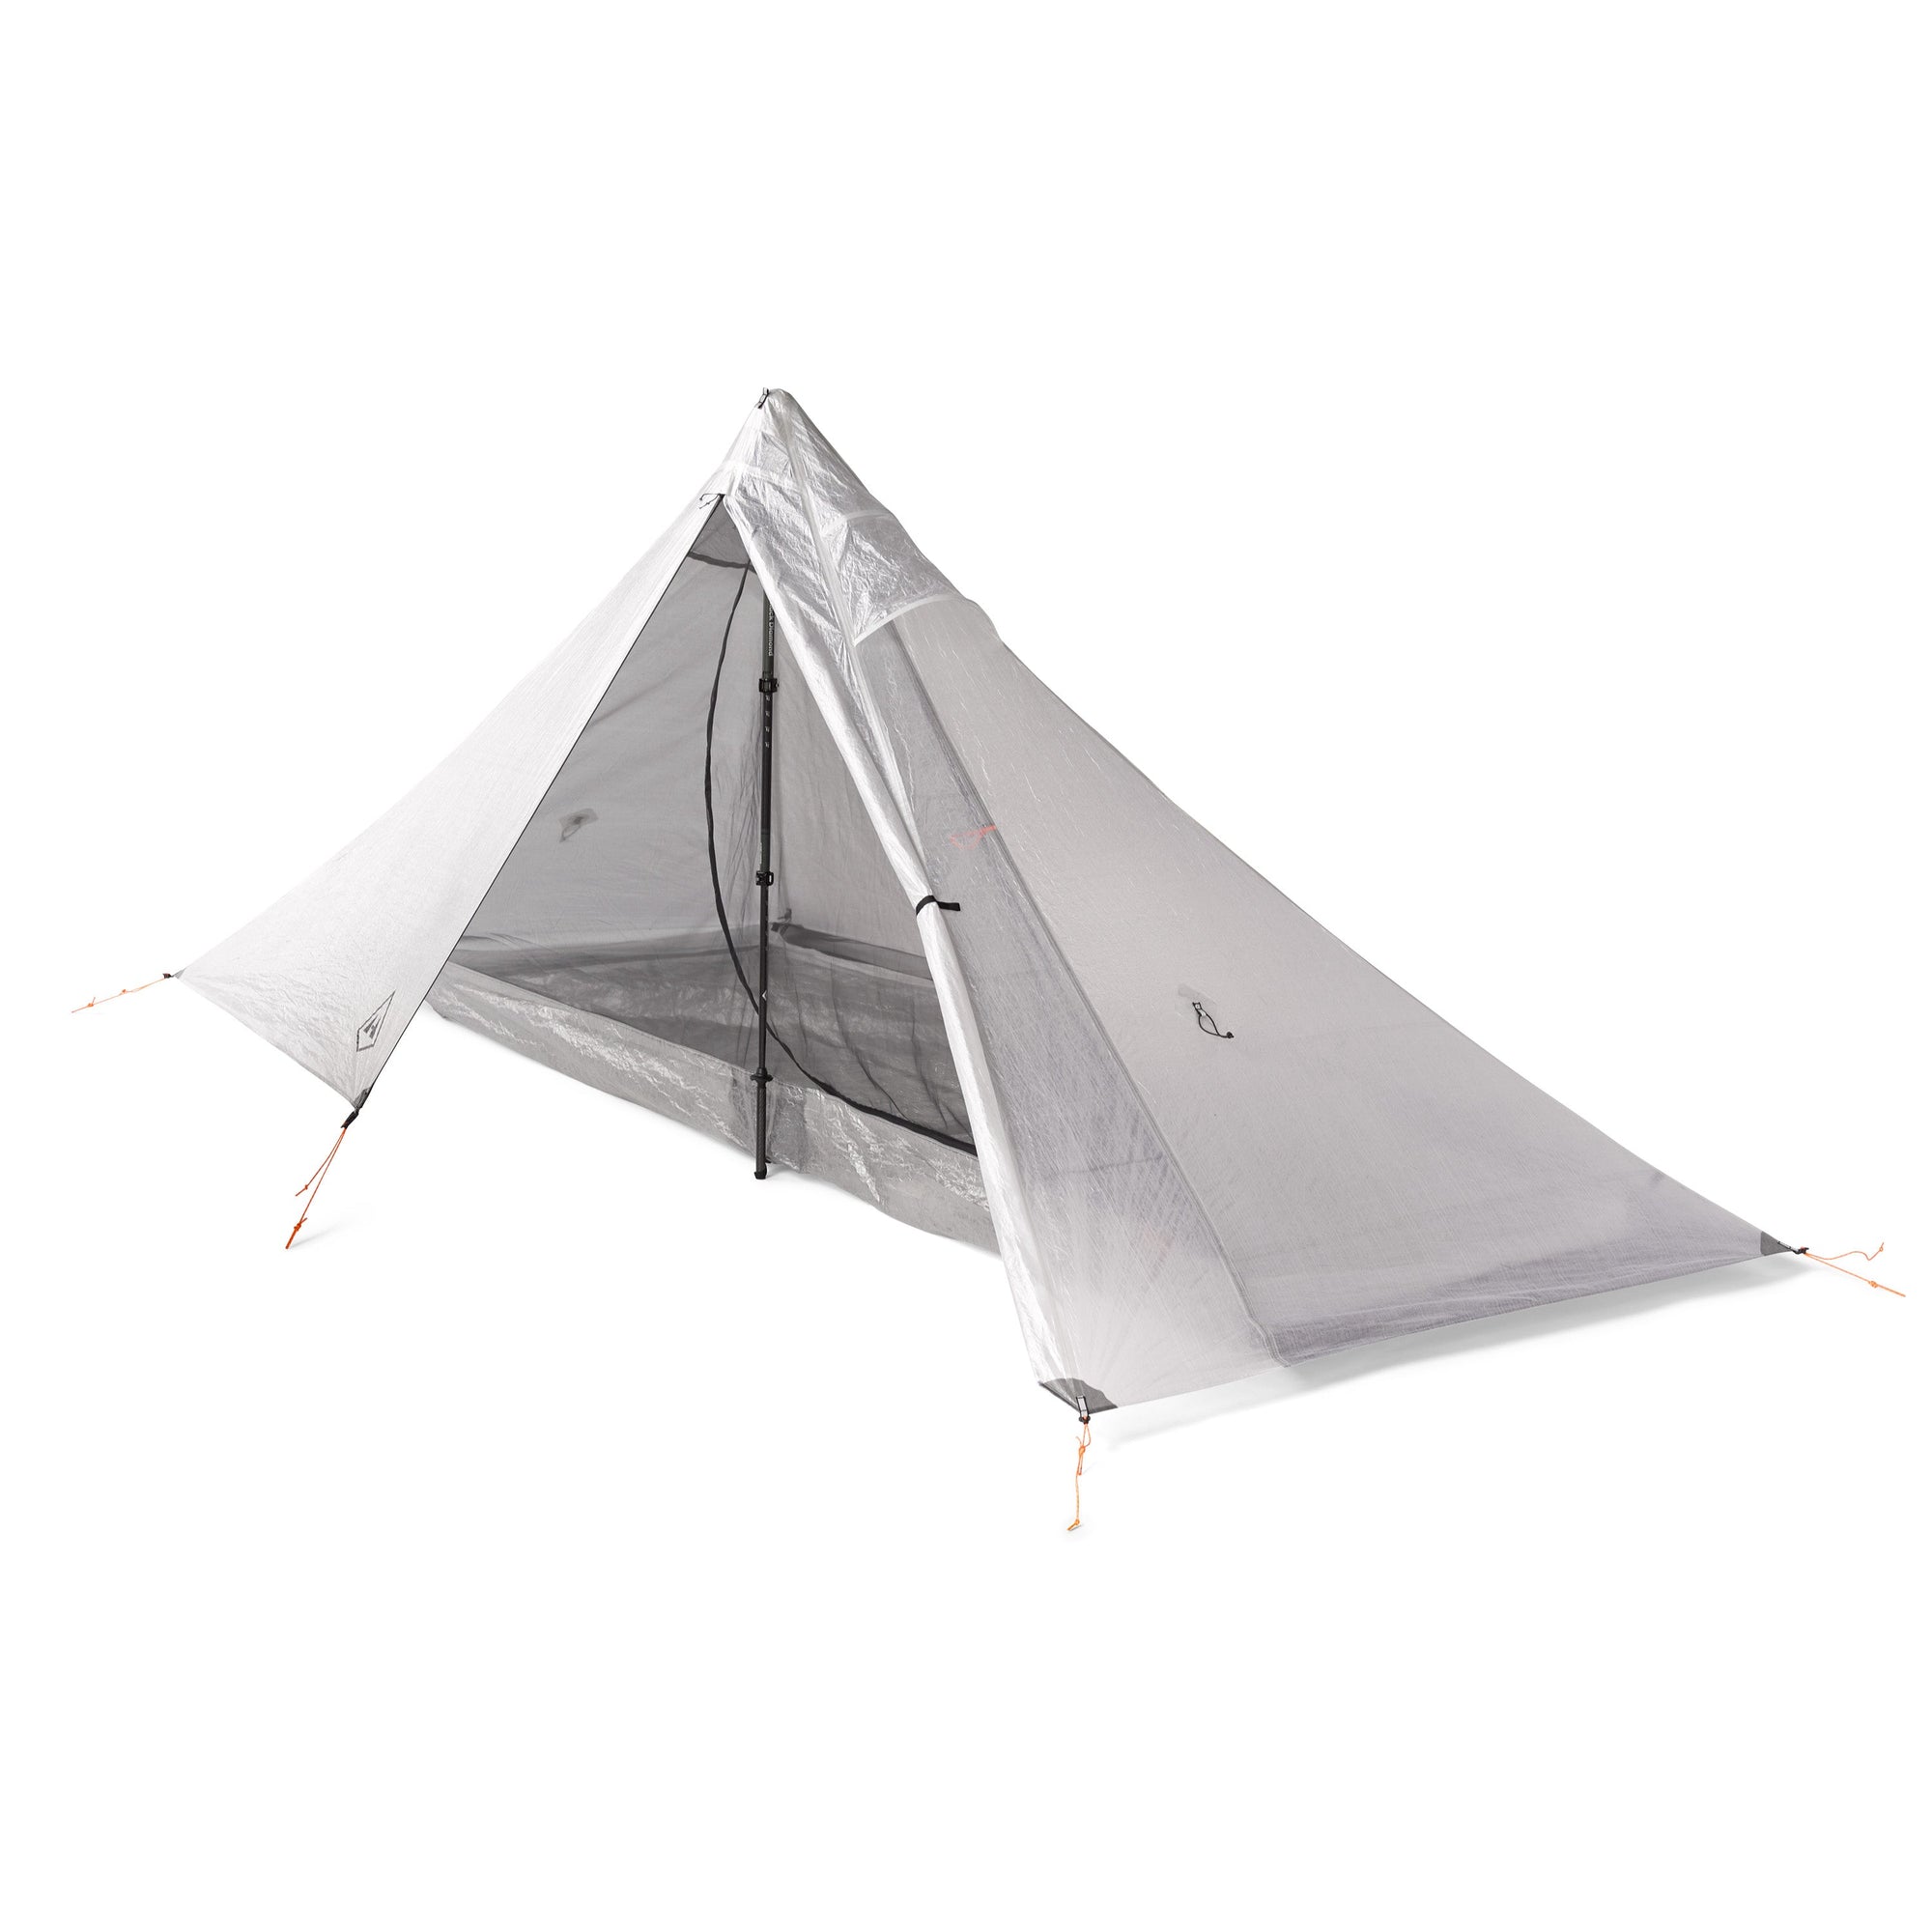
Mid 1
$599.00

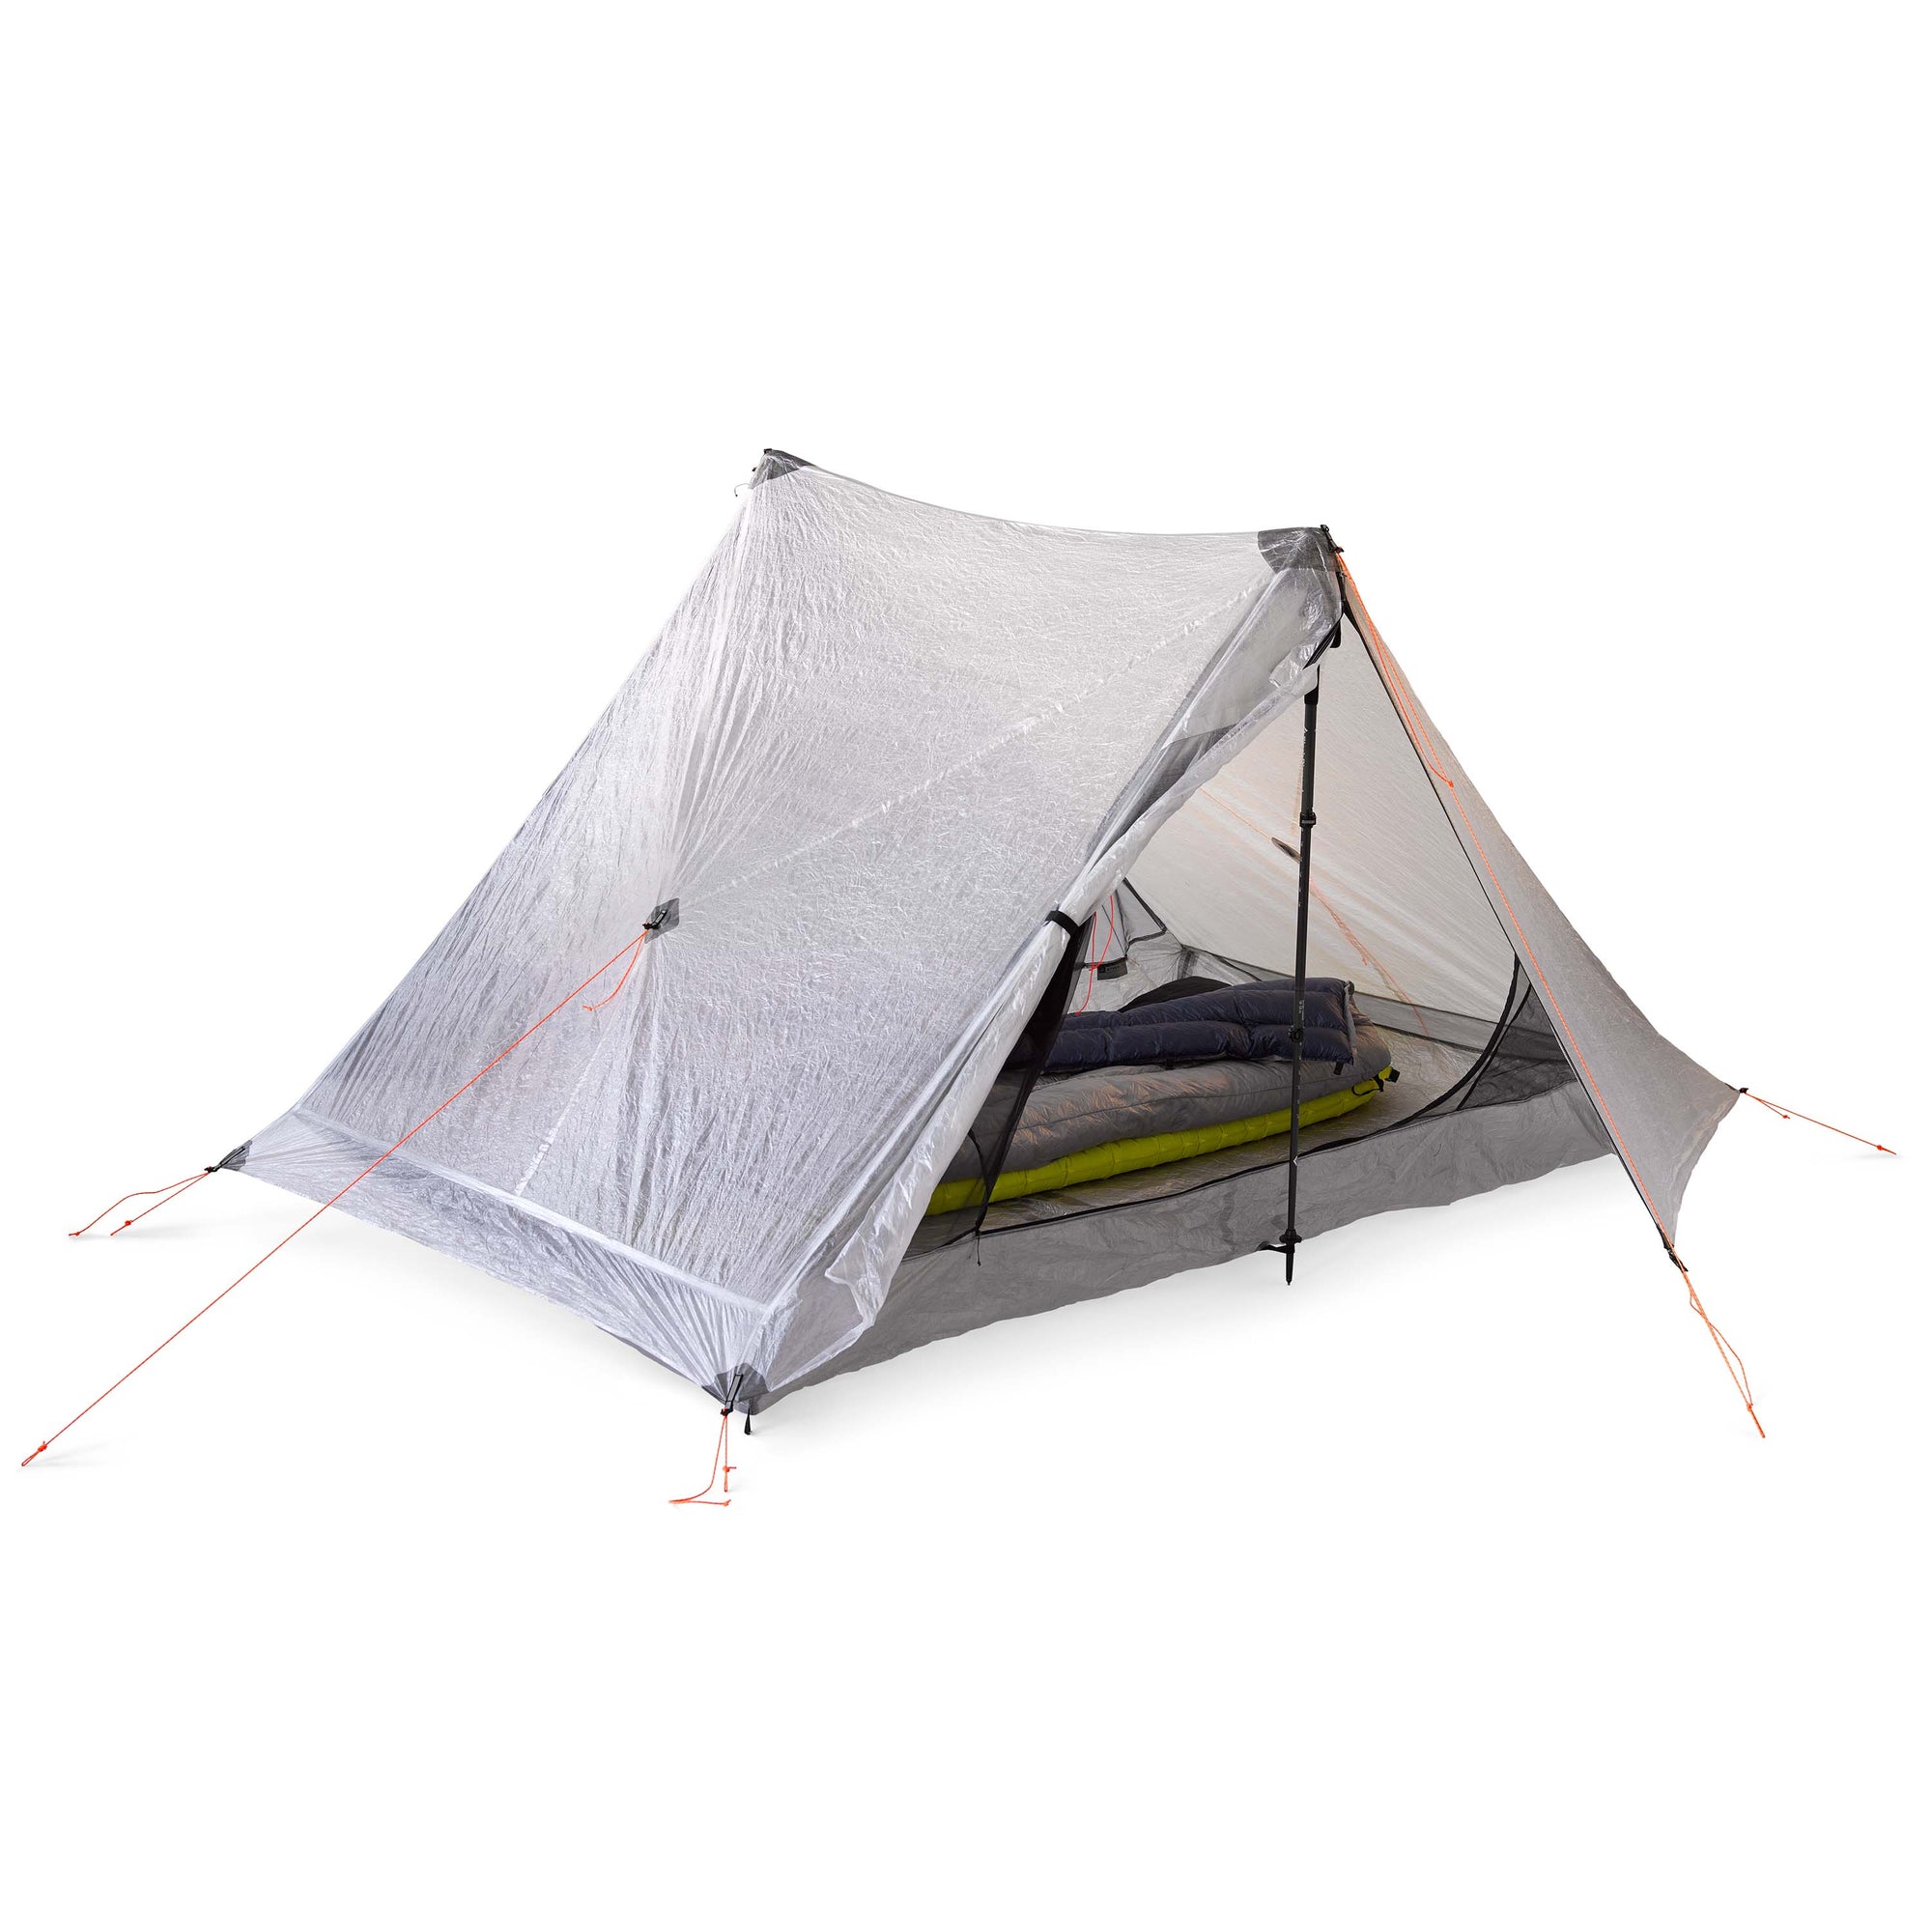
Unbound 2P
$699.00

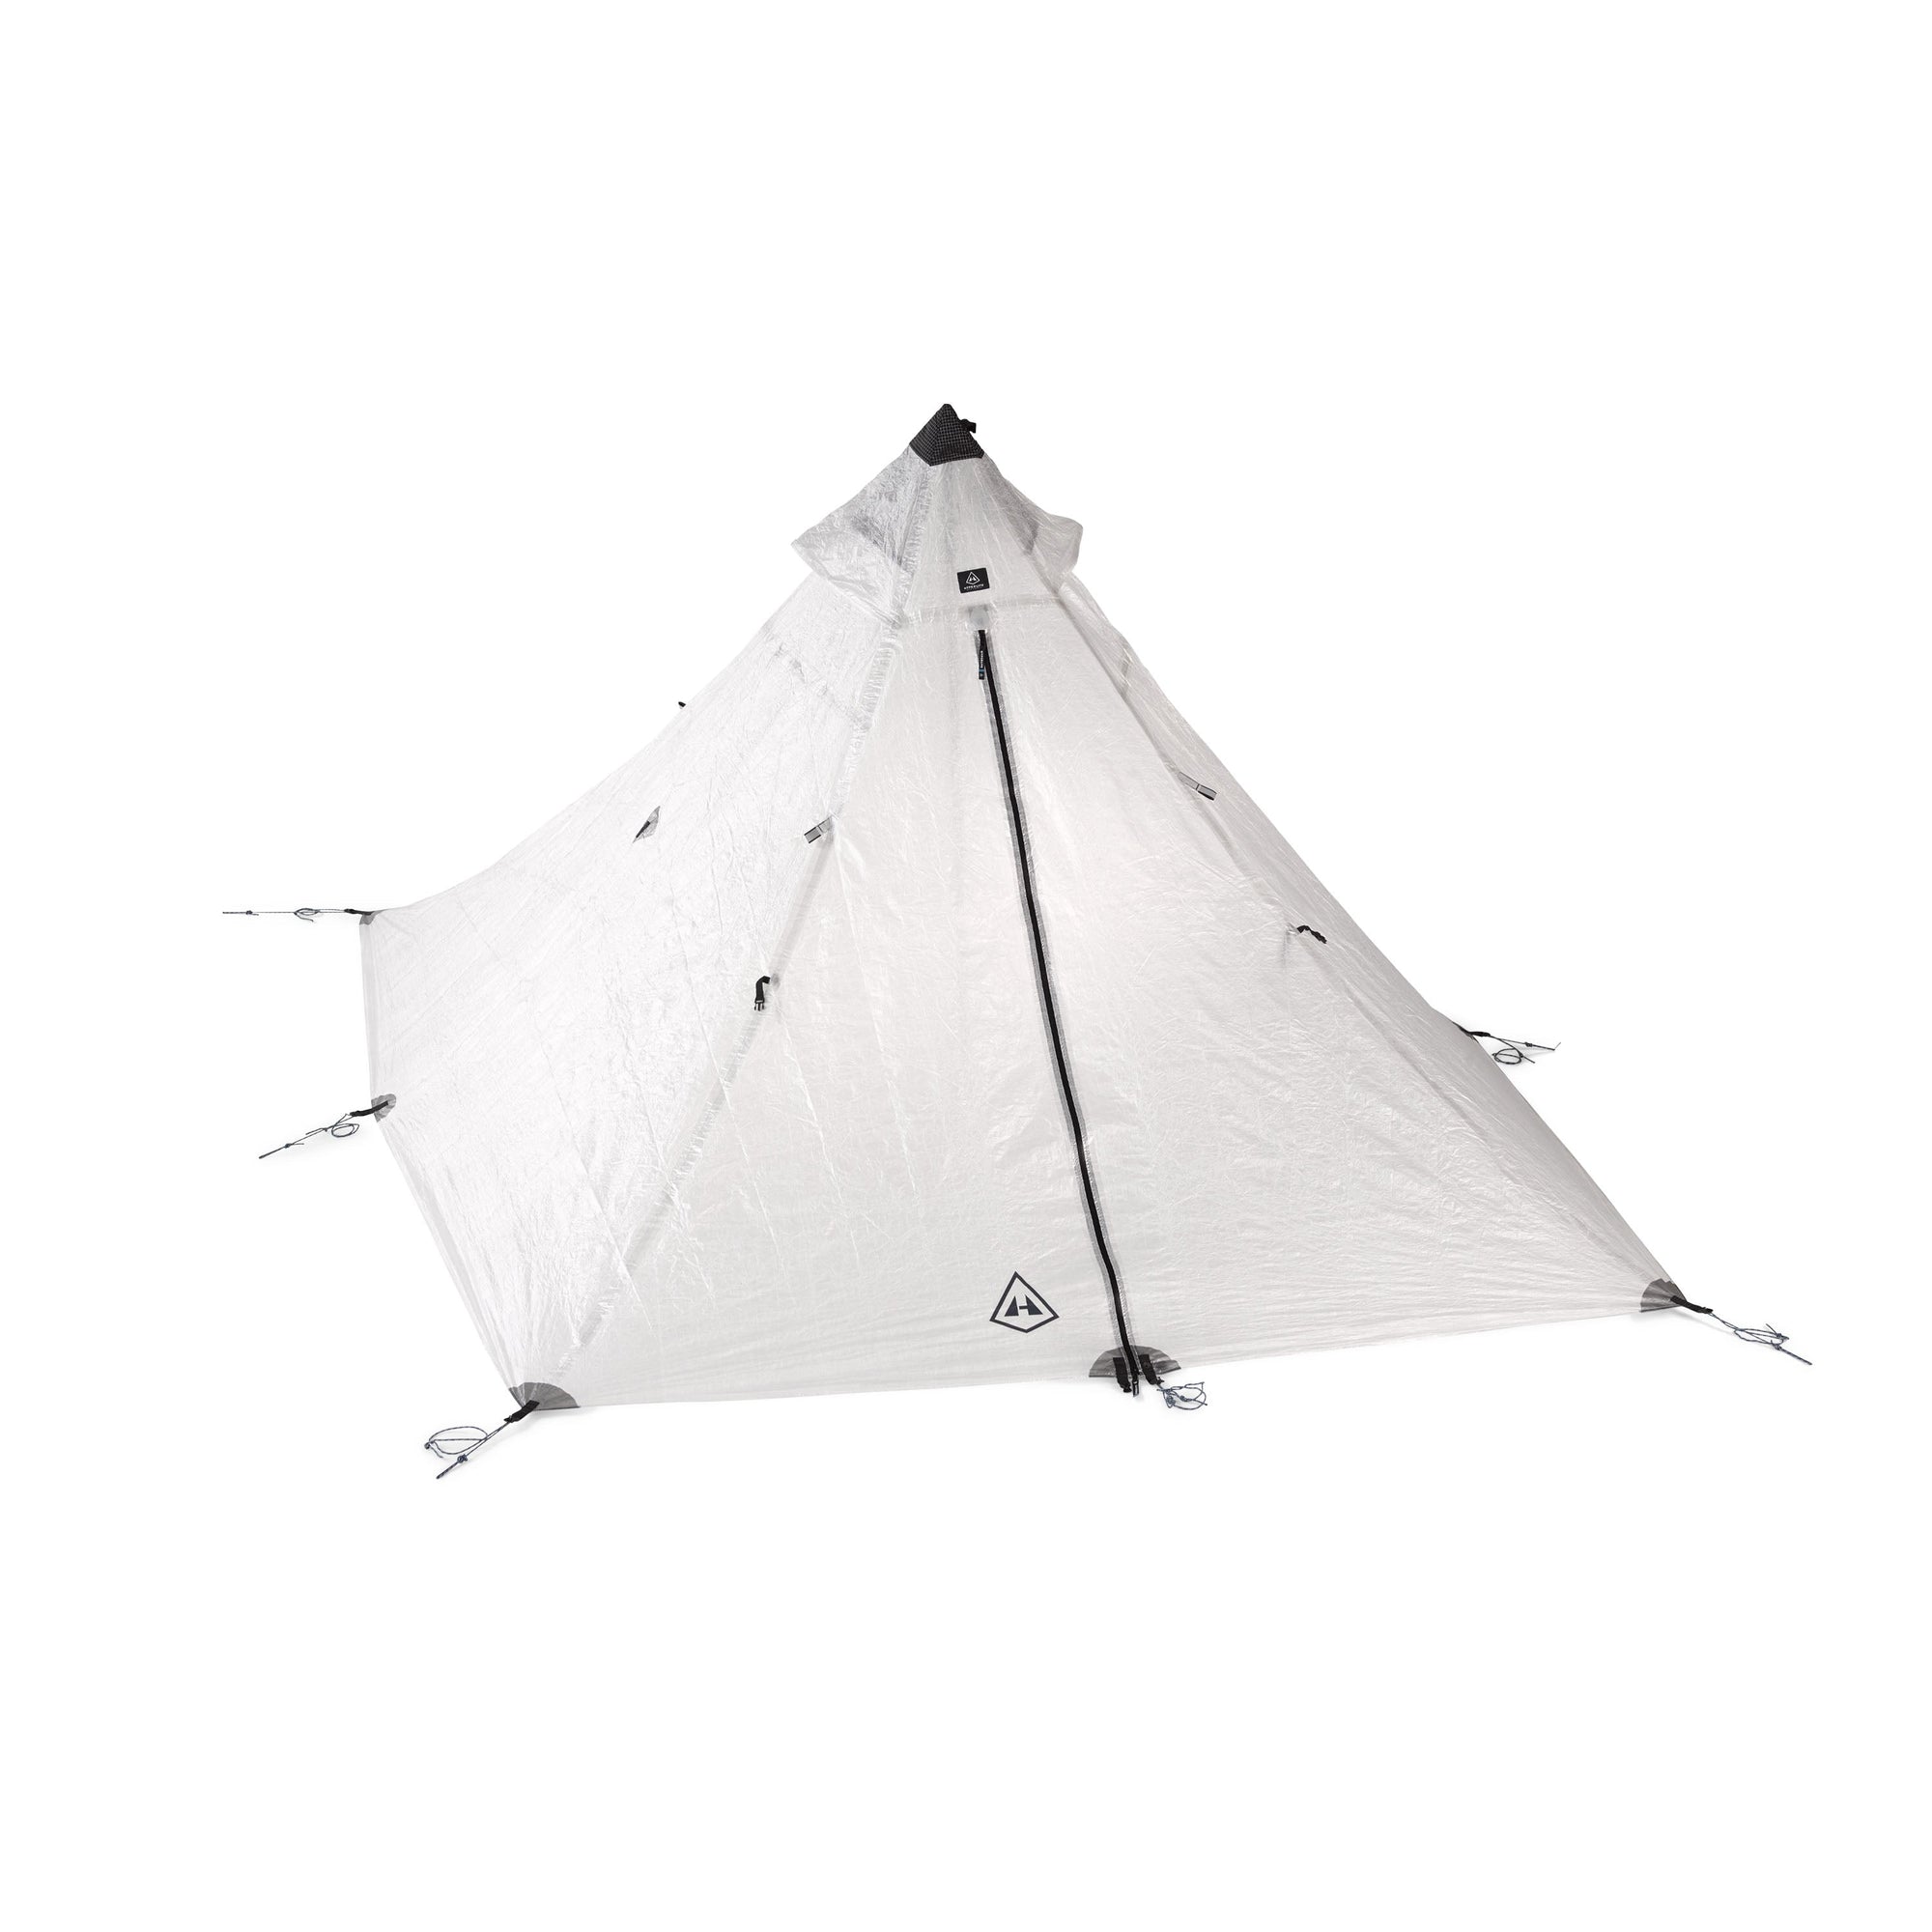
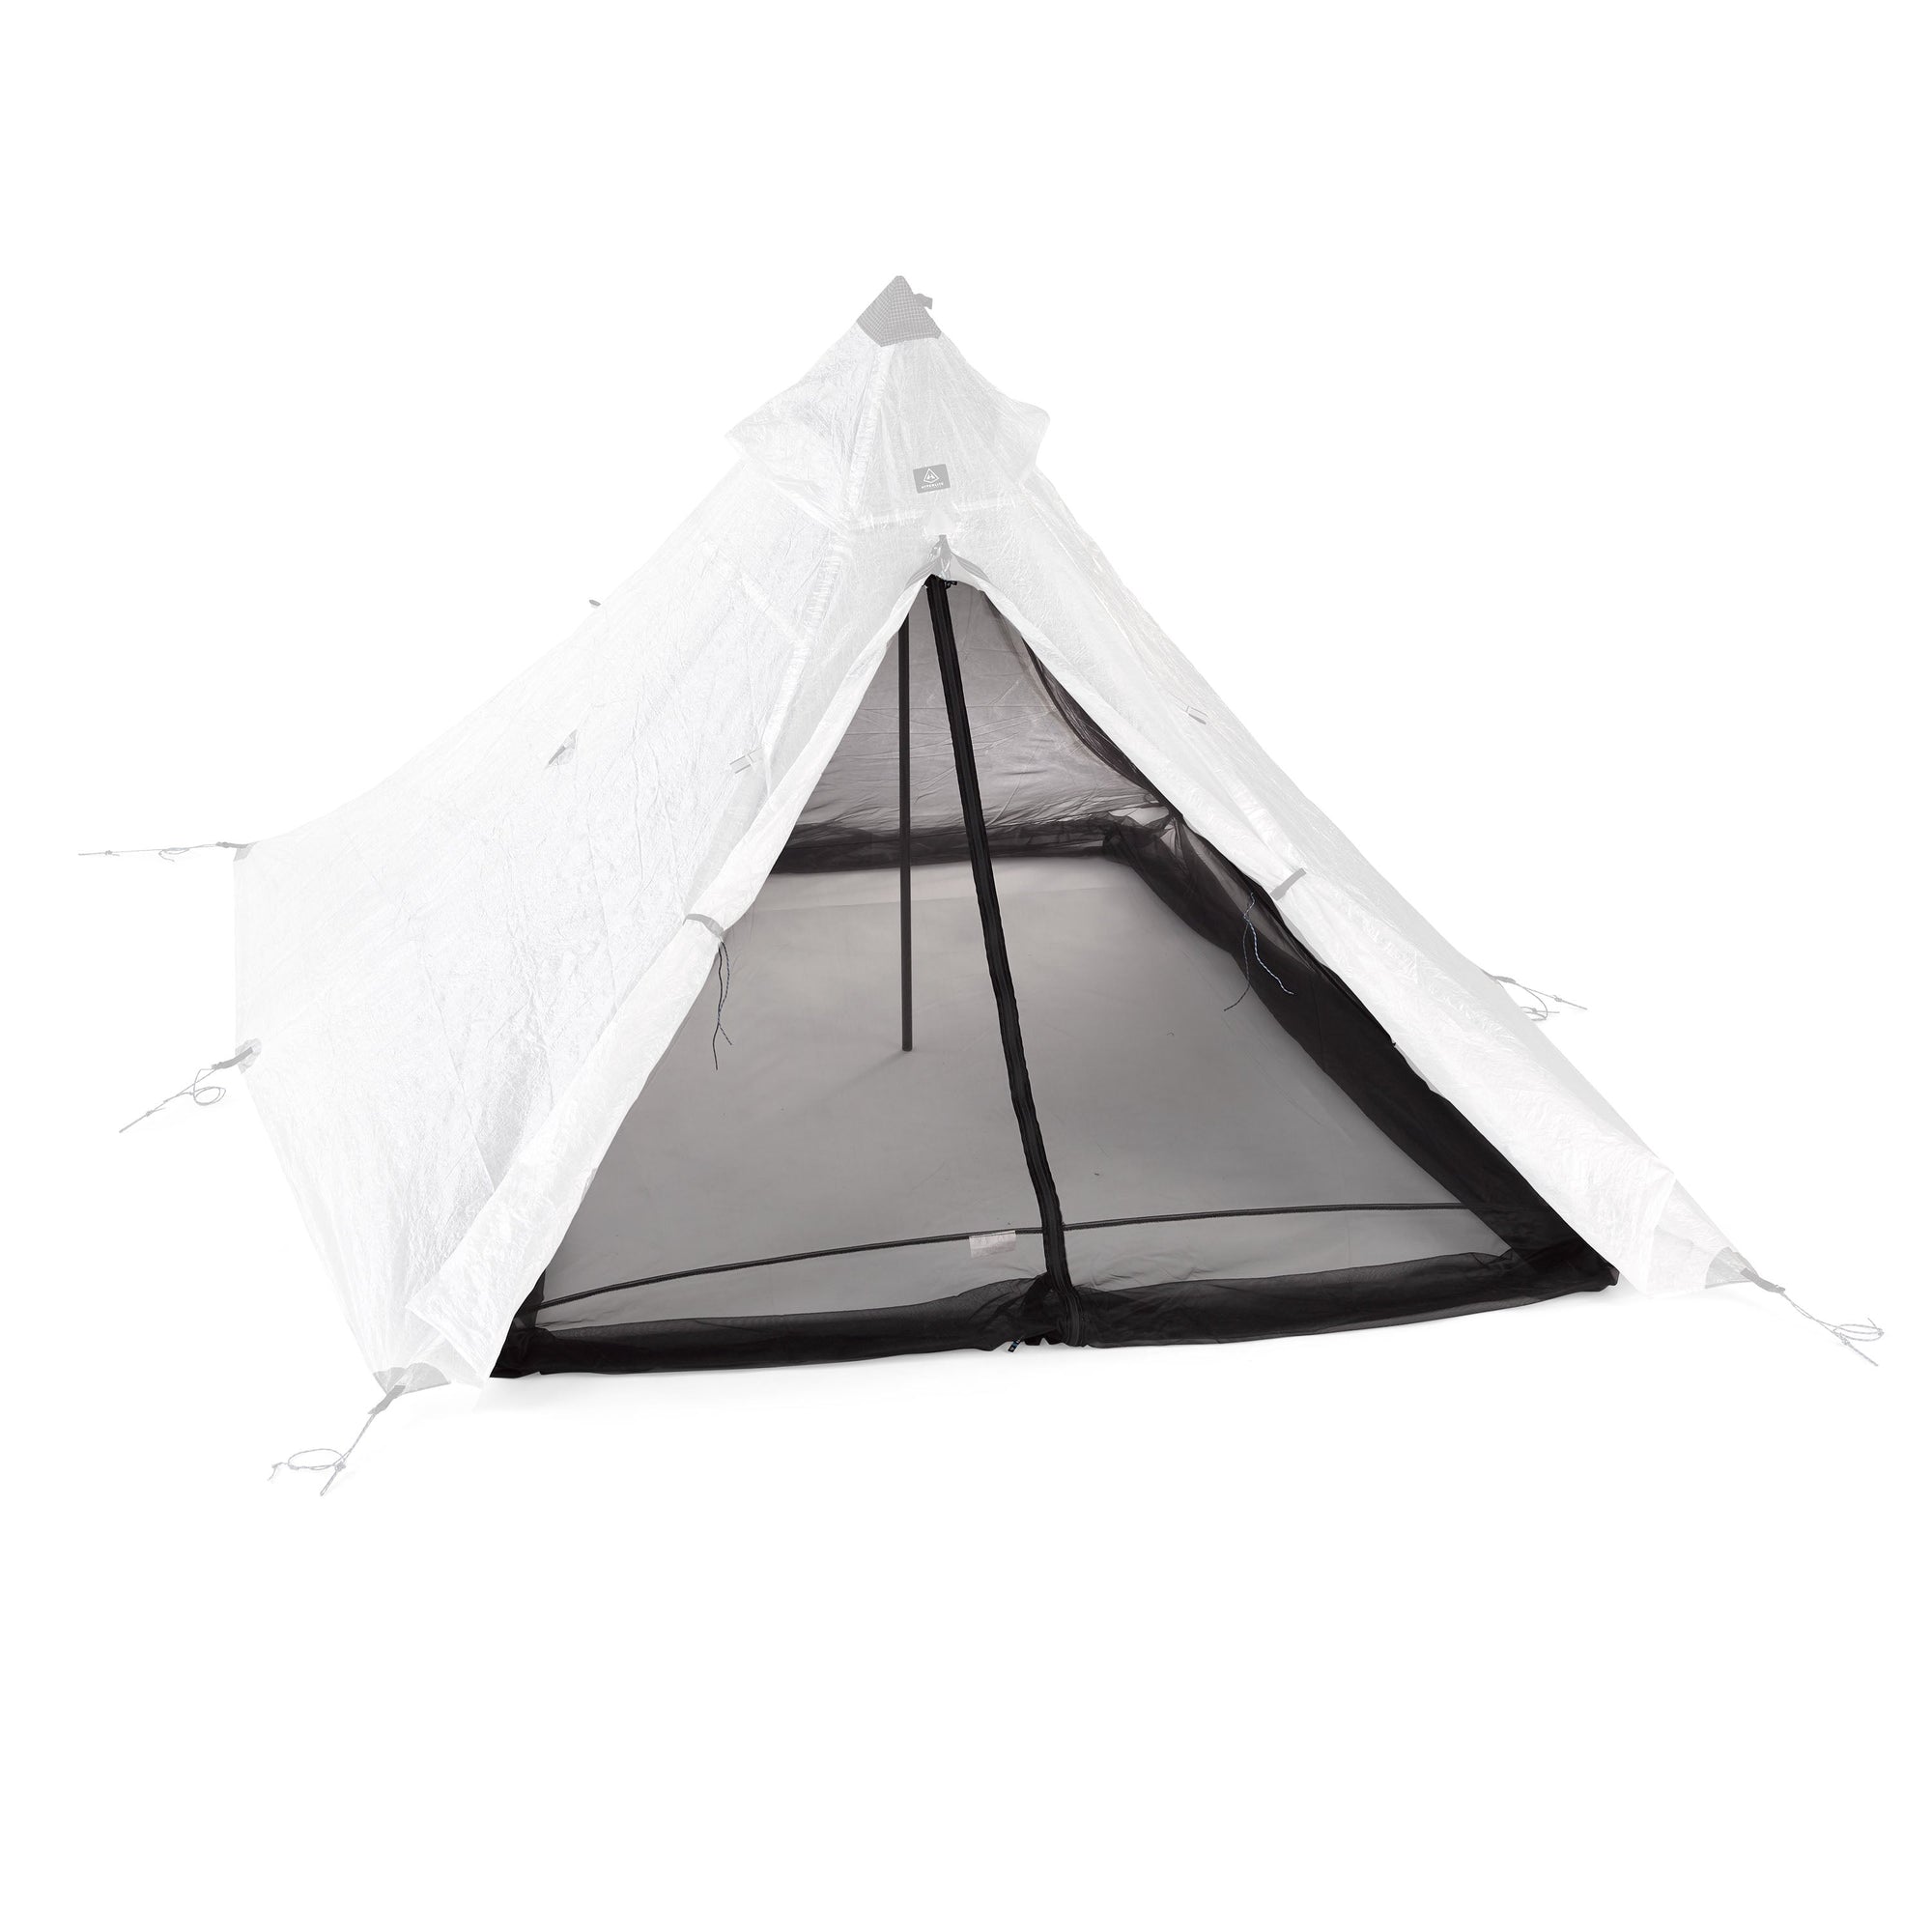
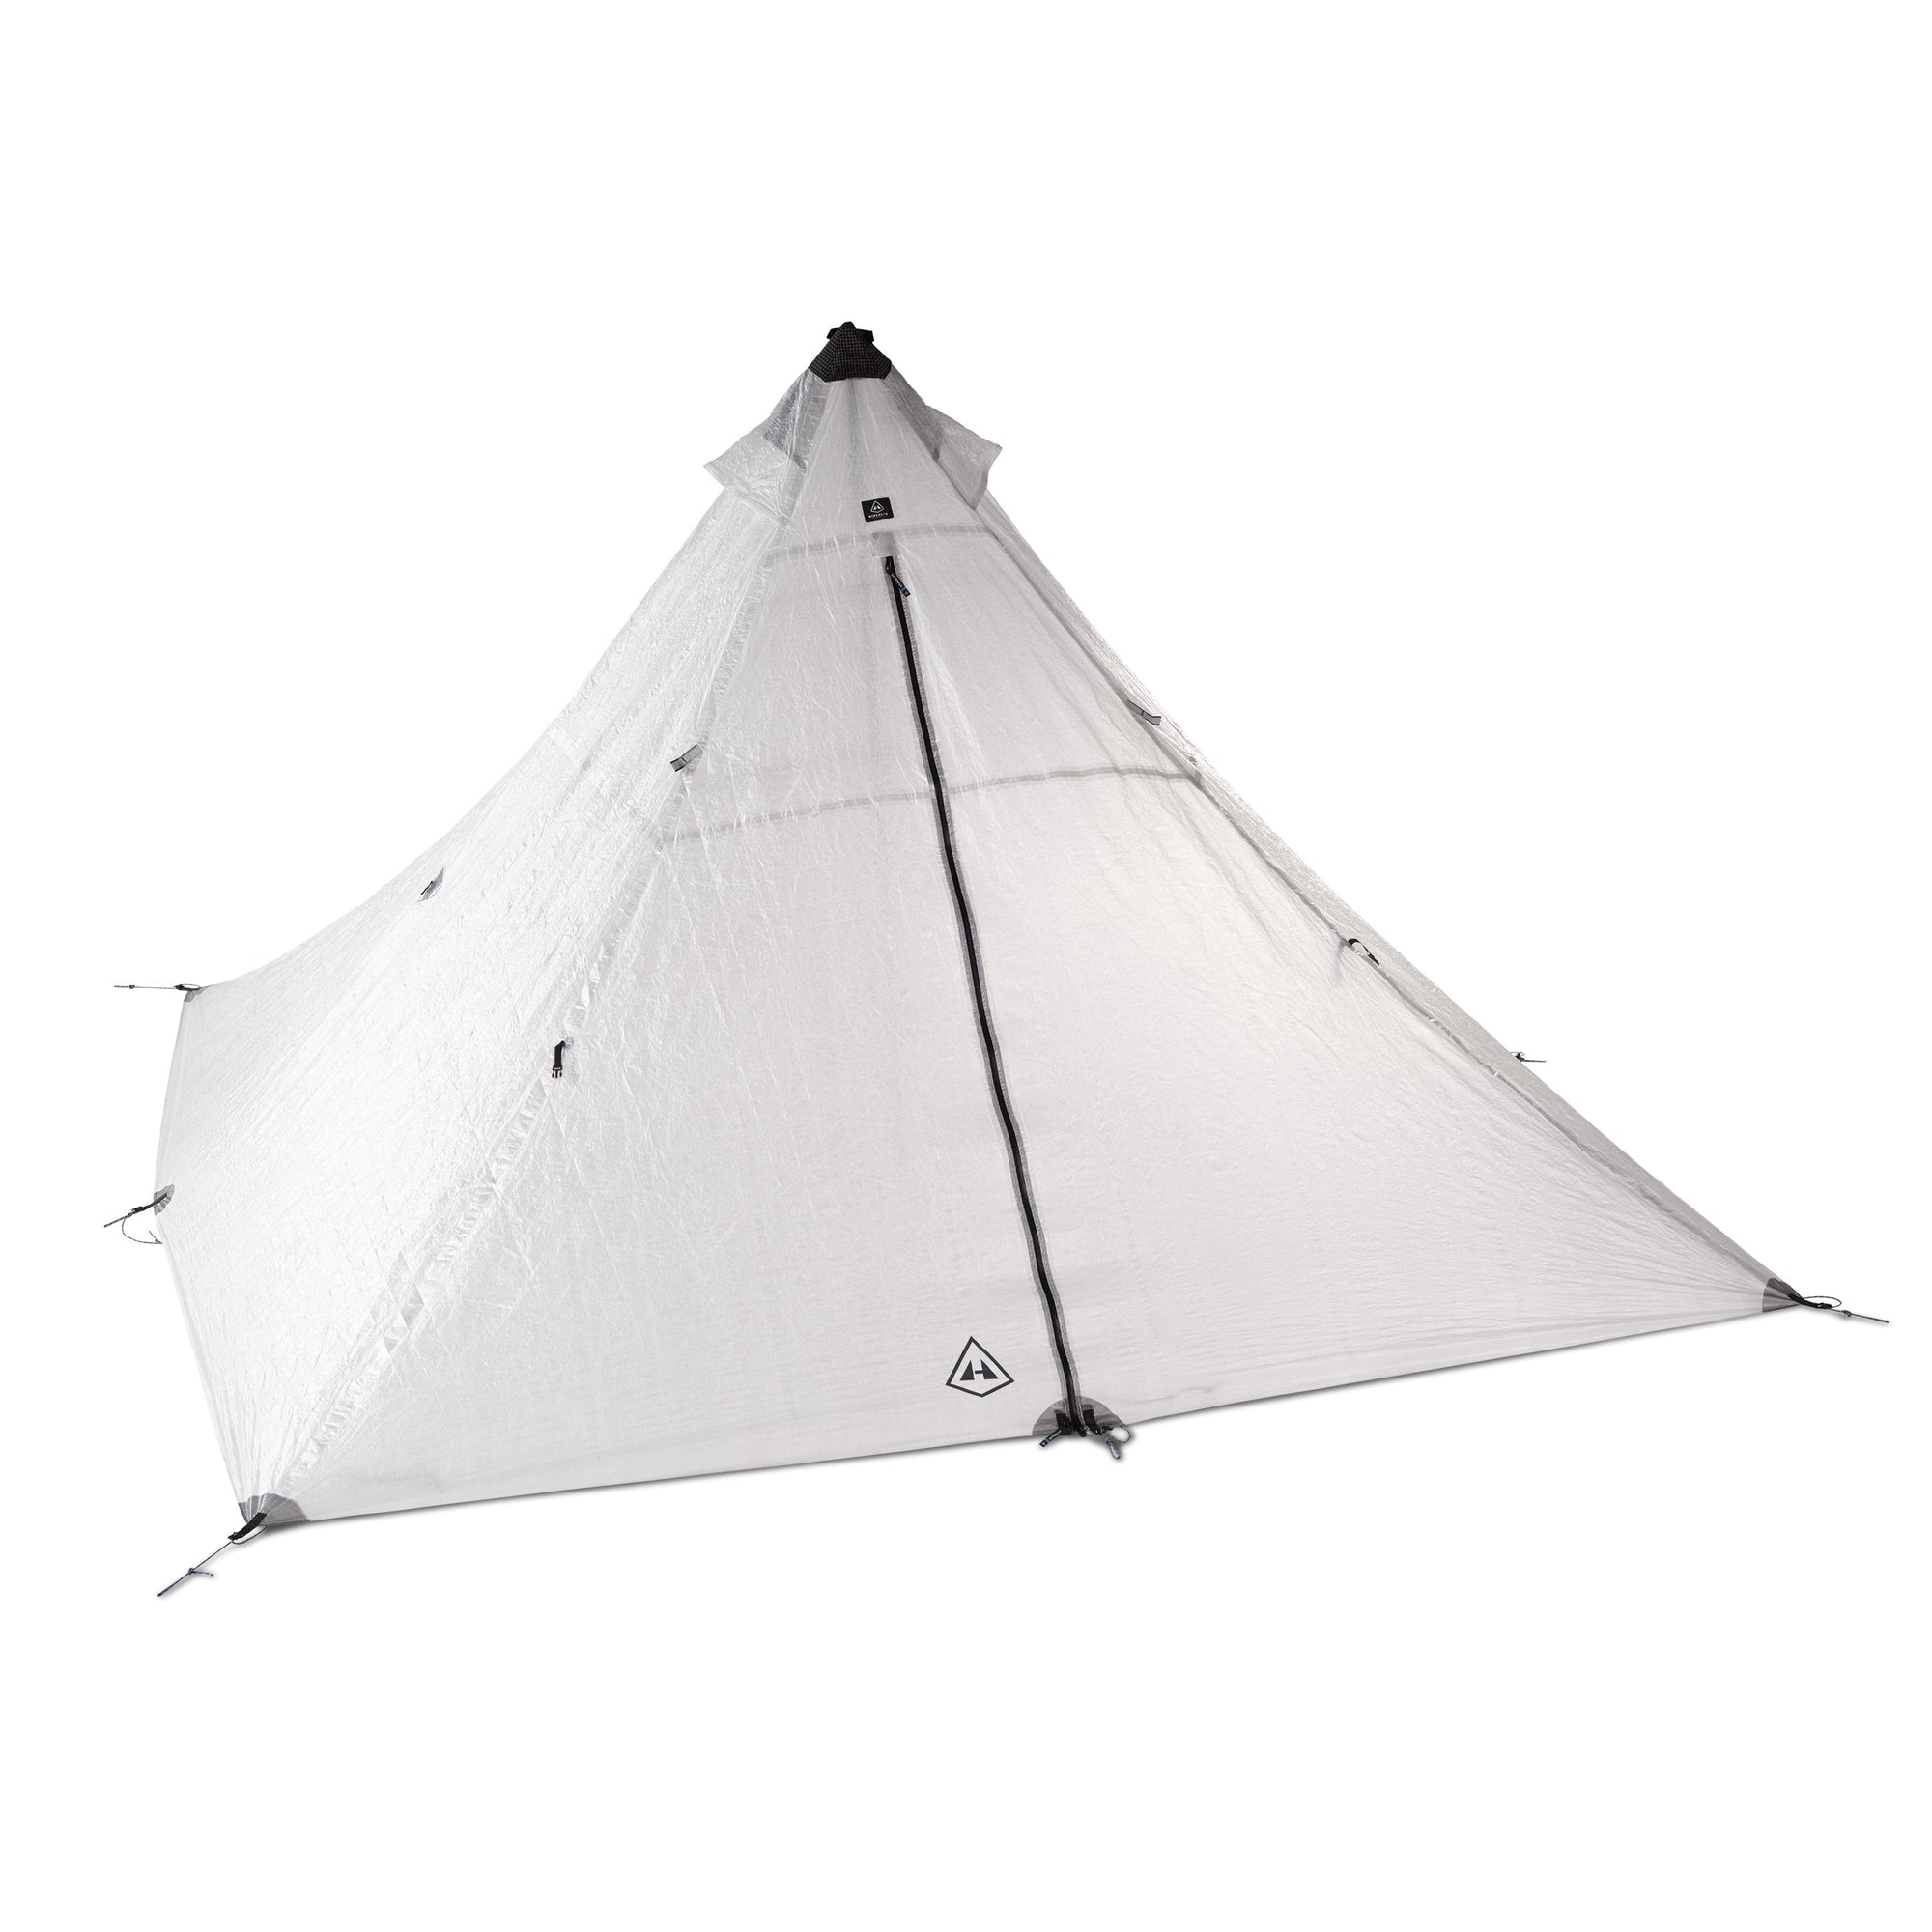
UltaMid 2 – Ultralight Pyramid Tent
From $699.00

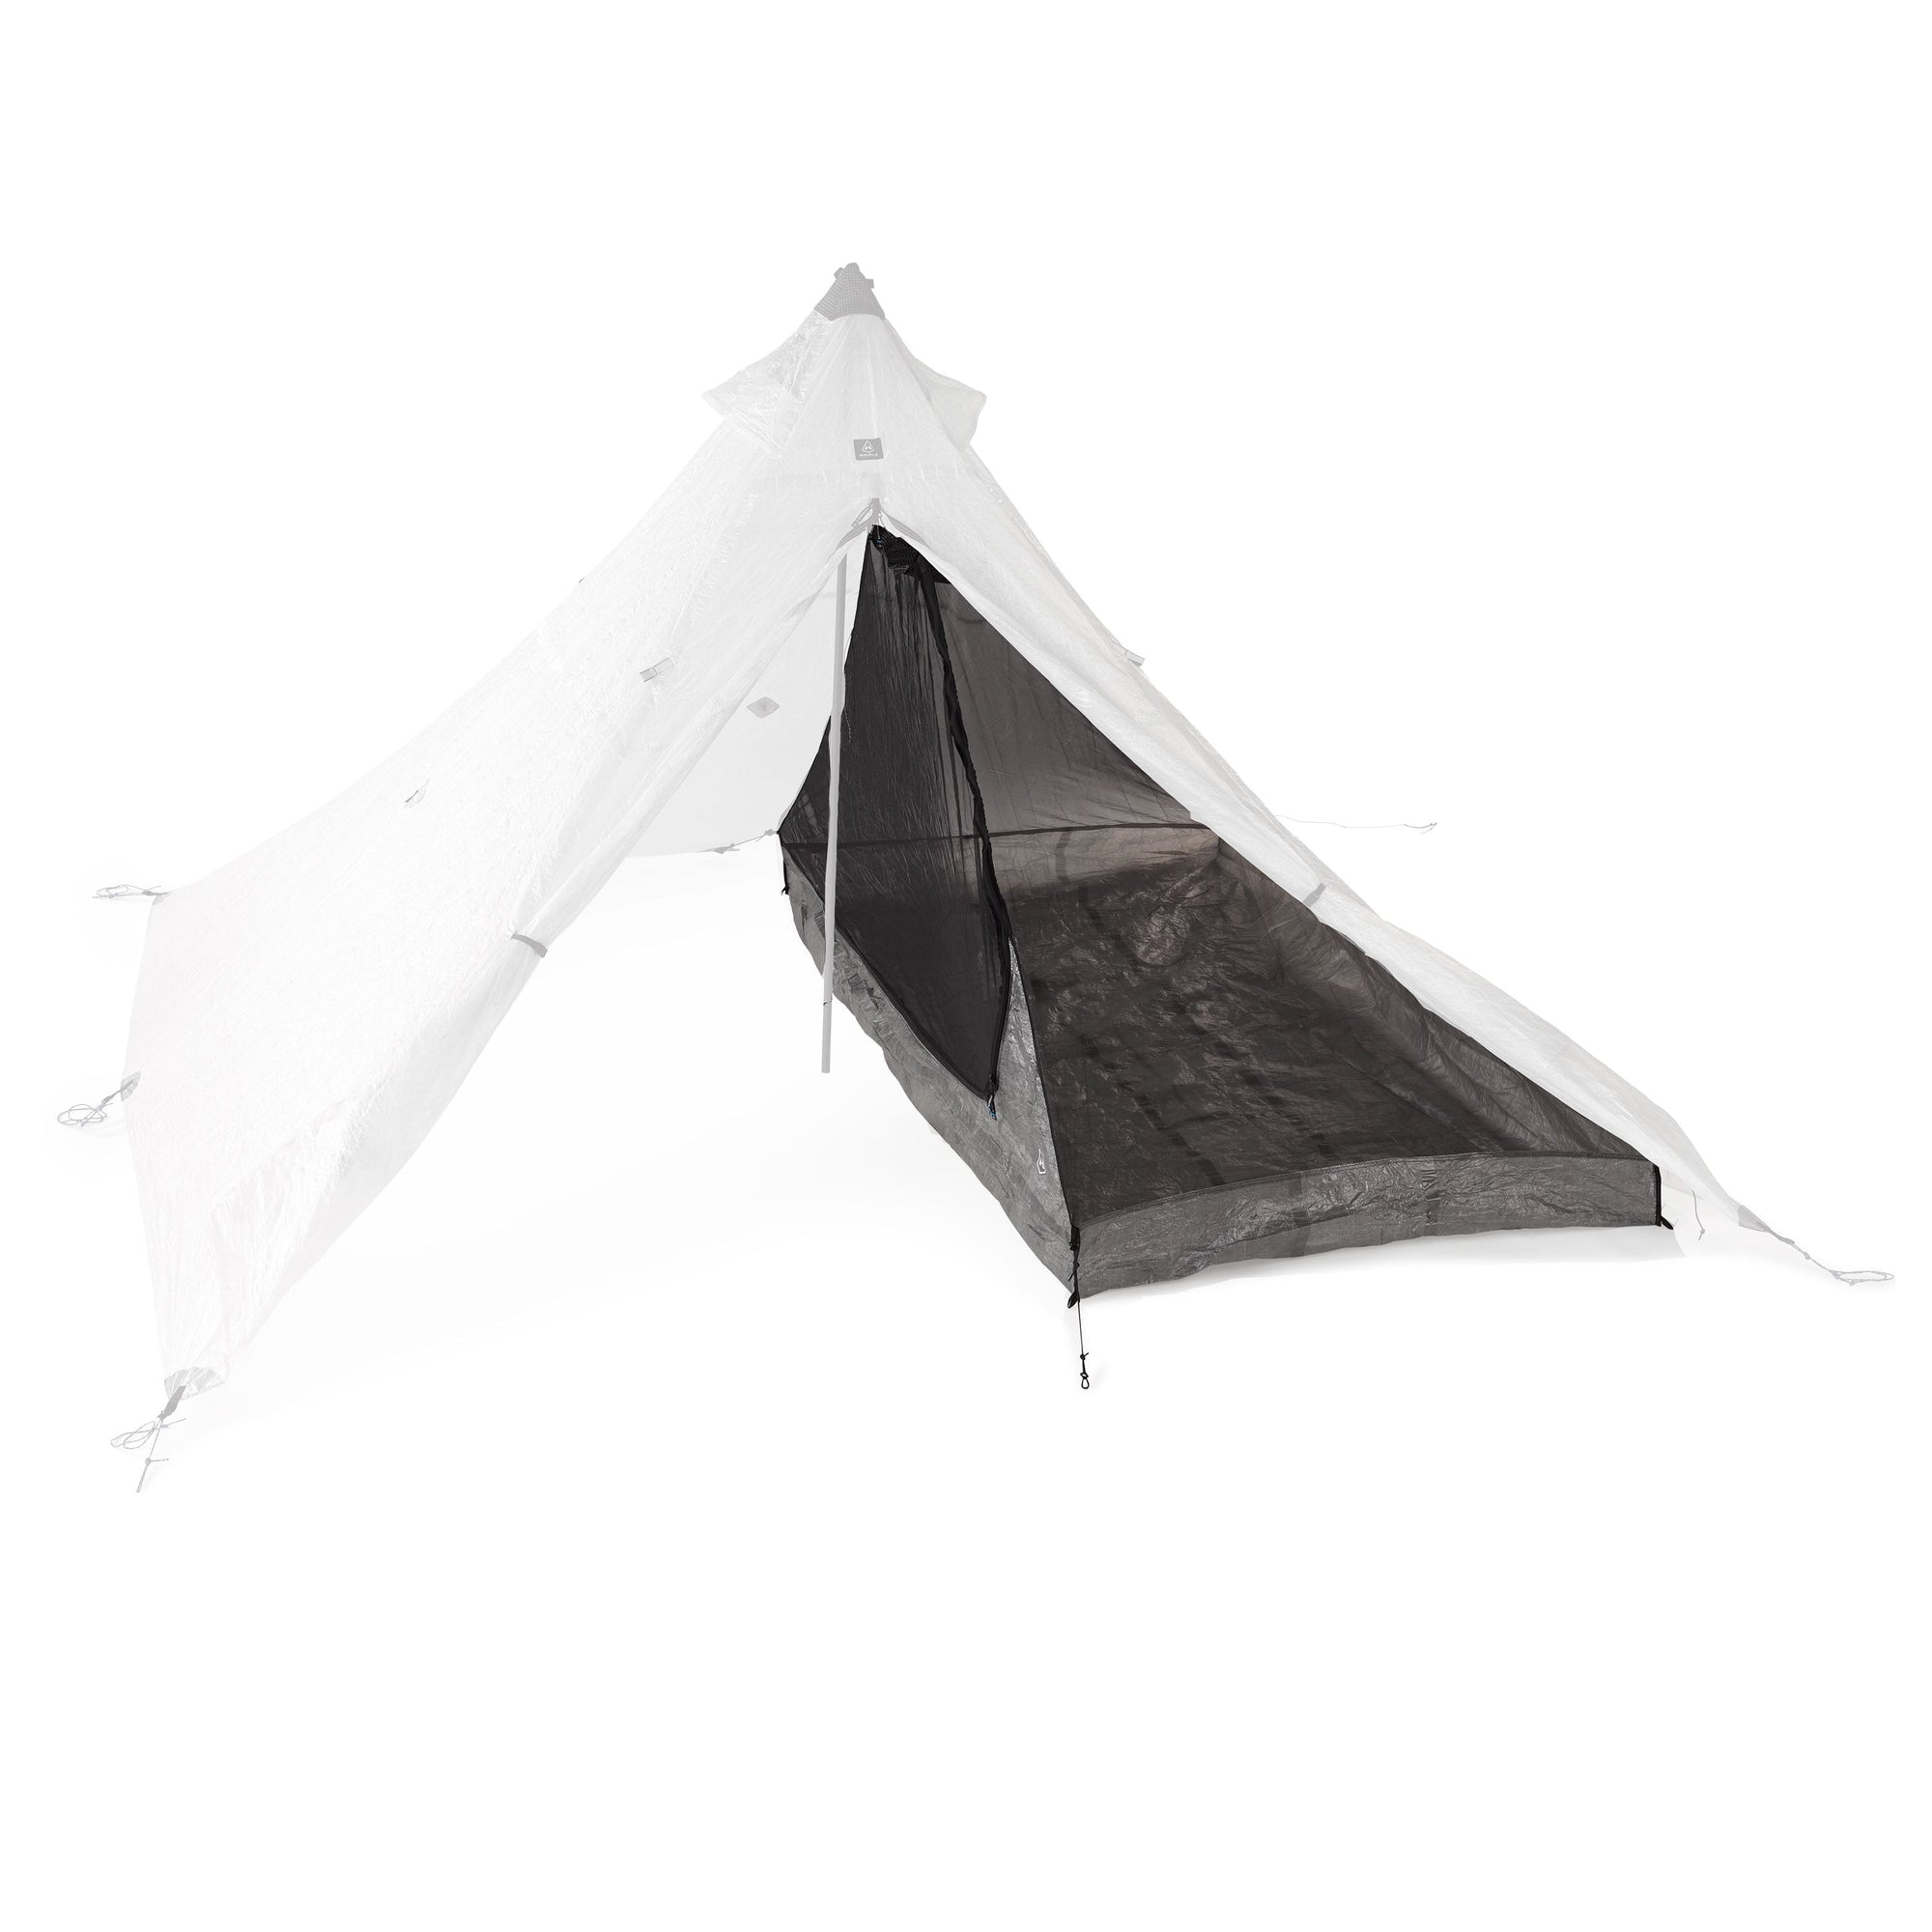
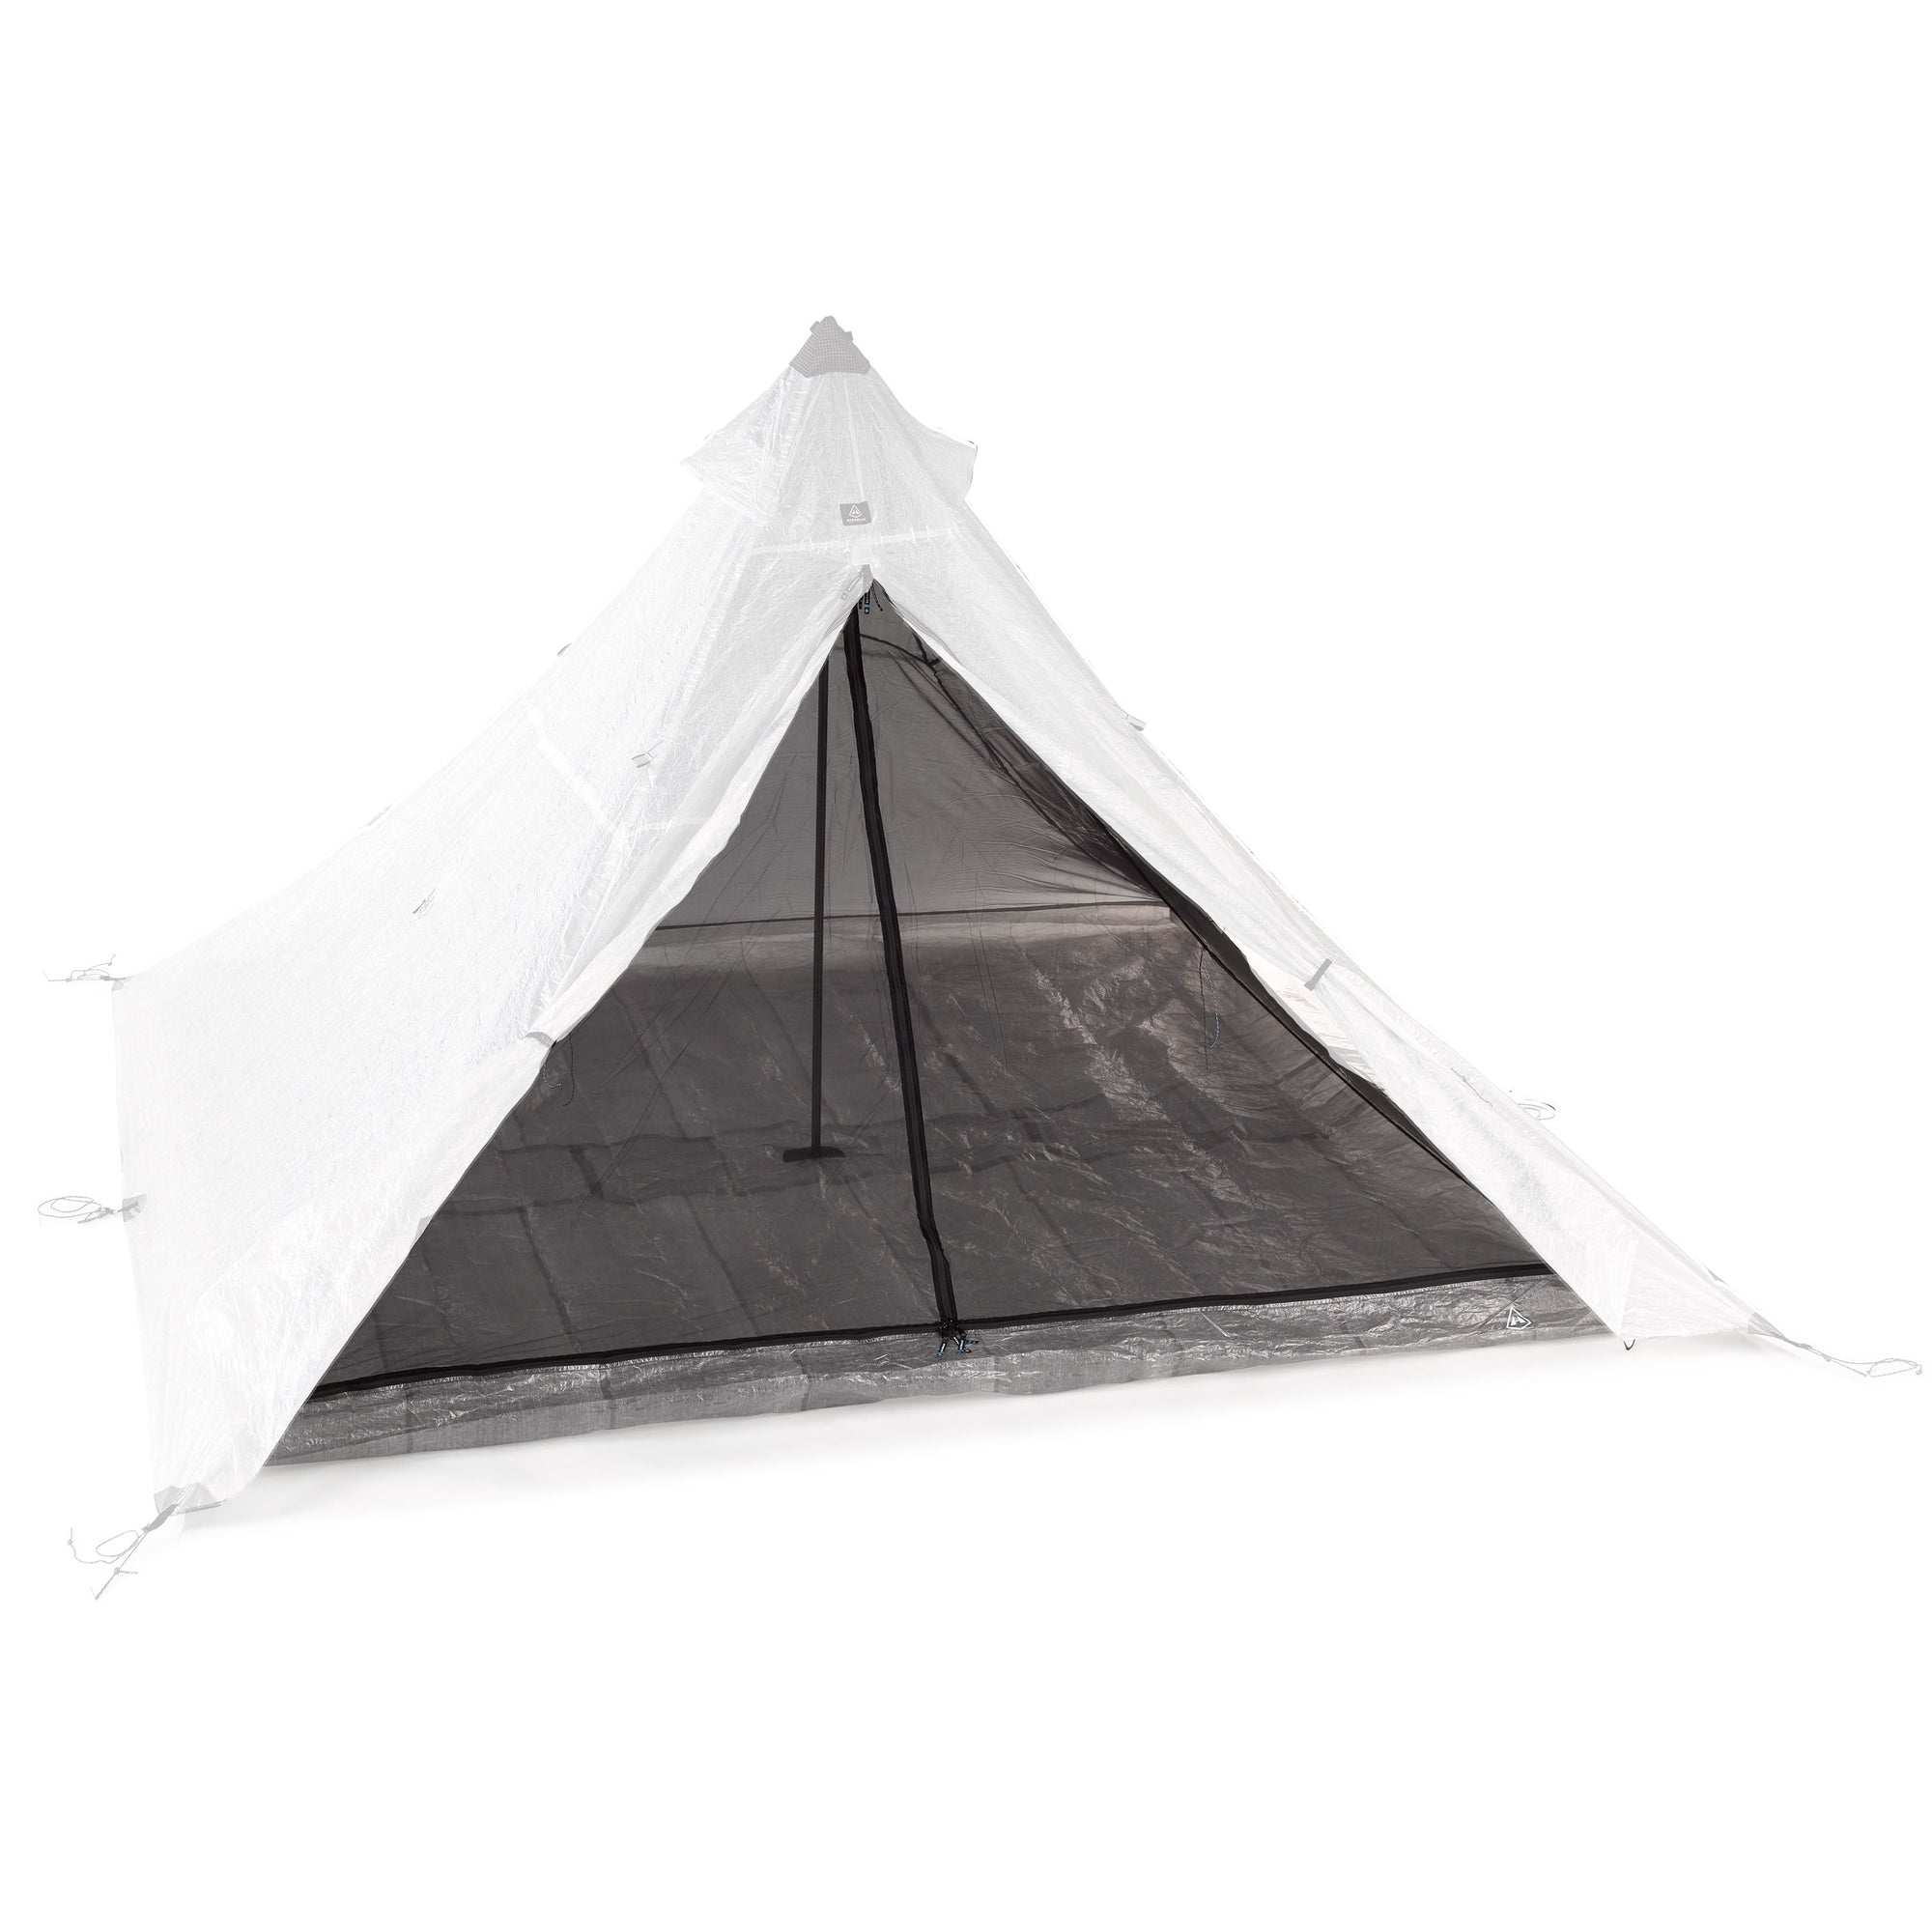
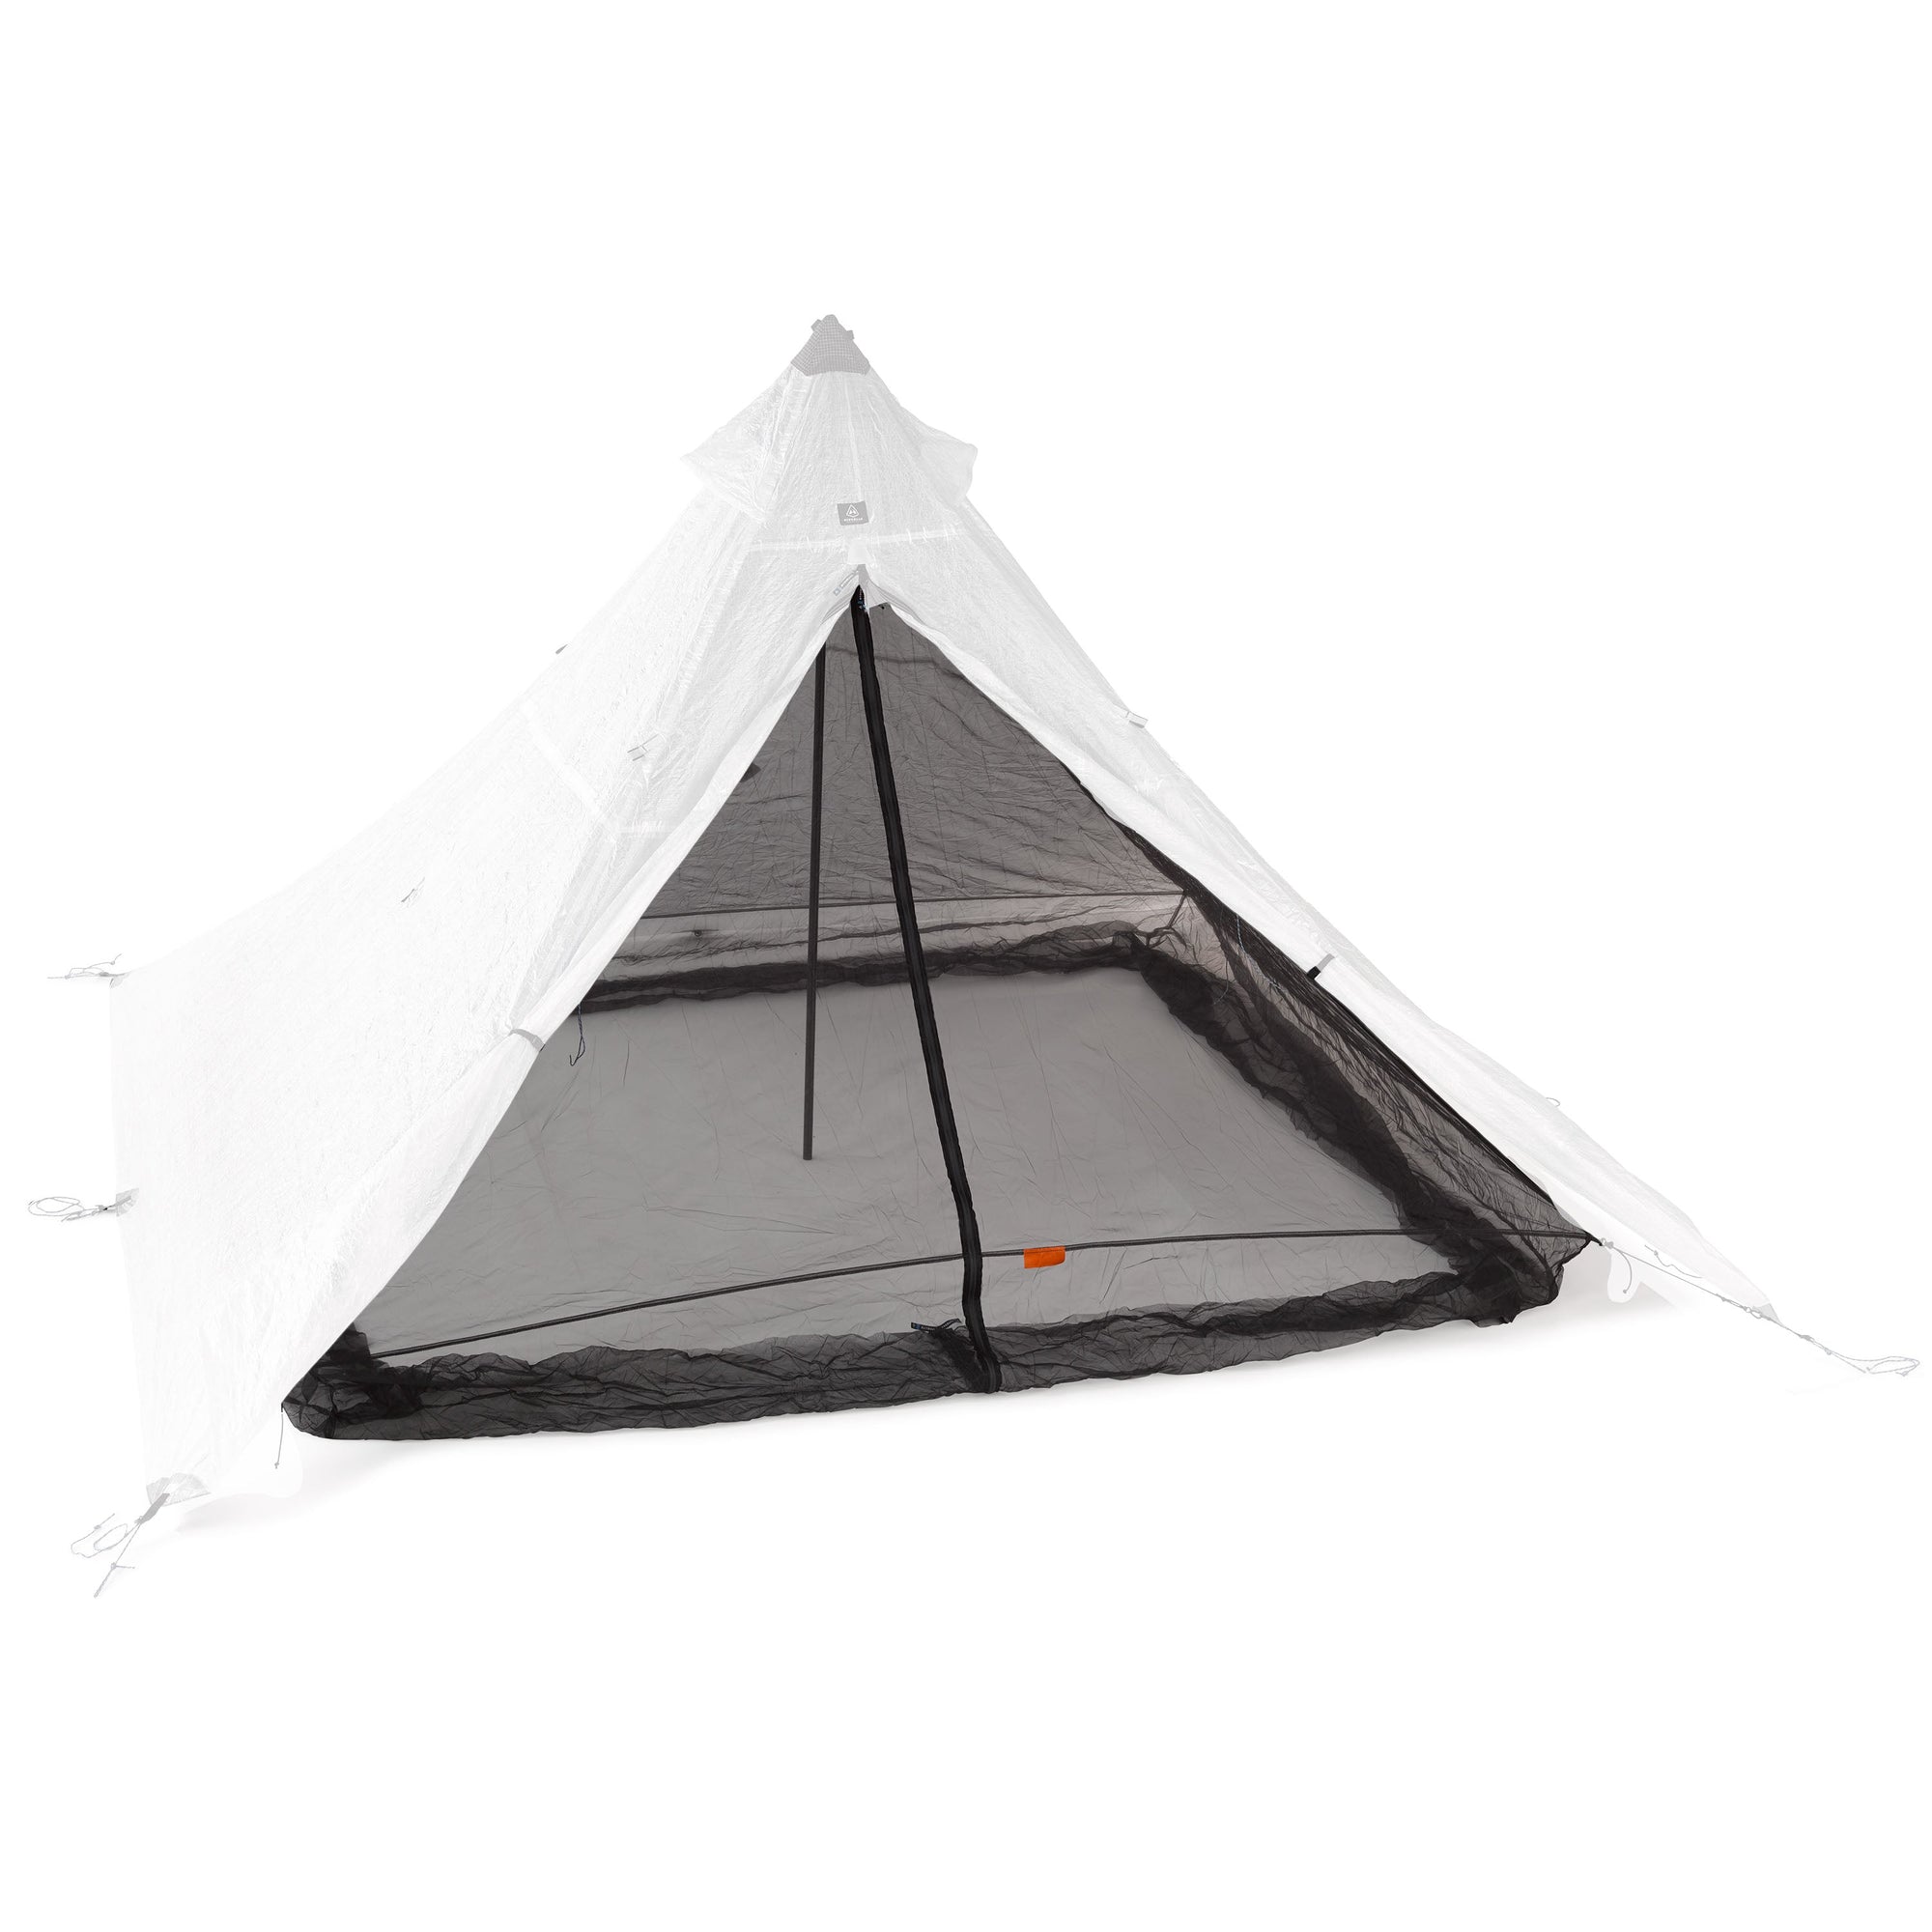
UltaMid 2 Half Insert
$249.00

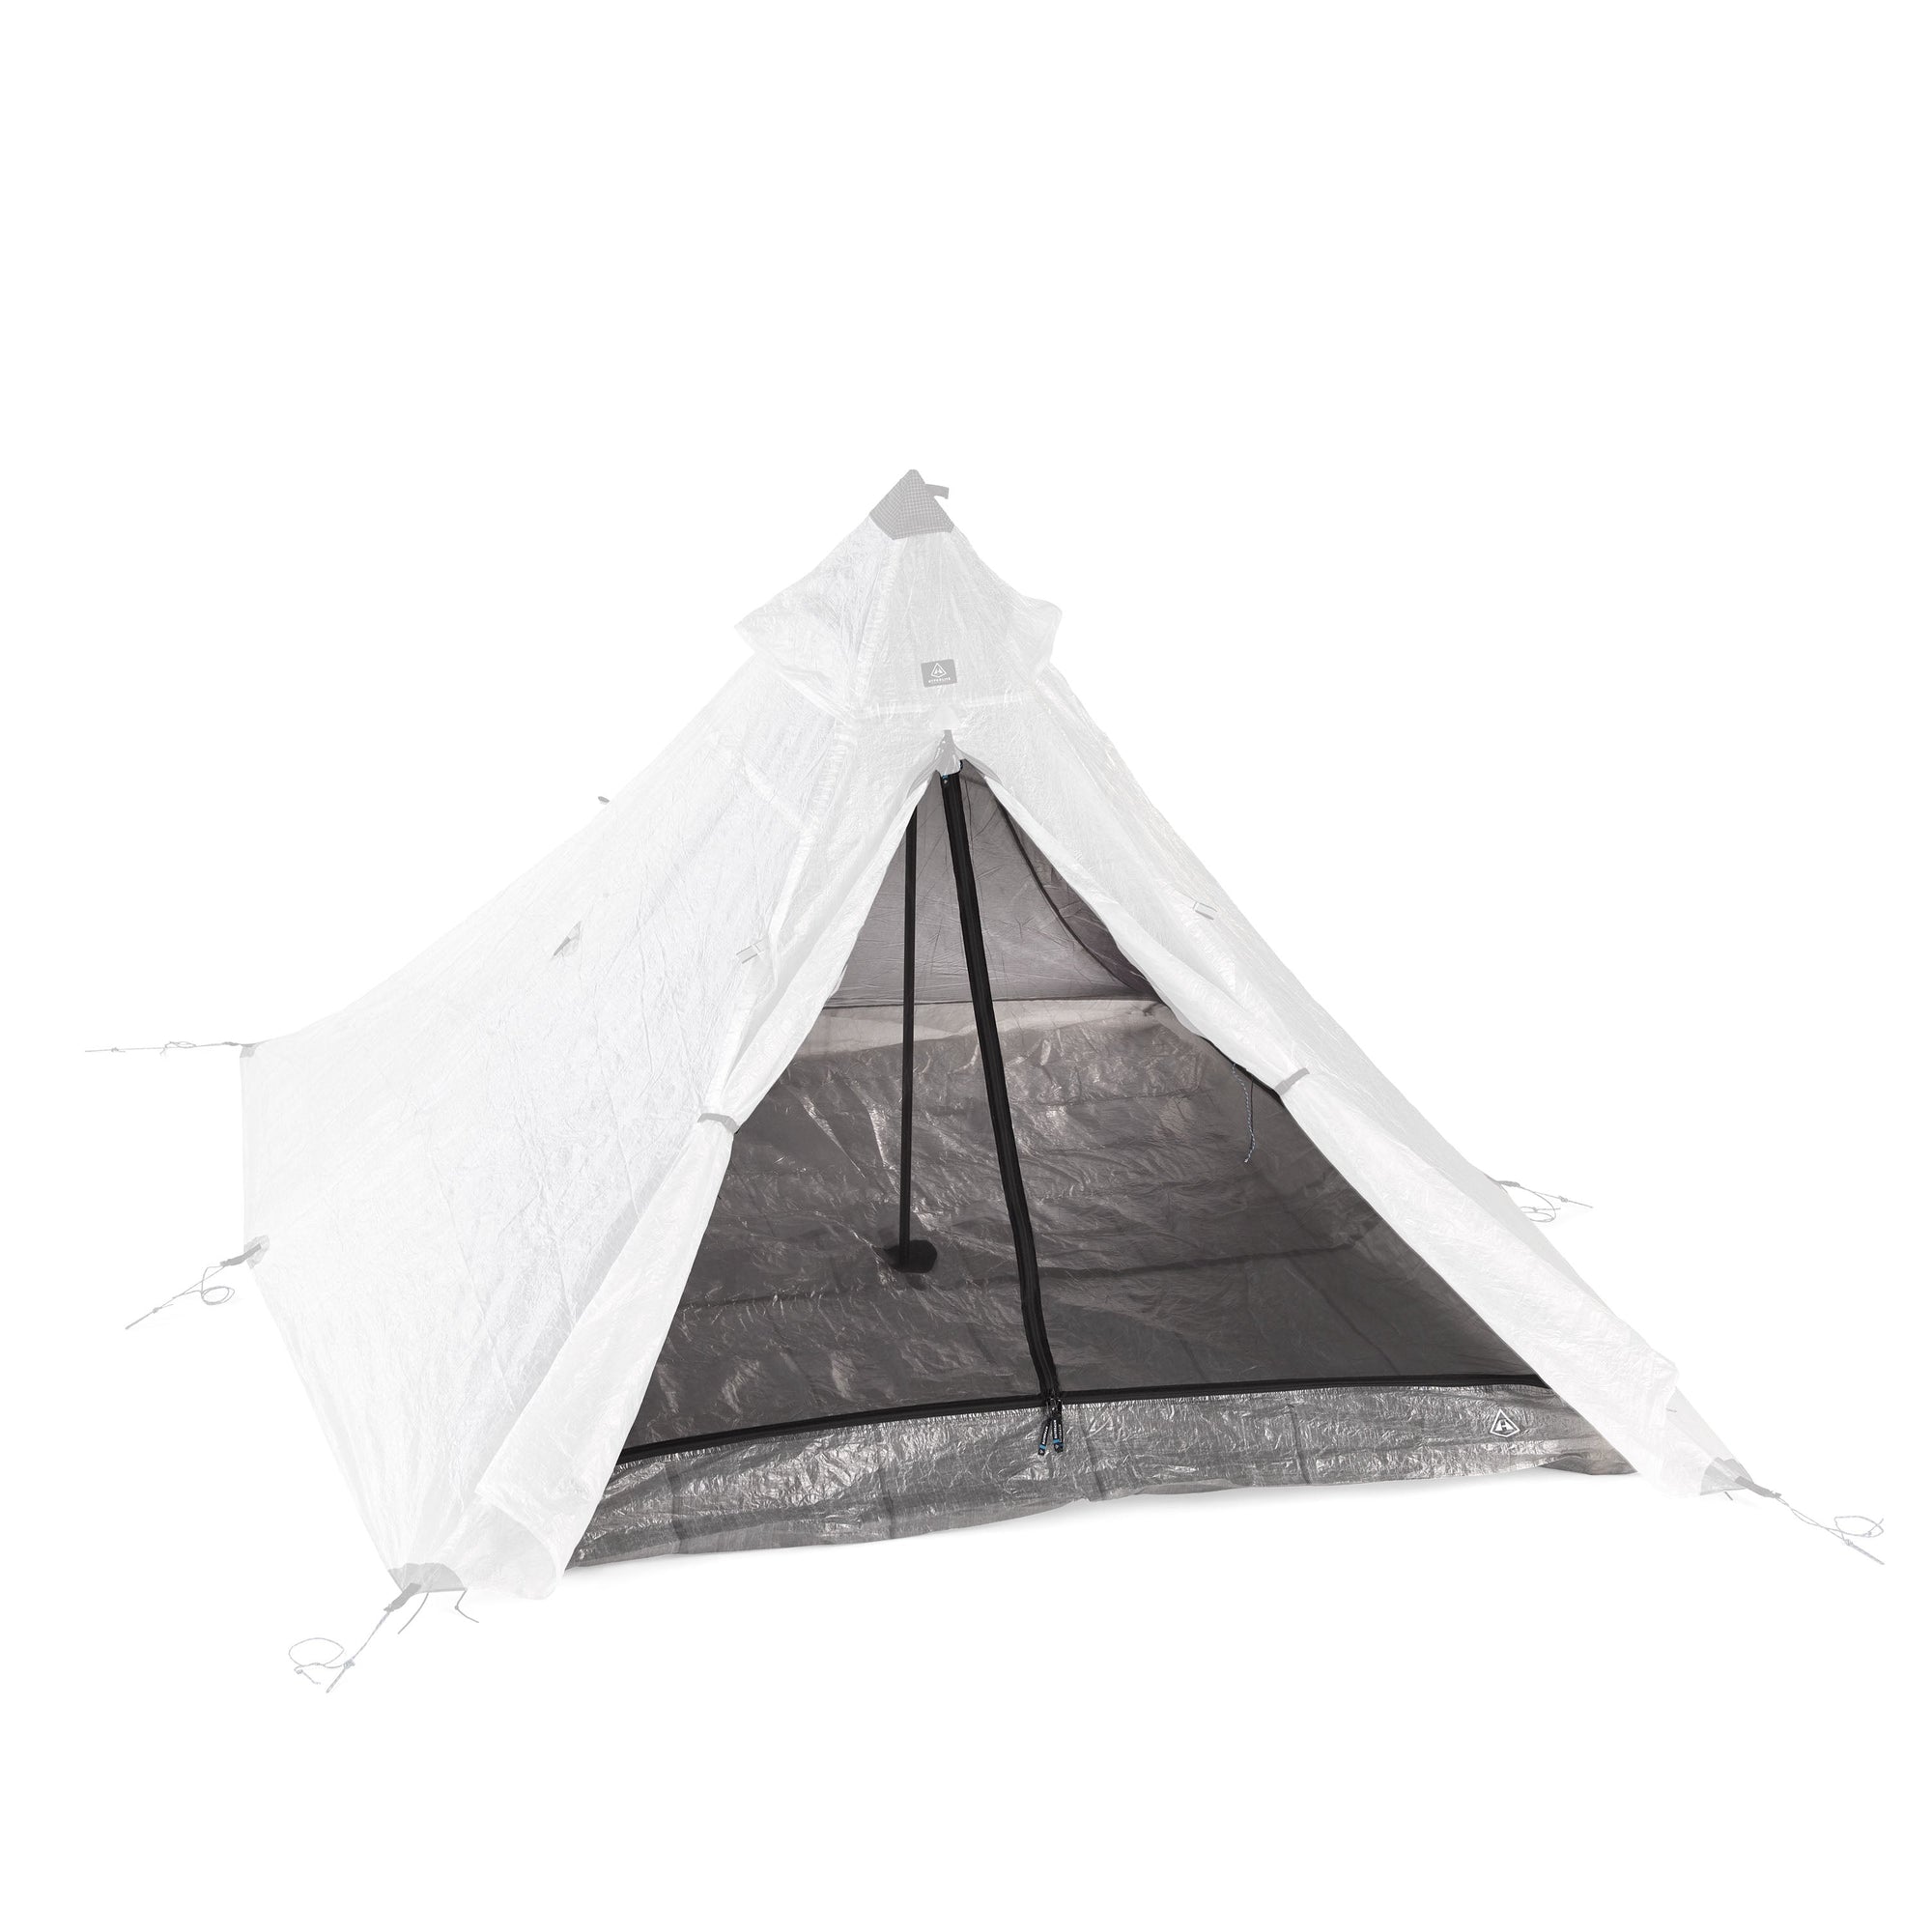


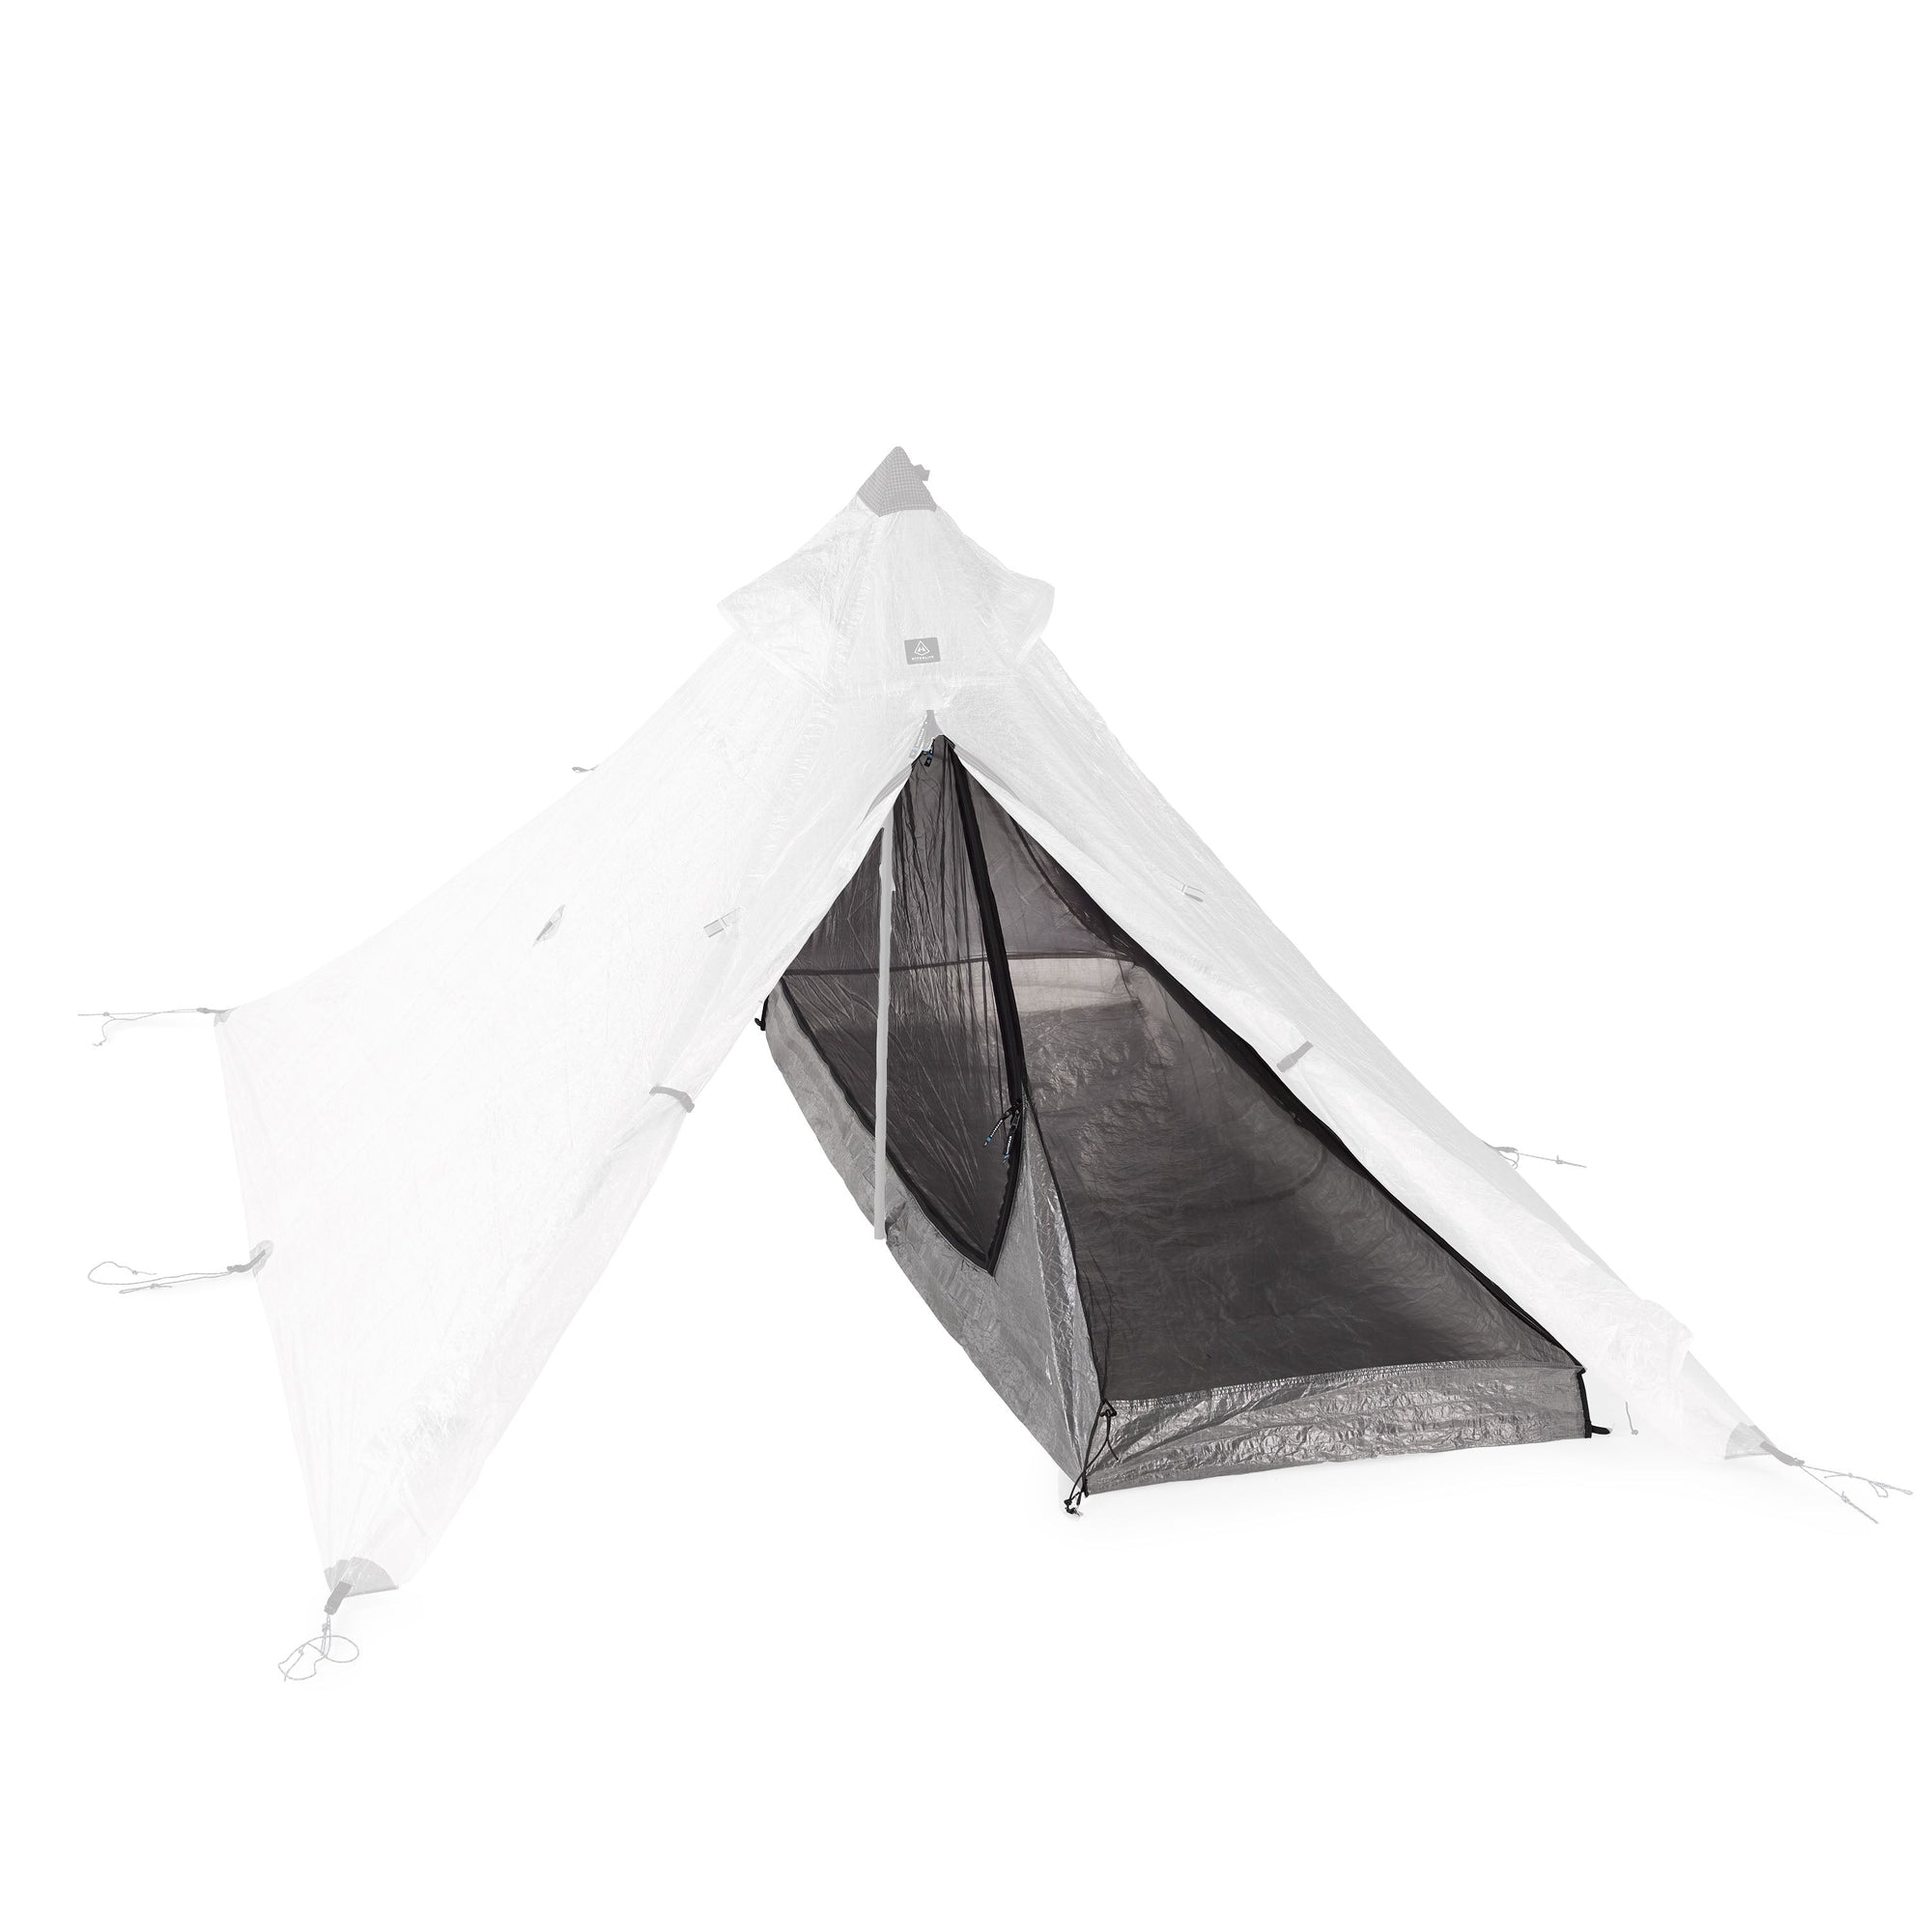
UltaMid 4 – Ultralight Pyramid Tent
From $849.00

UltaMid 4 Half Insert
$299.00


UltaMid 4 Mesh Insert, No Floor
$125.00

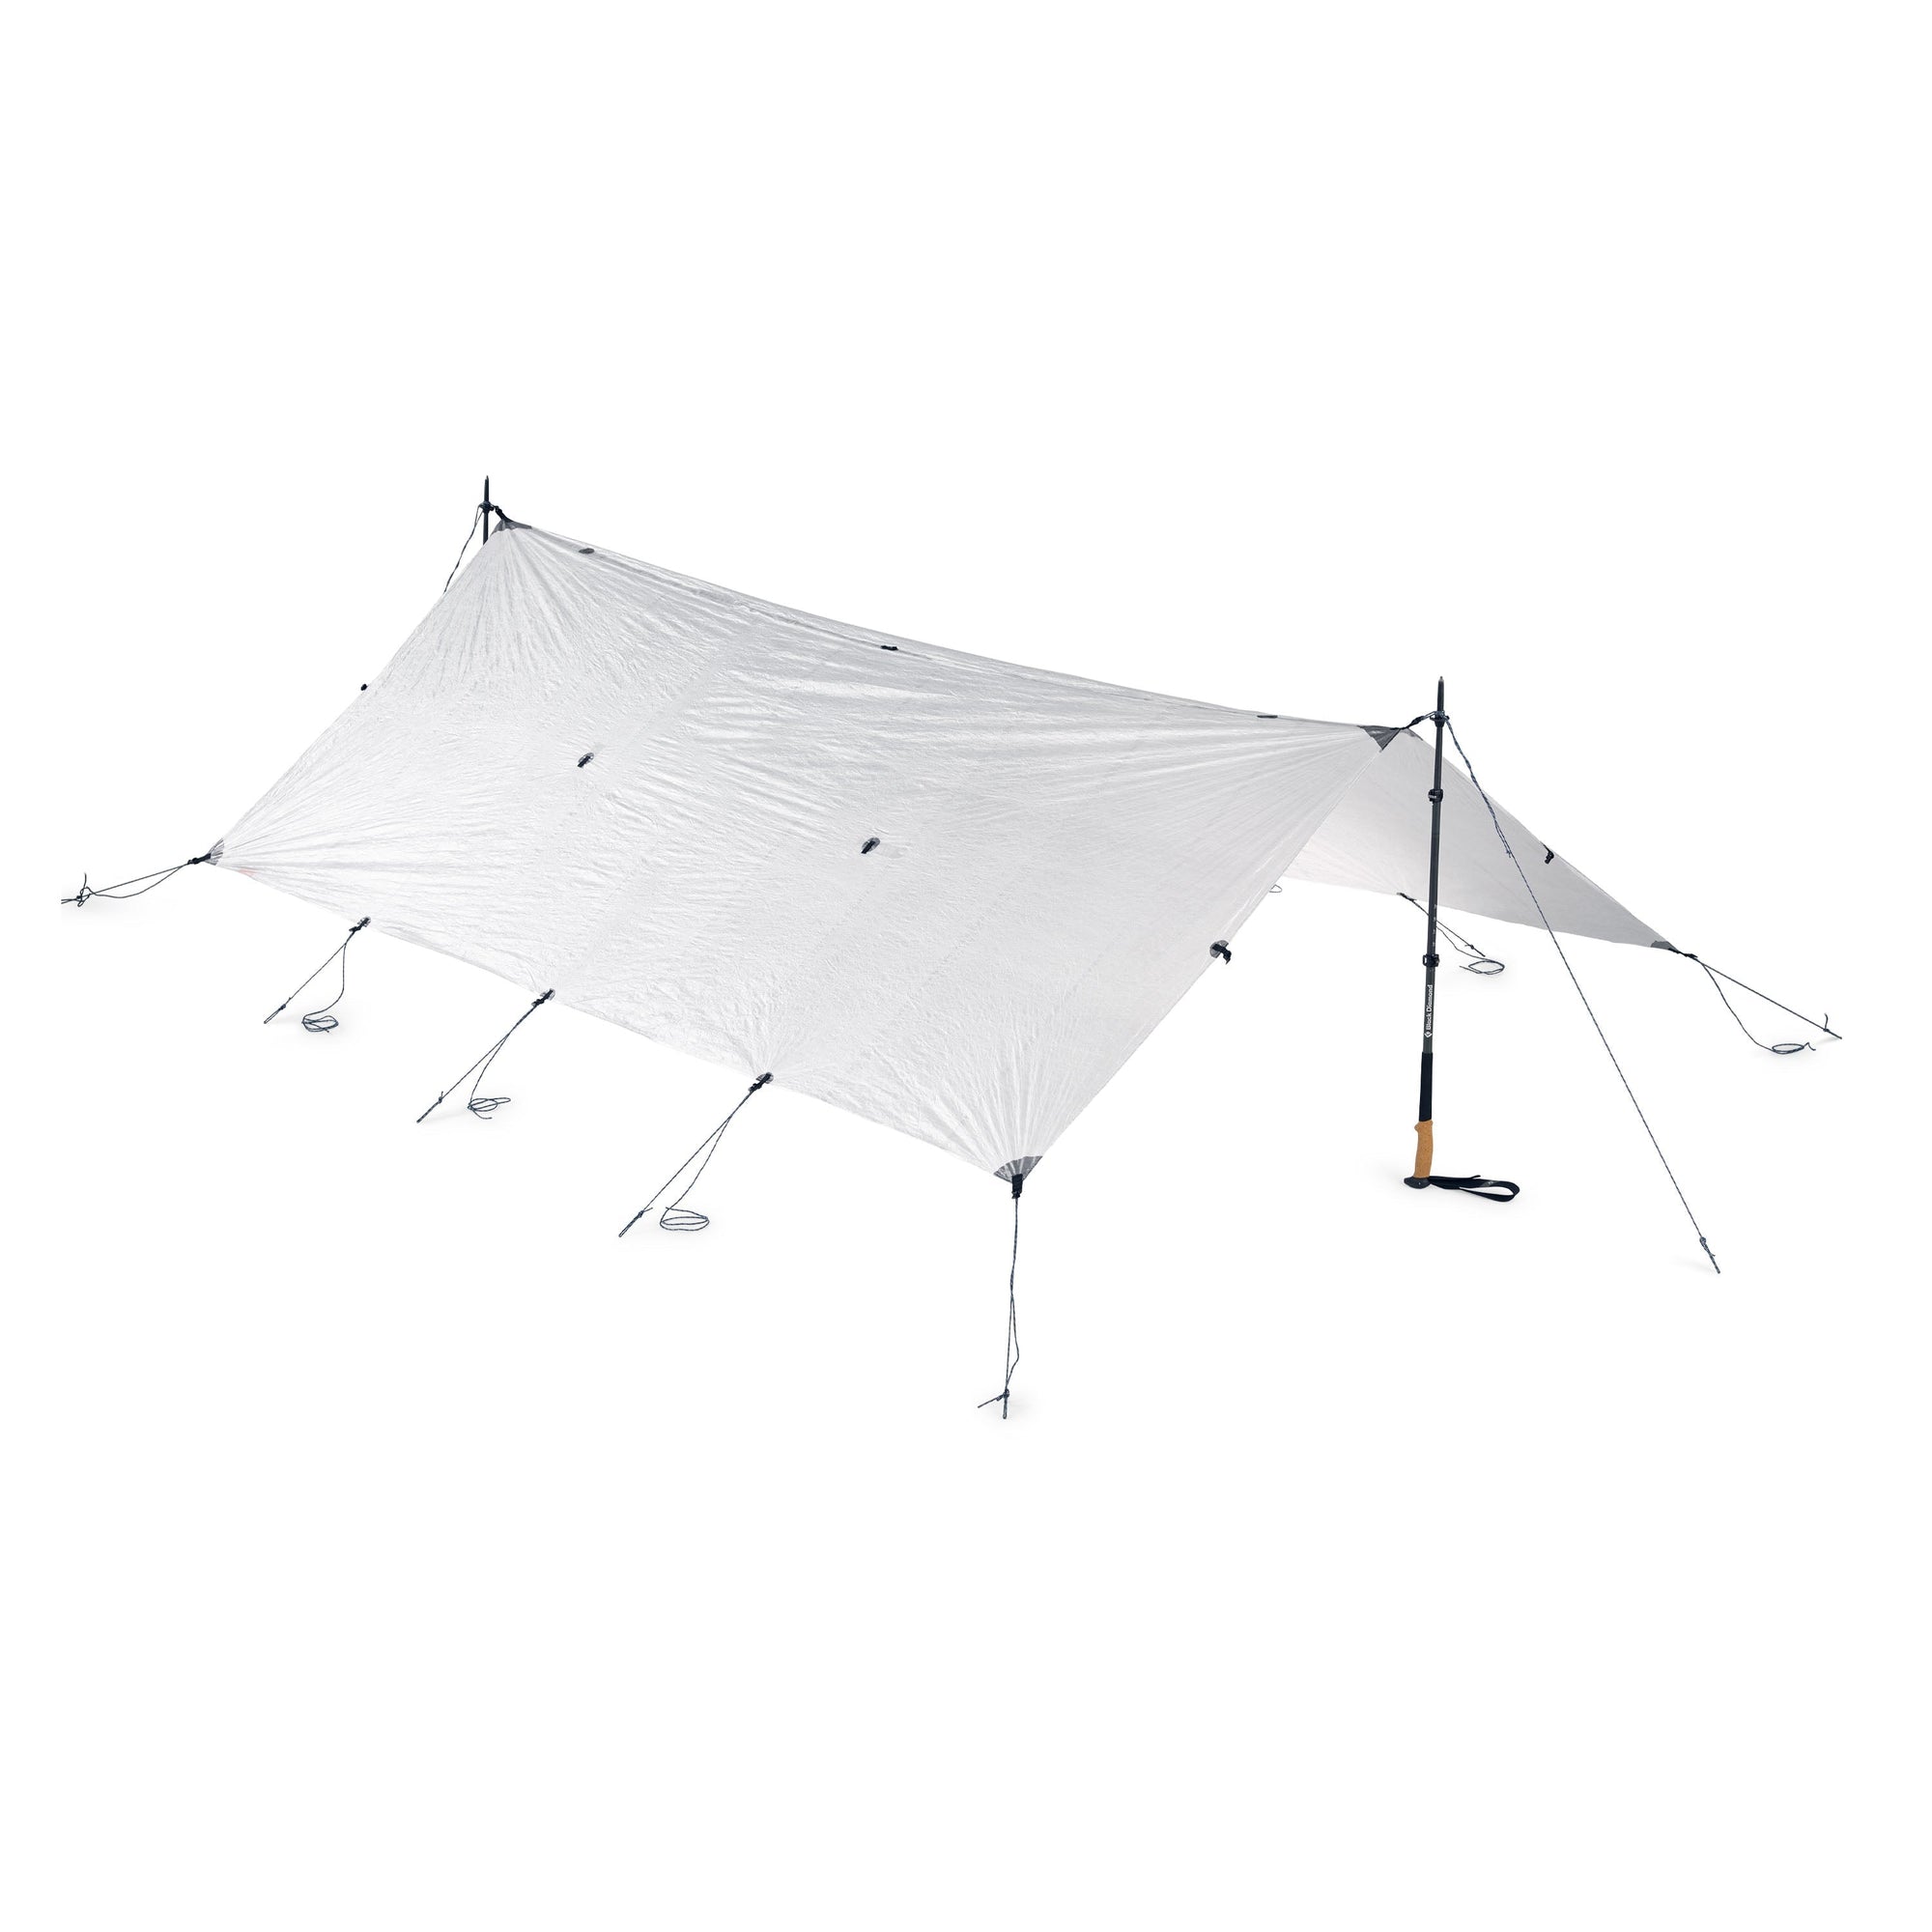
Flat Tarp
From $369.00

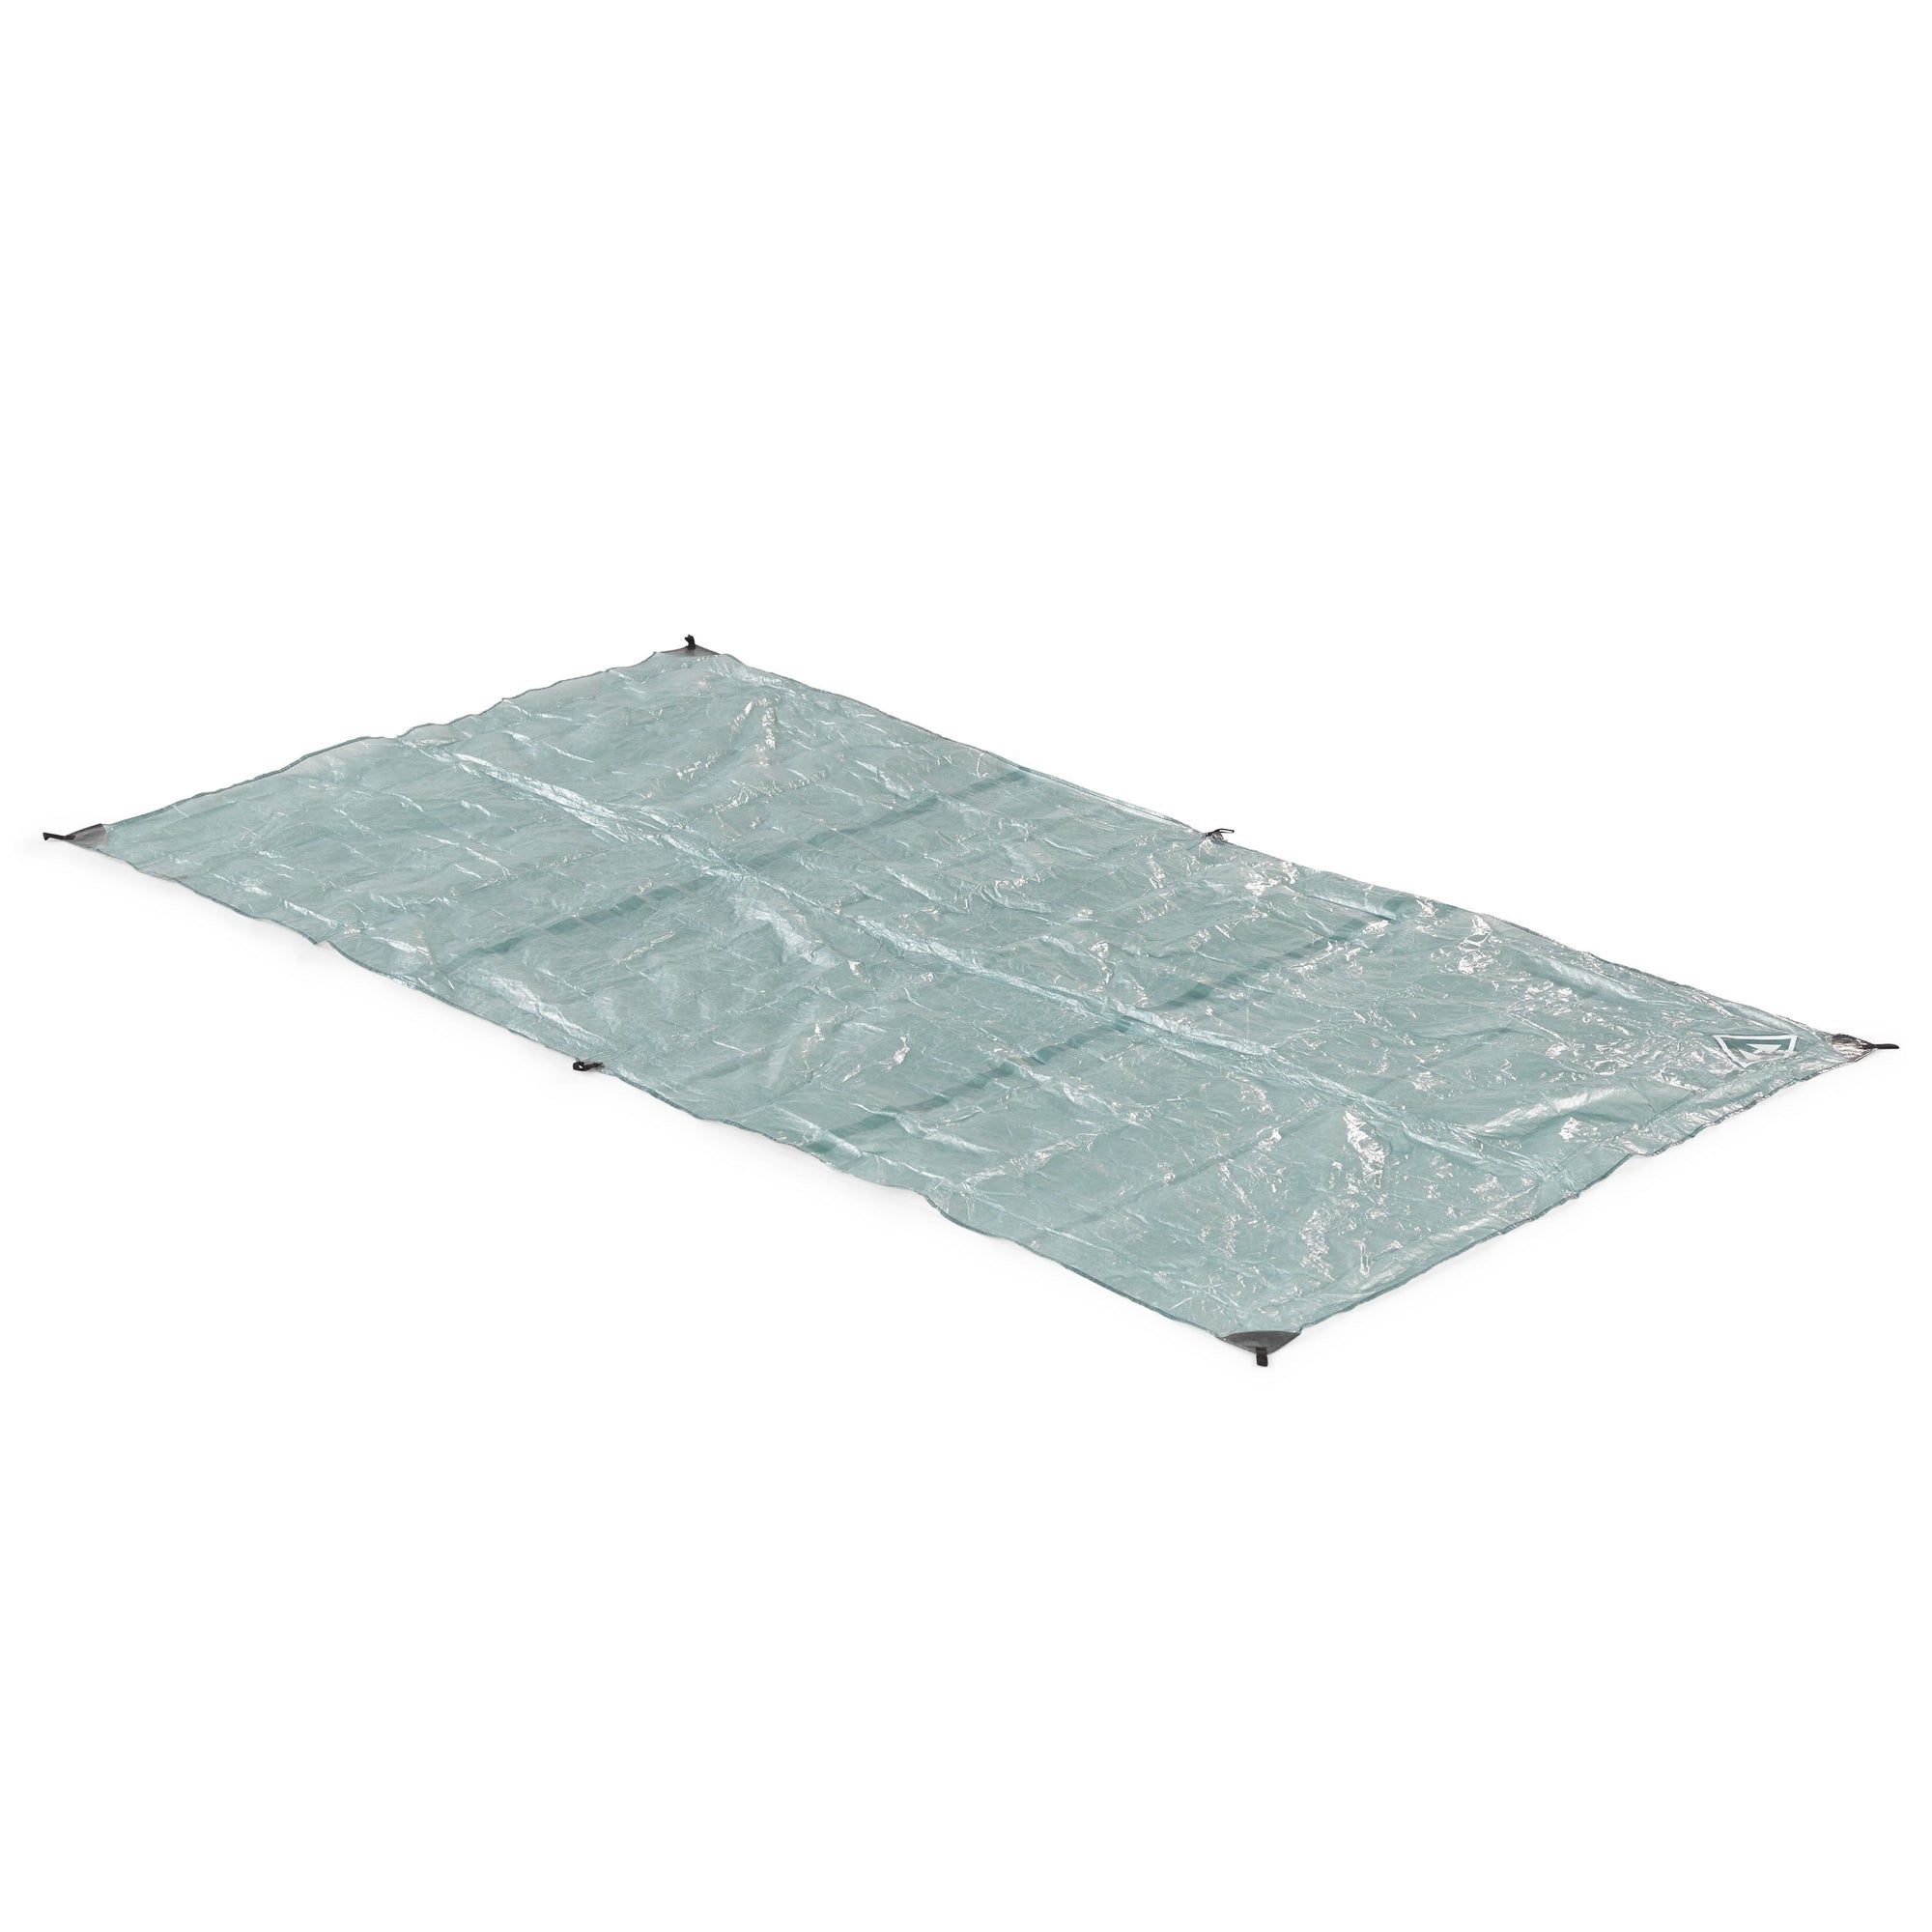
Ground Cloth
$180.00

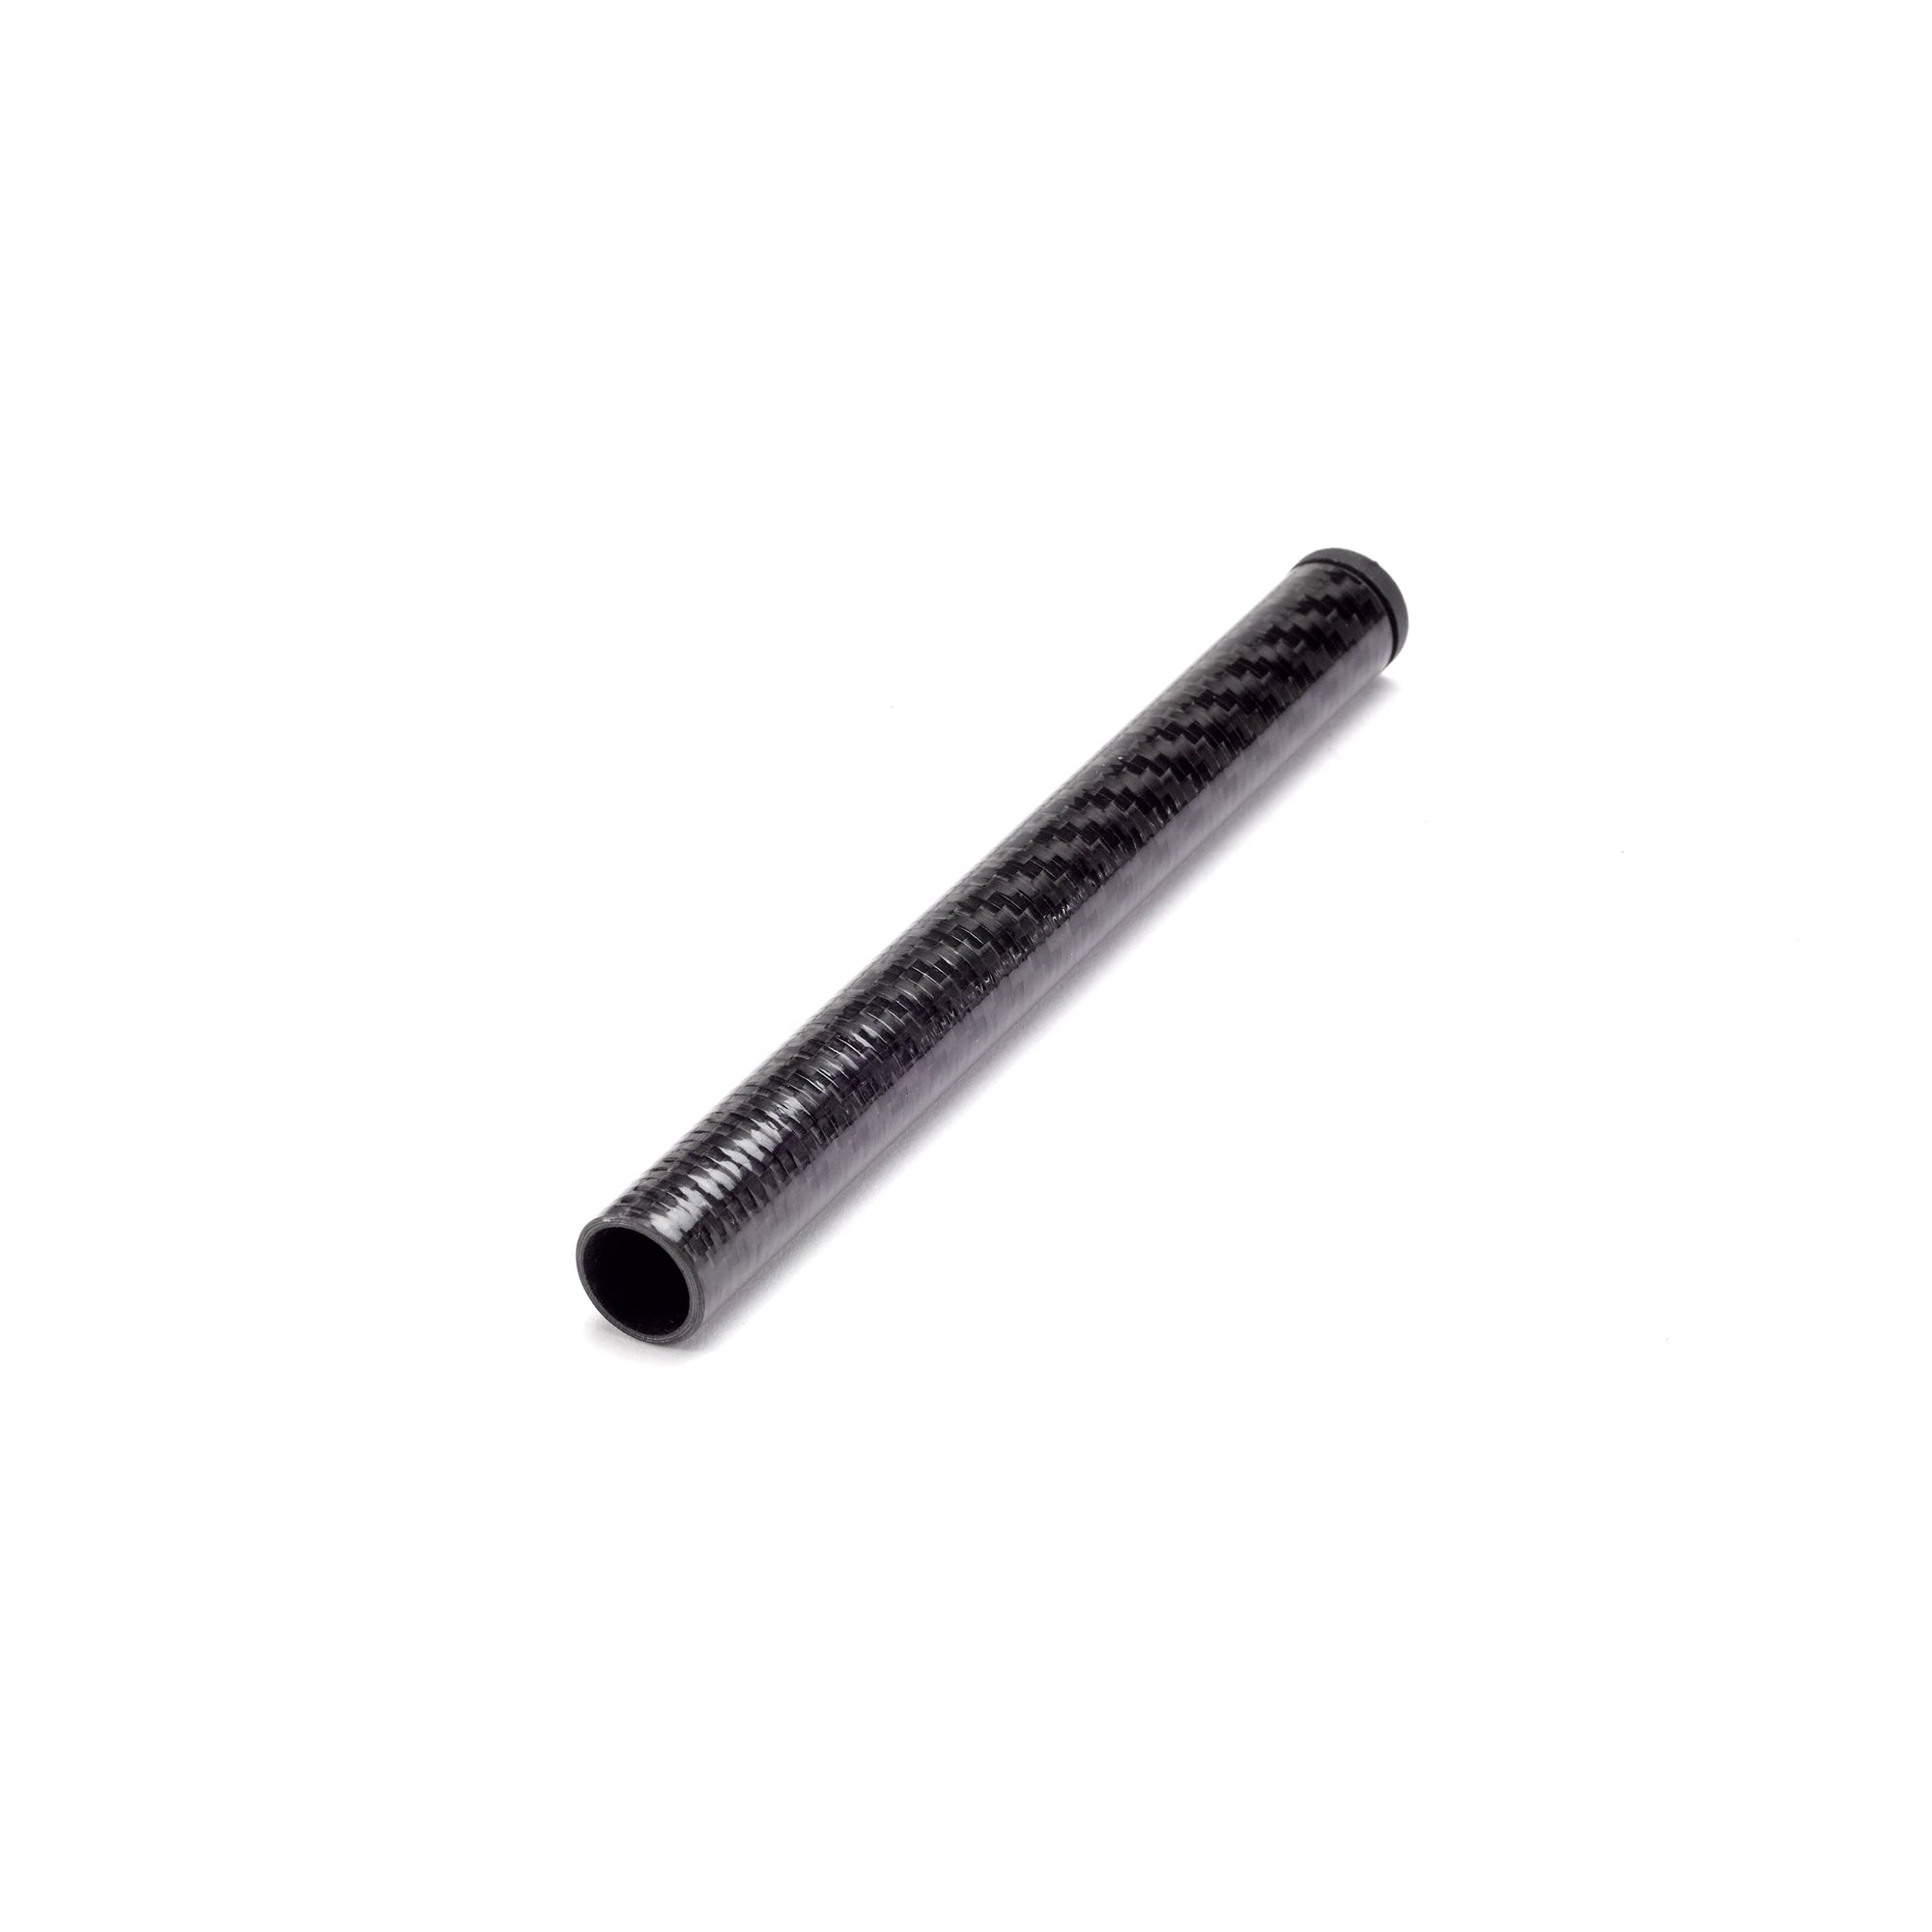
Tent Pole Jack
$9.00

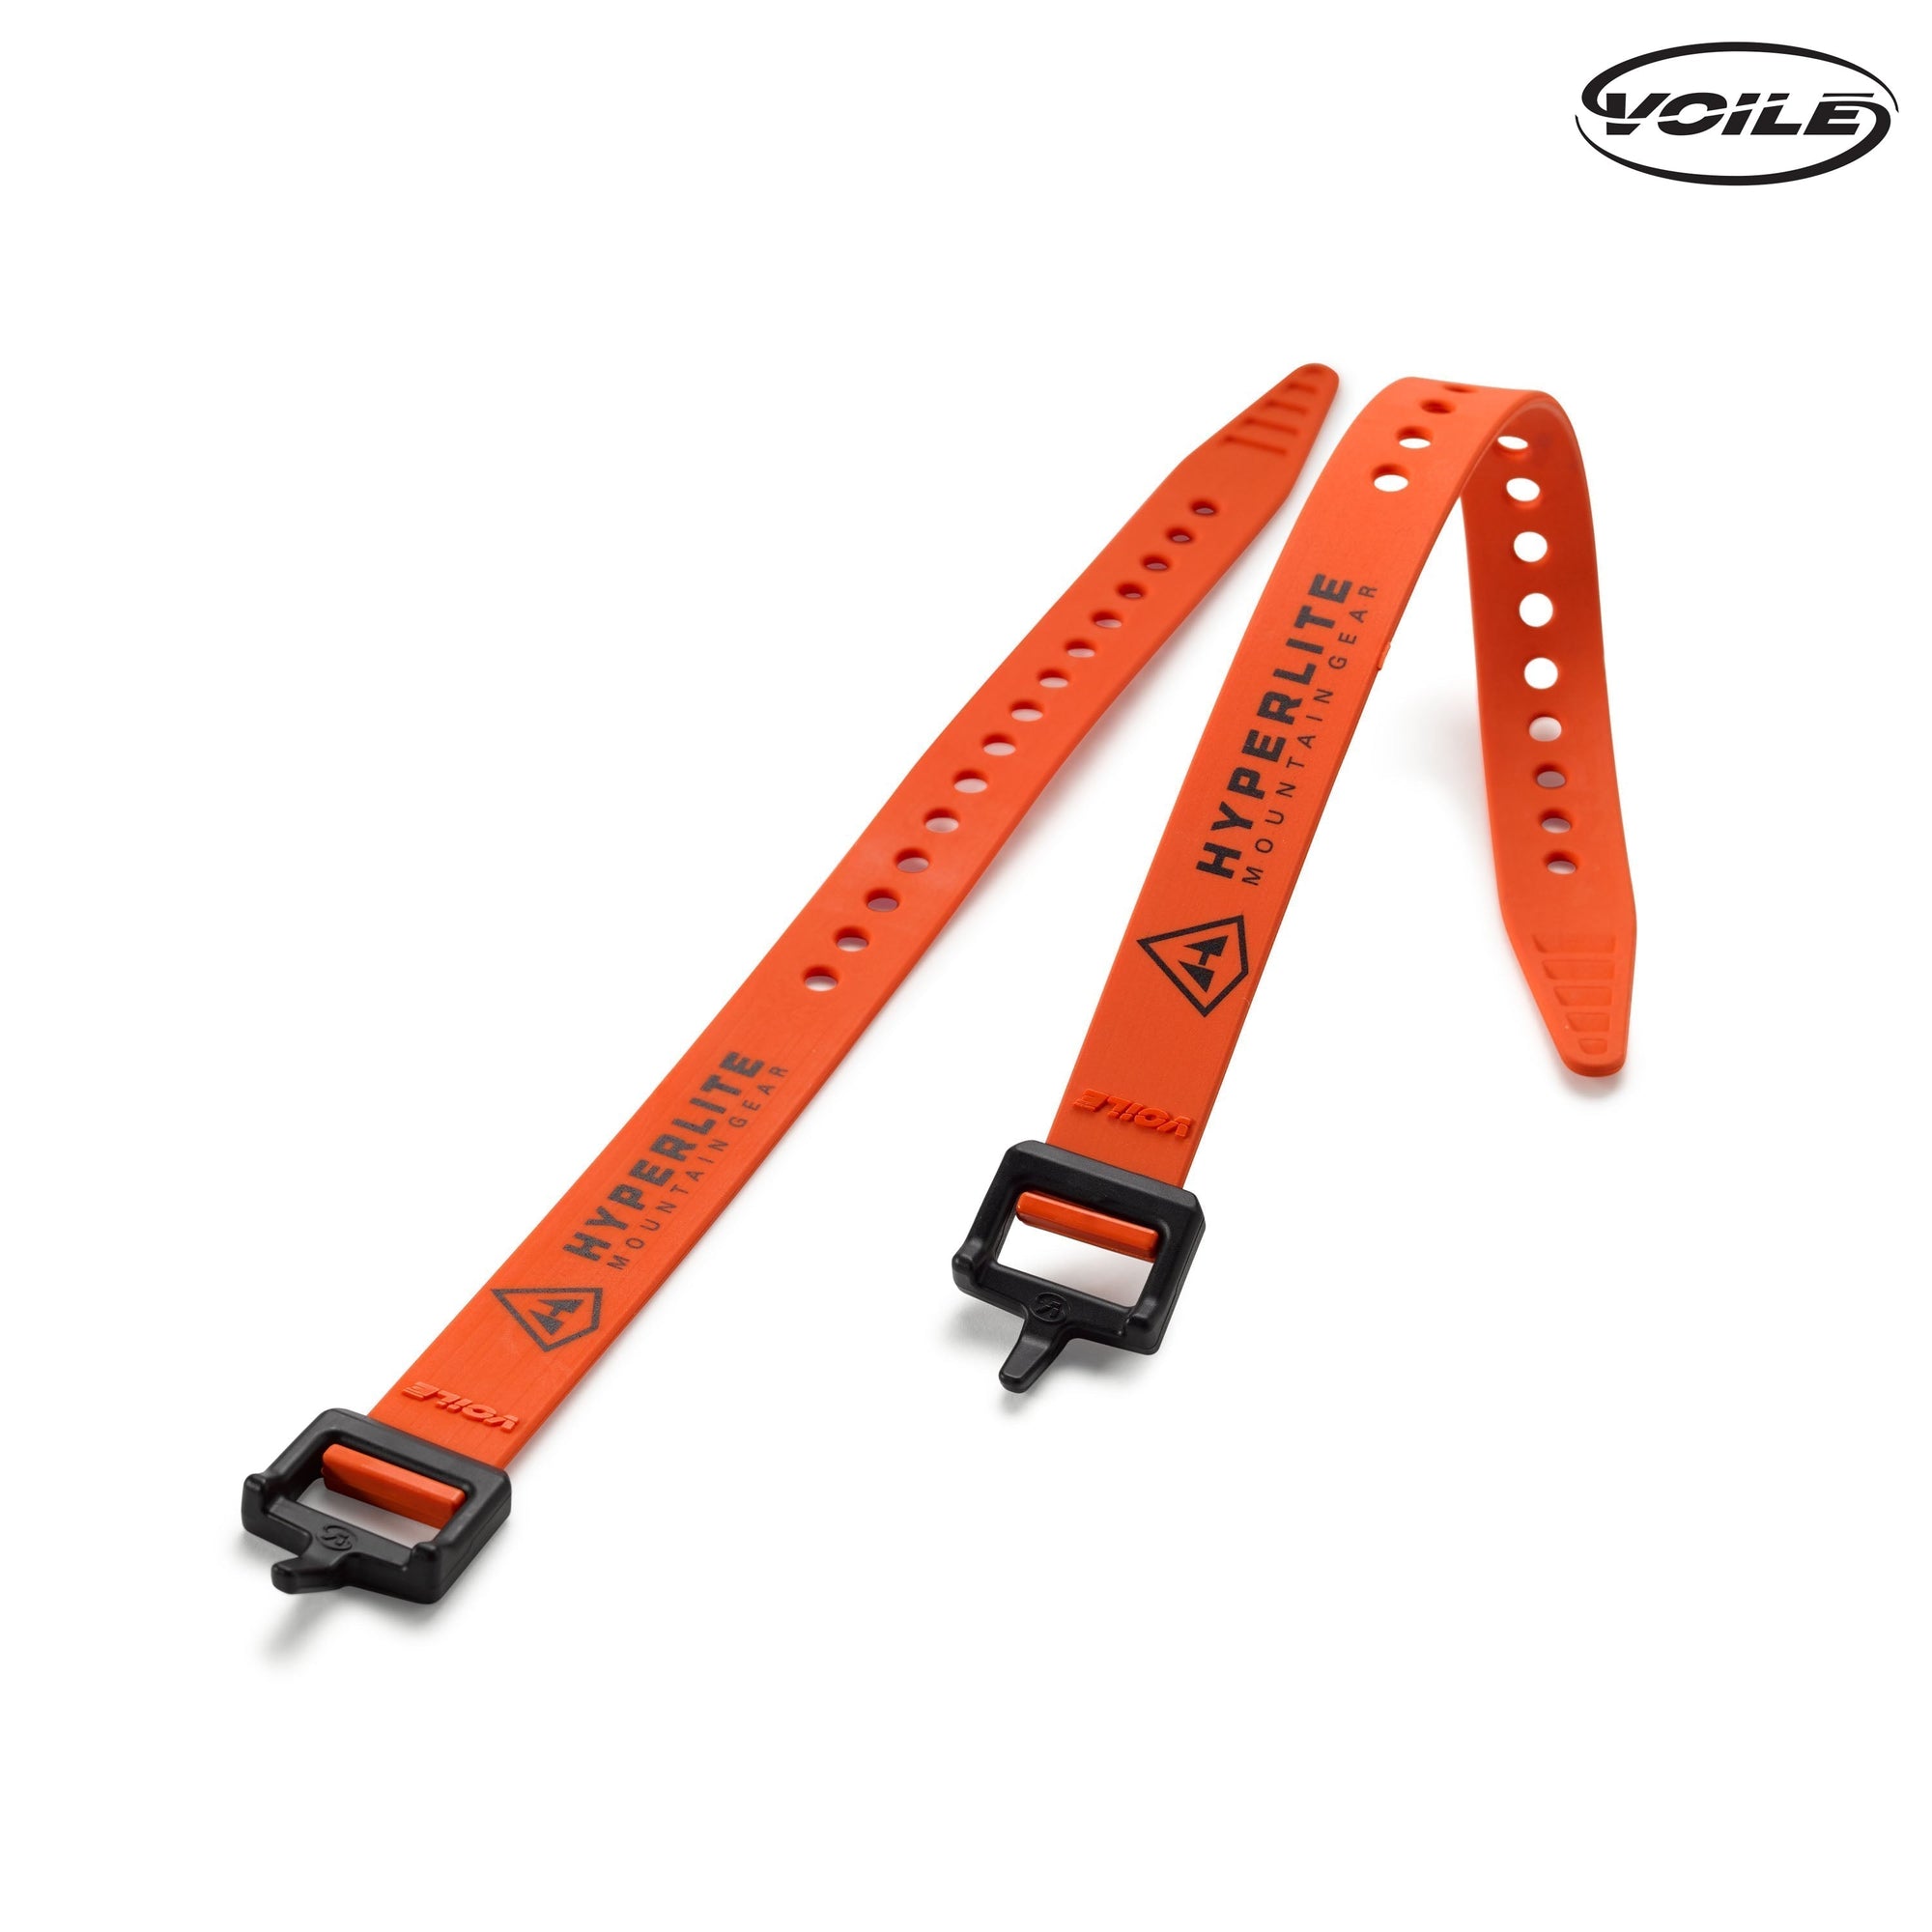
Voile Straps
From $19.00

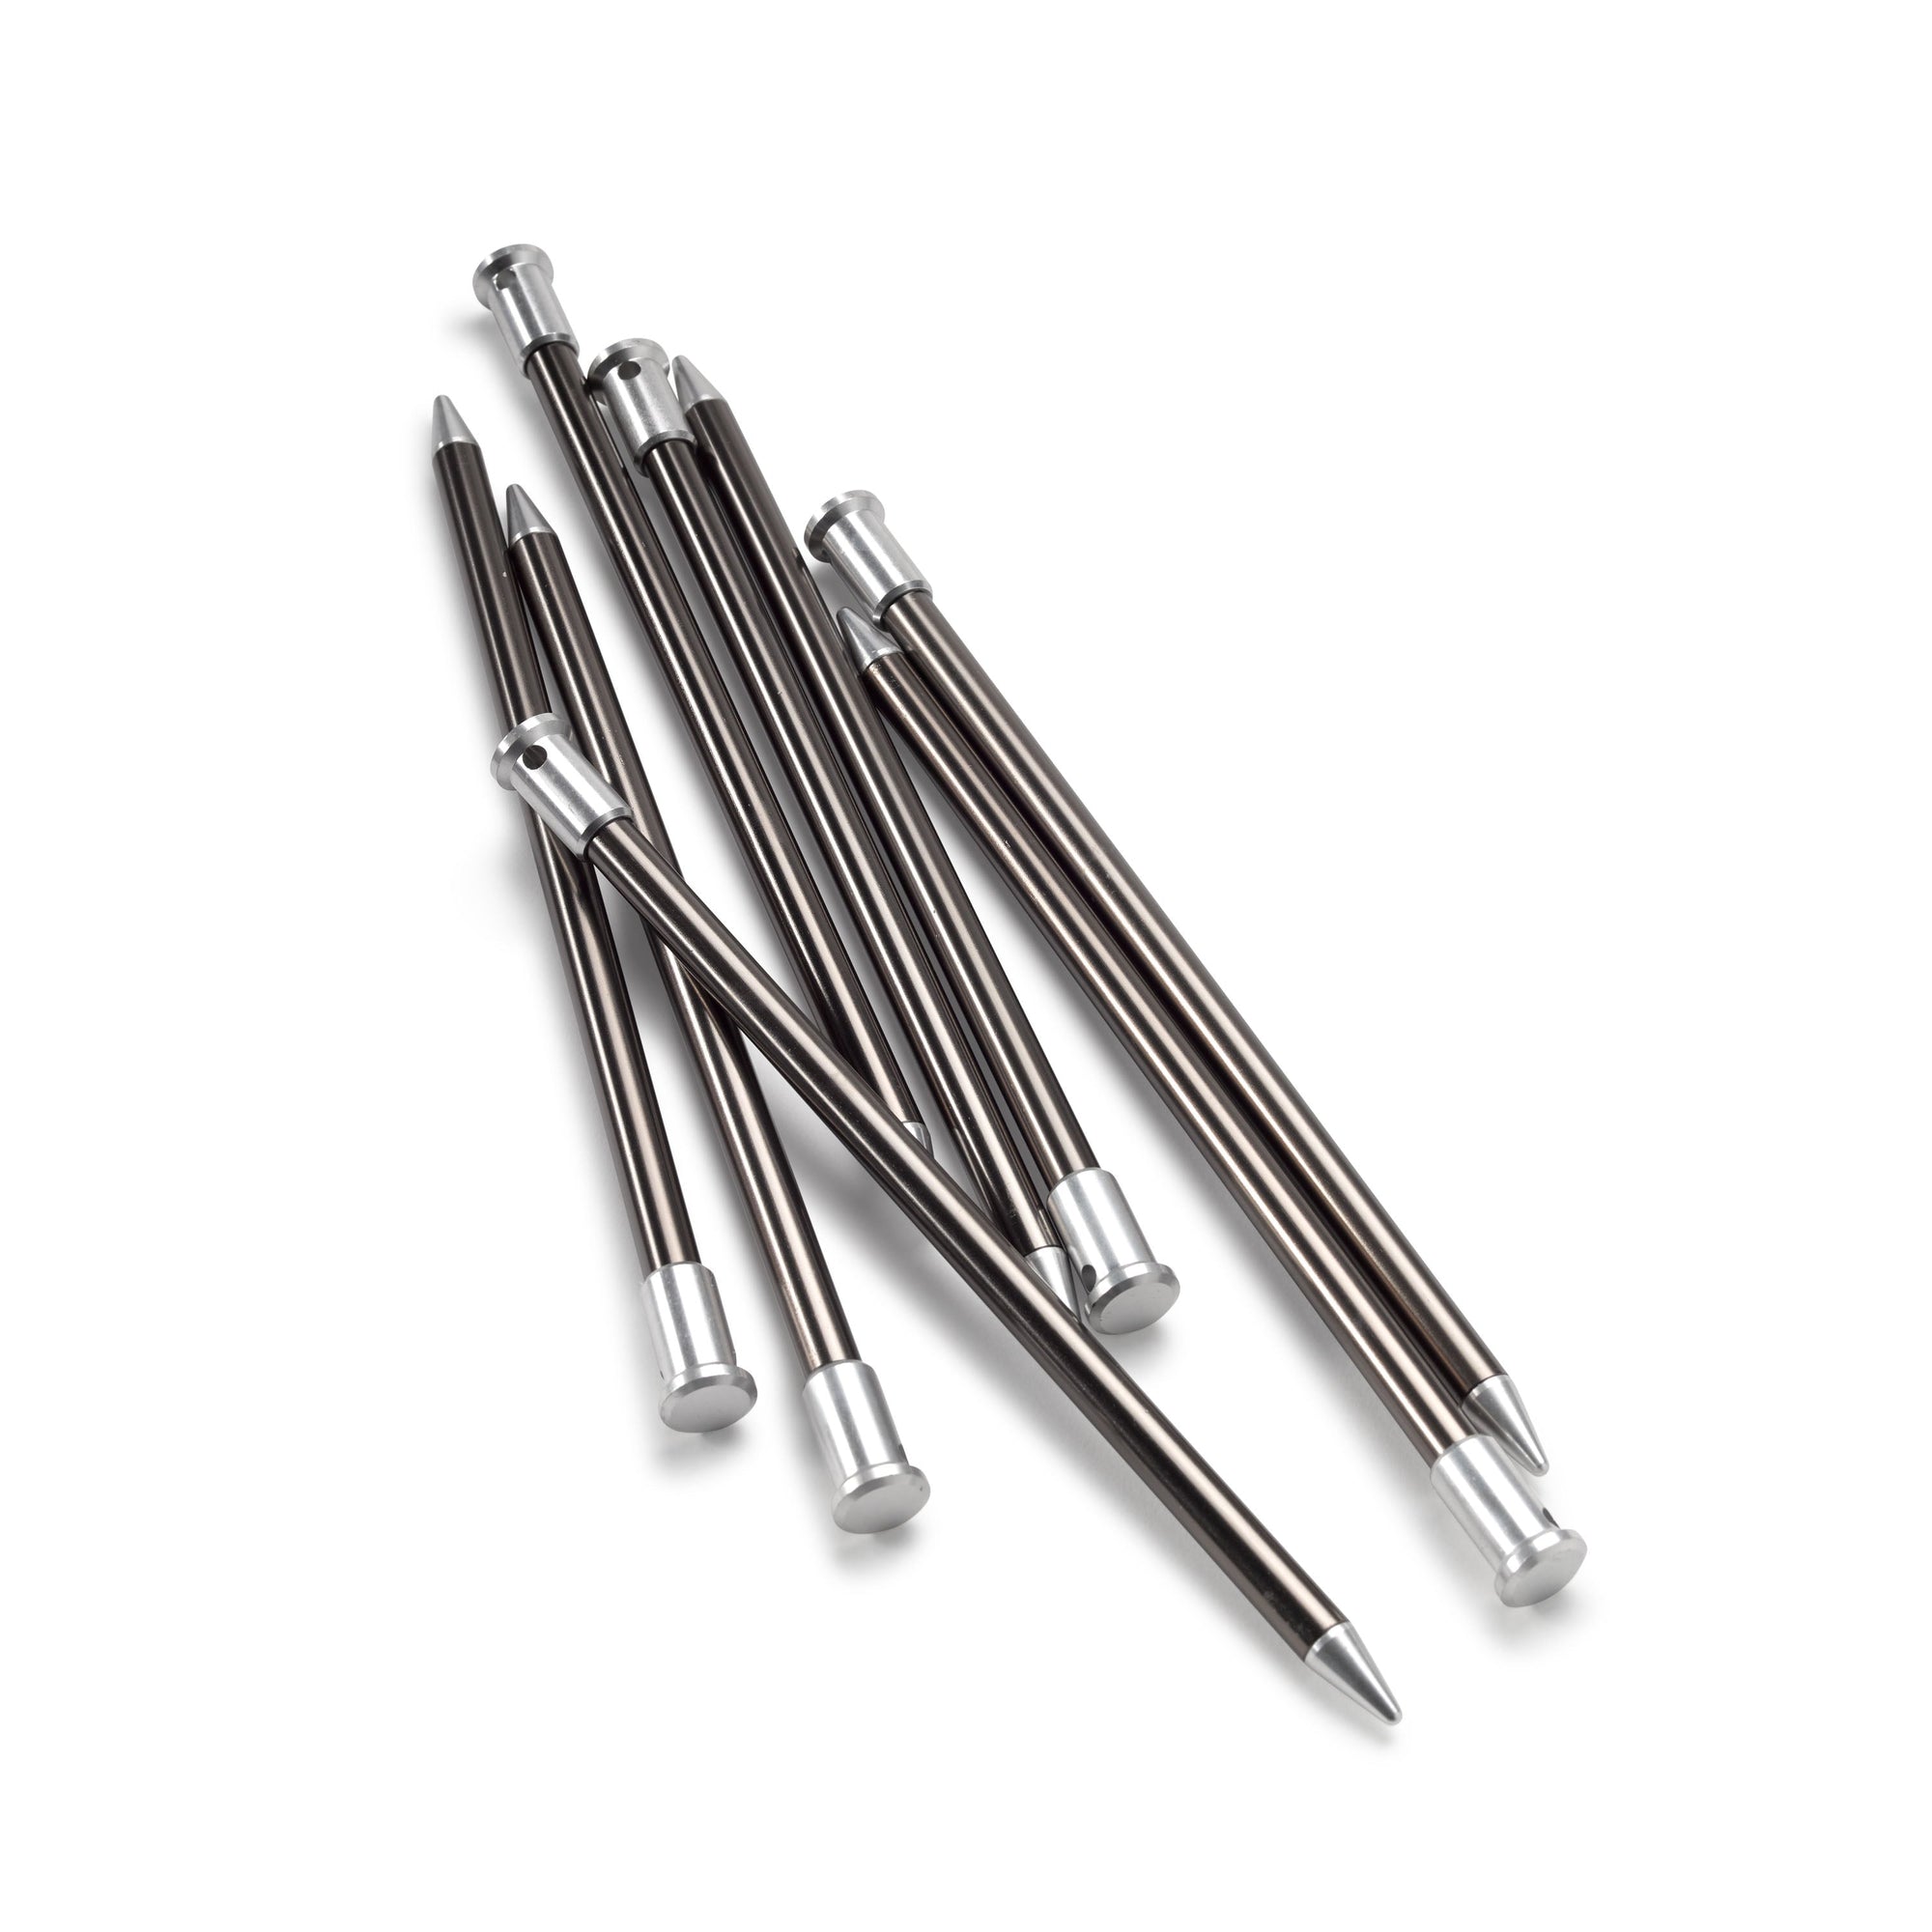
Ultralight Tent Stake Kit
$39.00

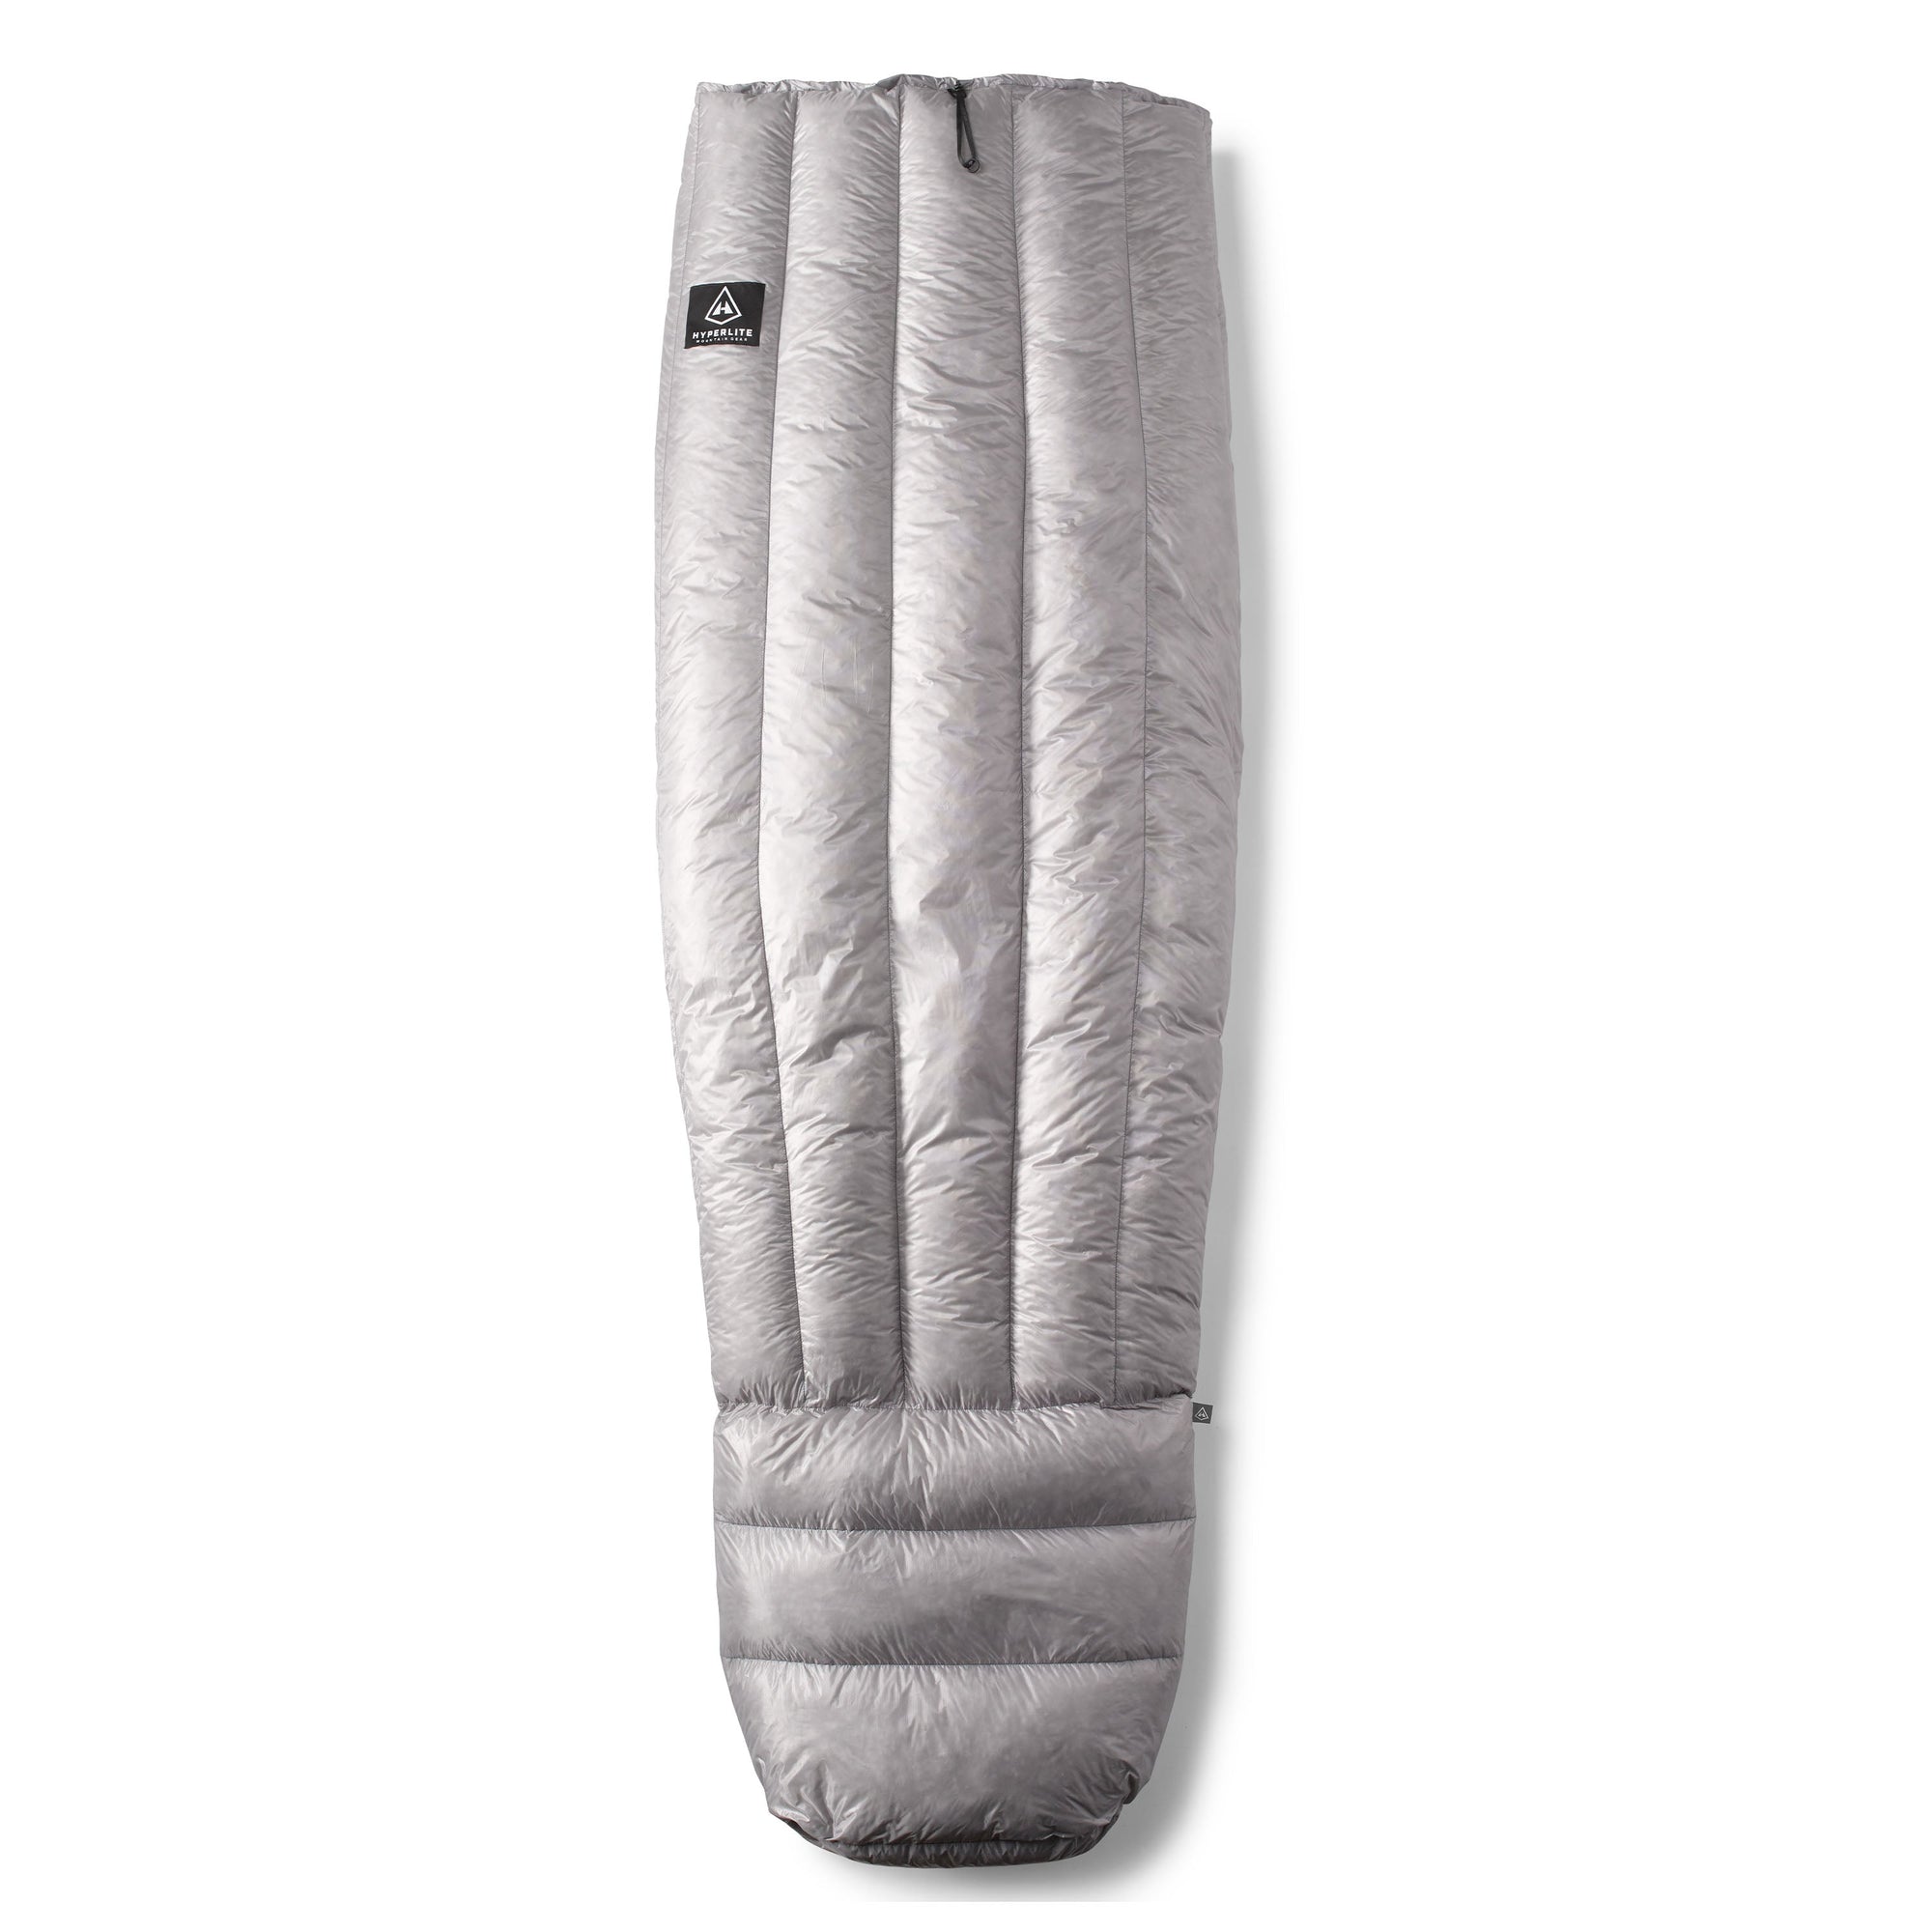
40-Degree Quilt
$399.00

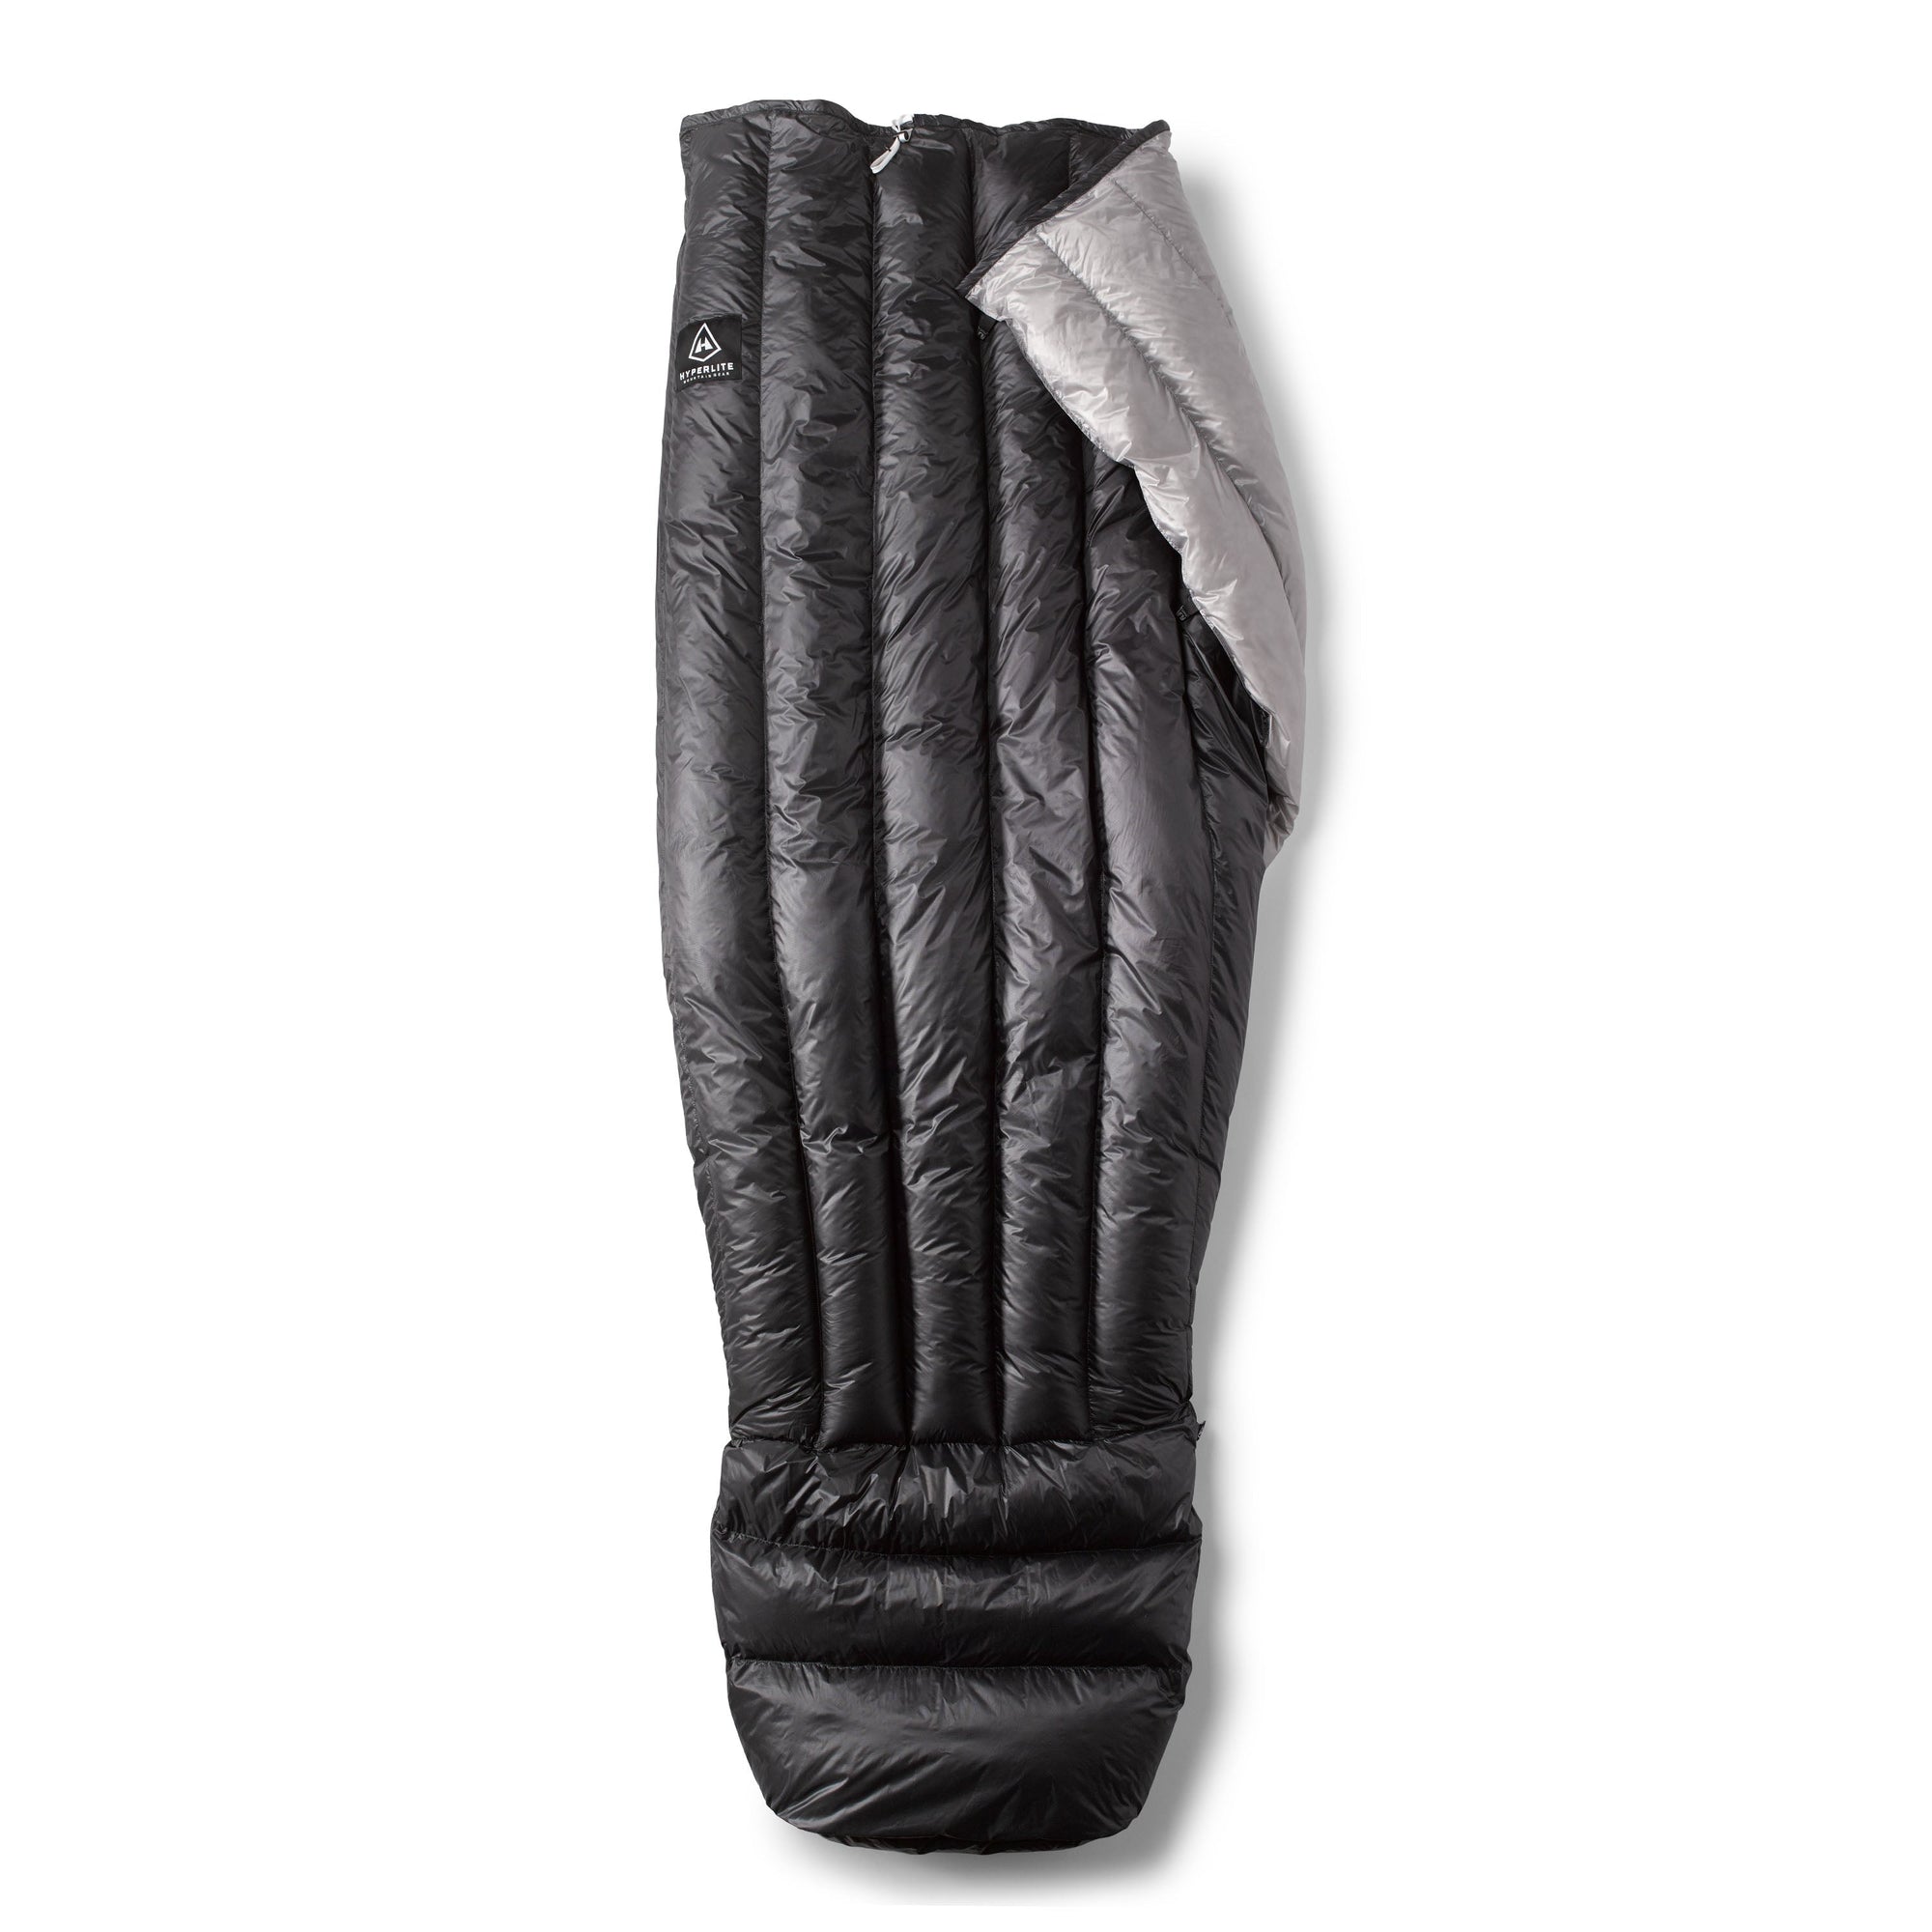
20-Degree Quilt
$499.00

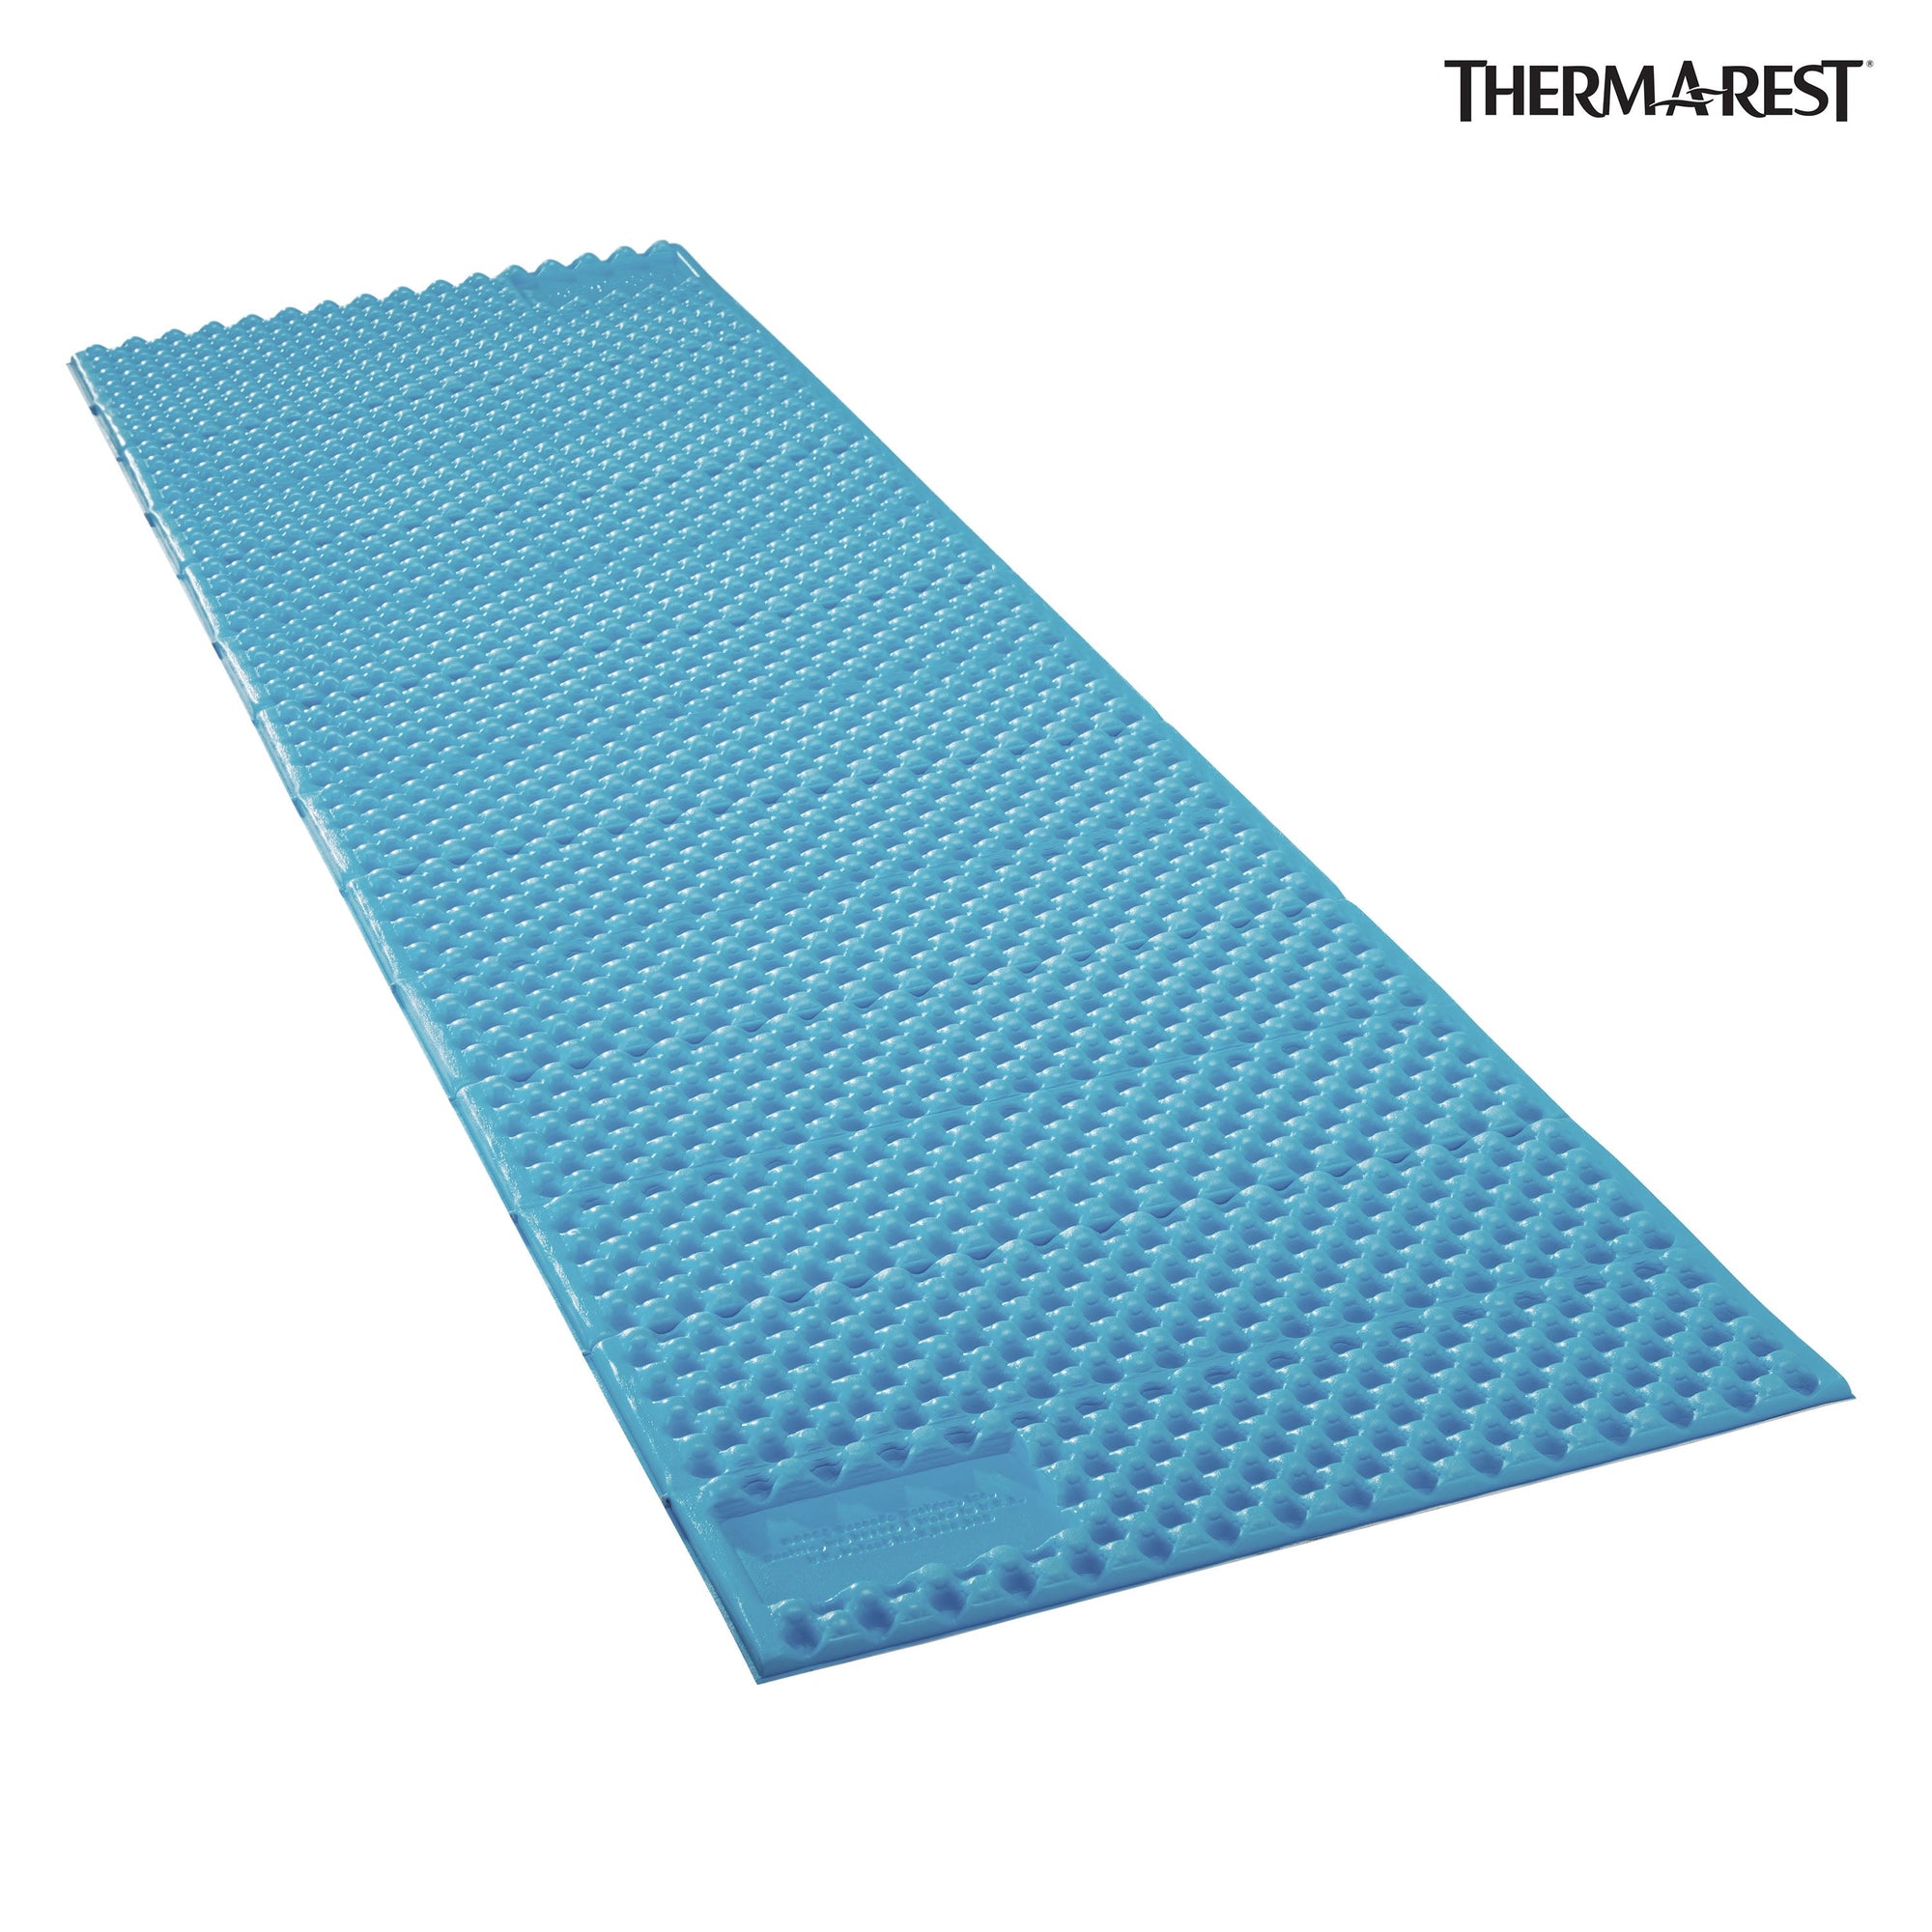
Therm-a-Rest ZLite SOL Foam Sleep Pad
From $57.95


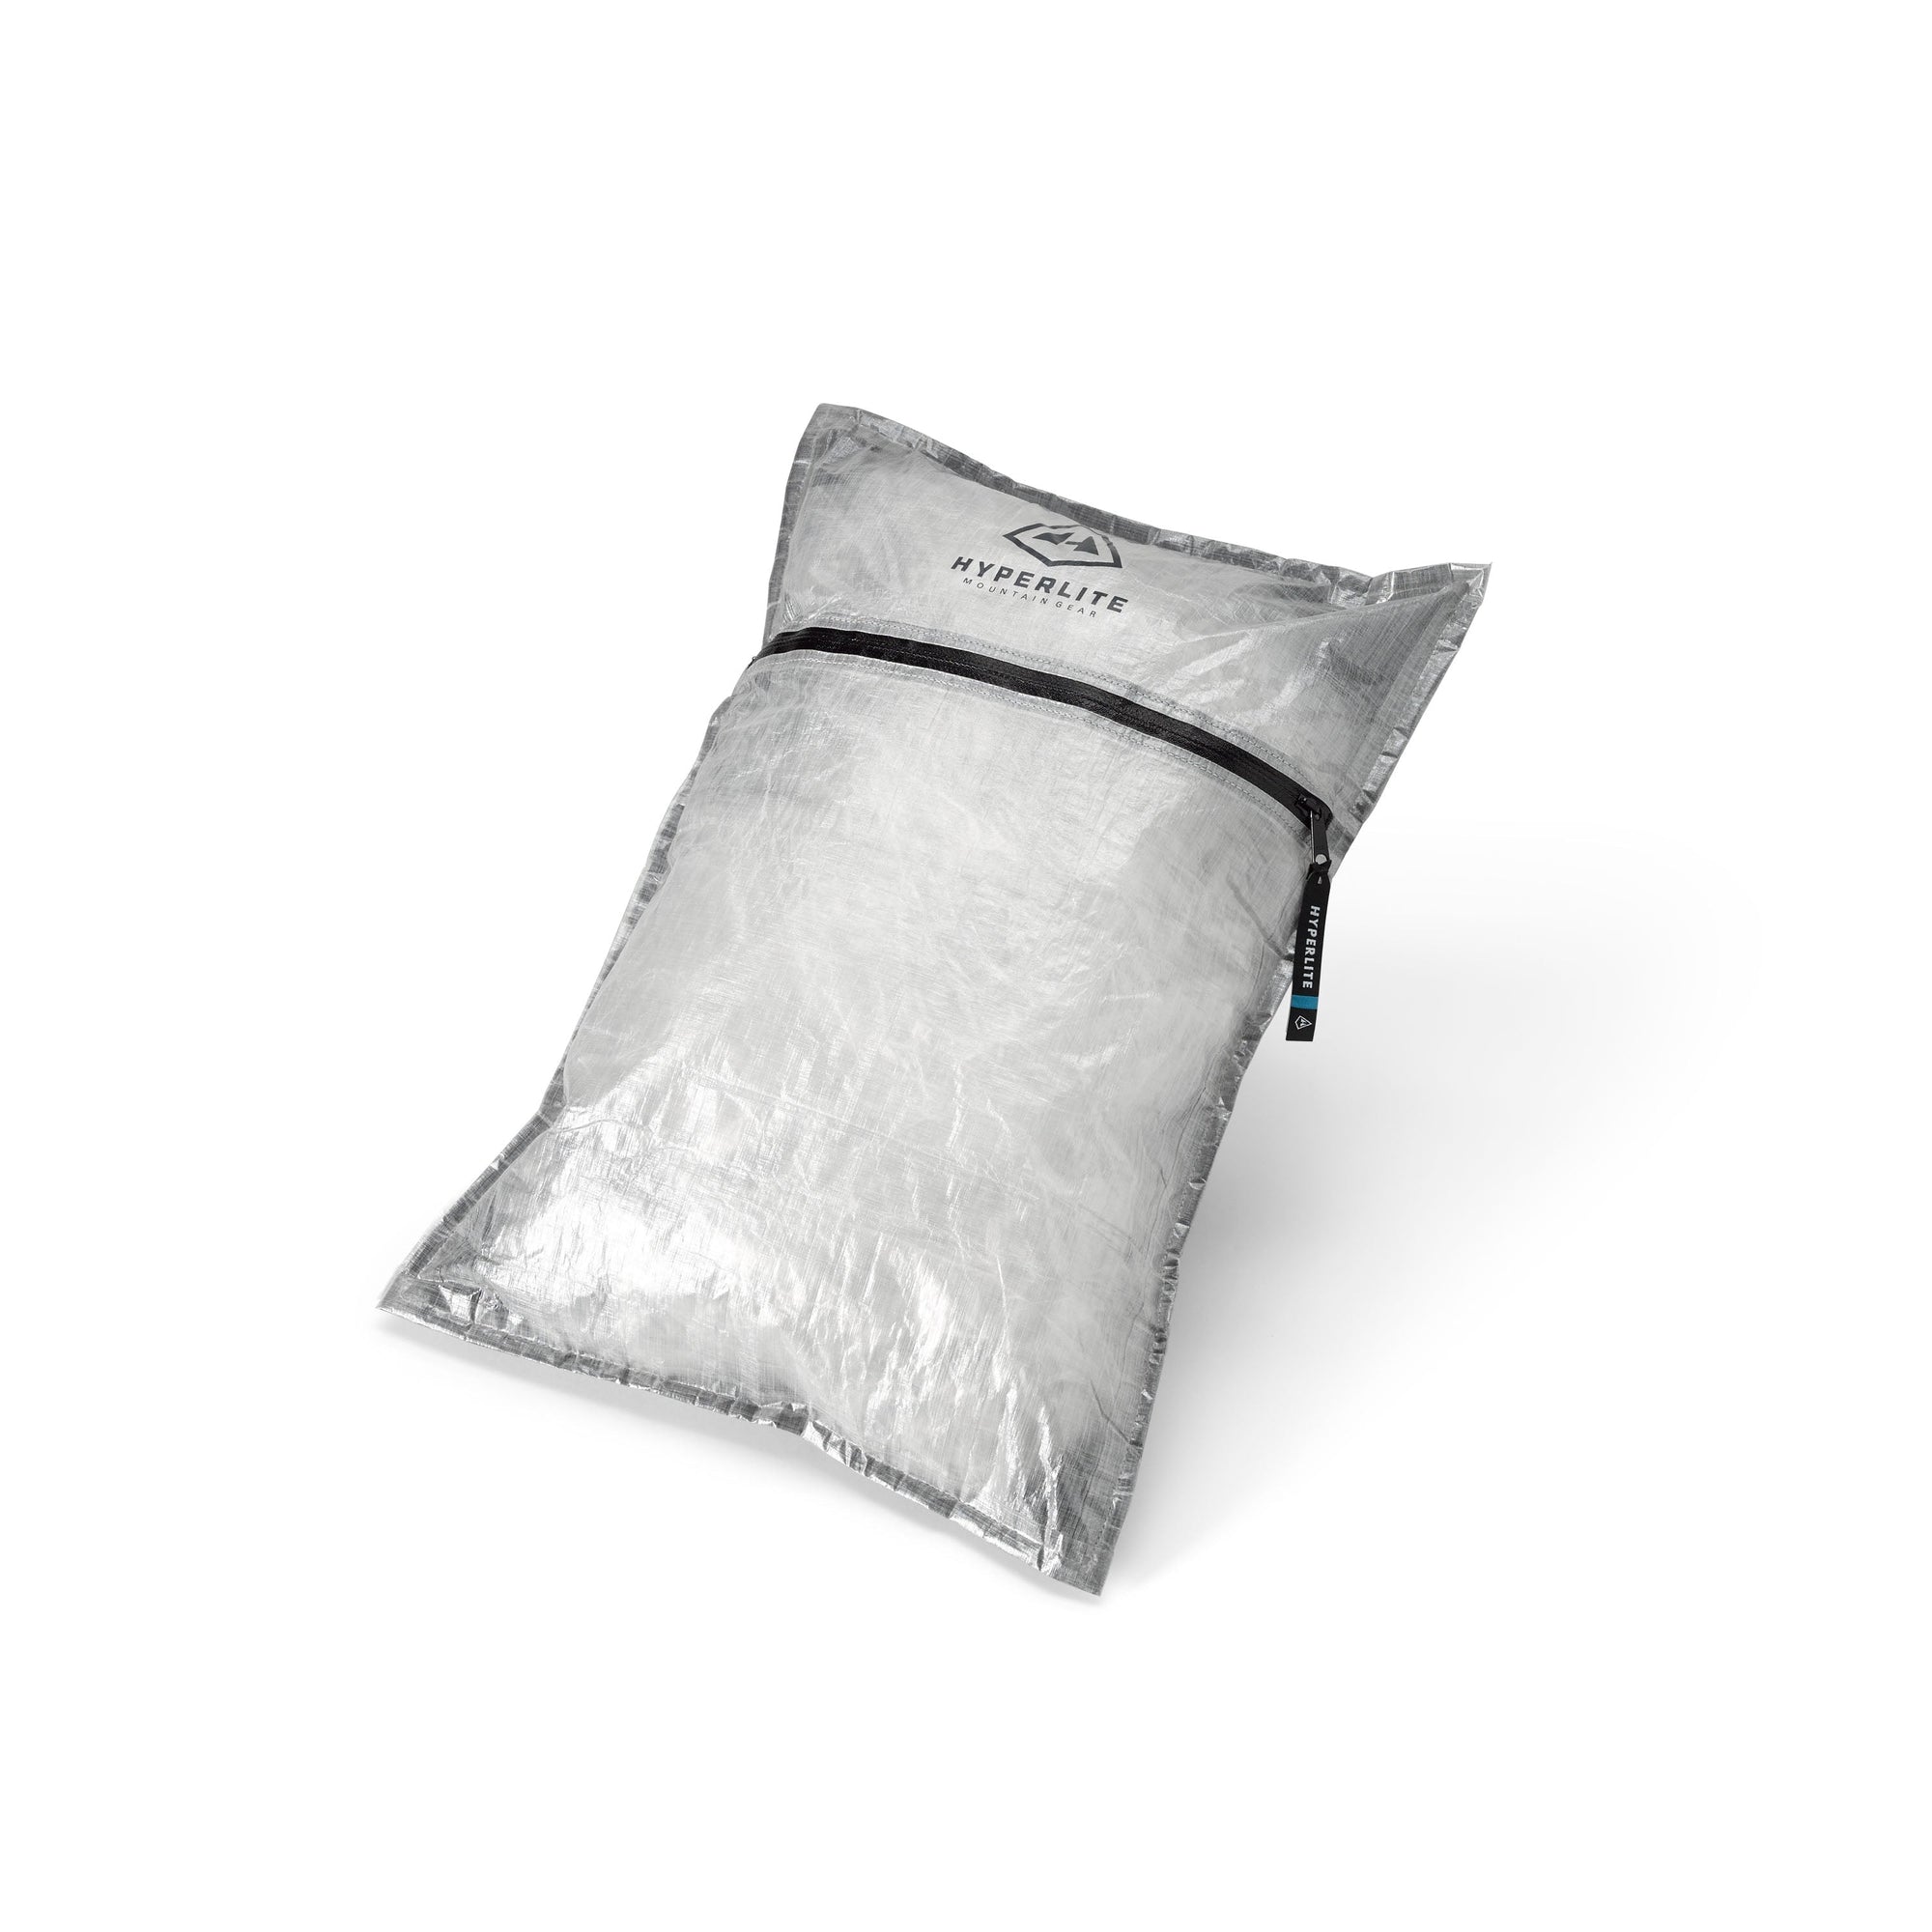
Stuff Sack Pillow
$59.00
The All New Trailhead
Our community for knowledge, gear, and transformational backcountry experiences.

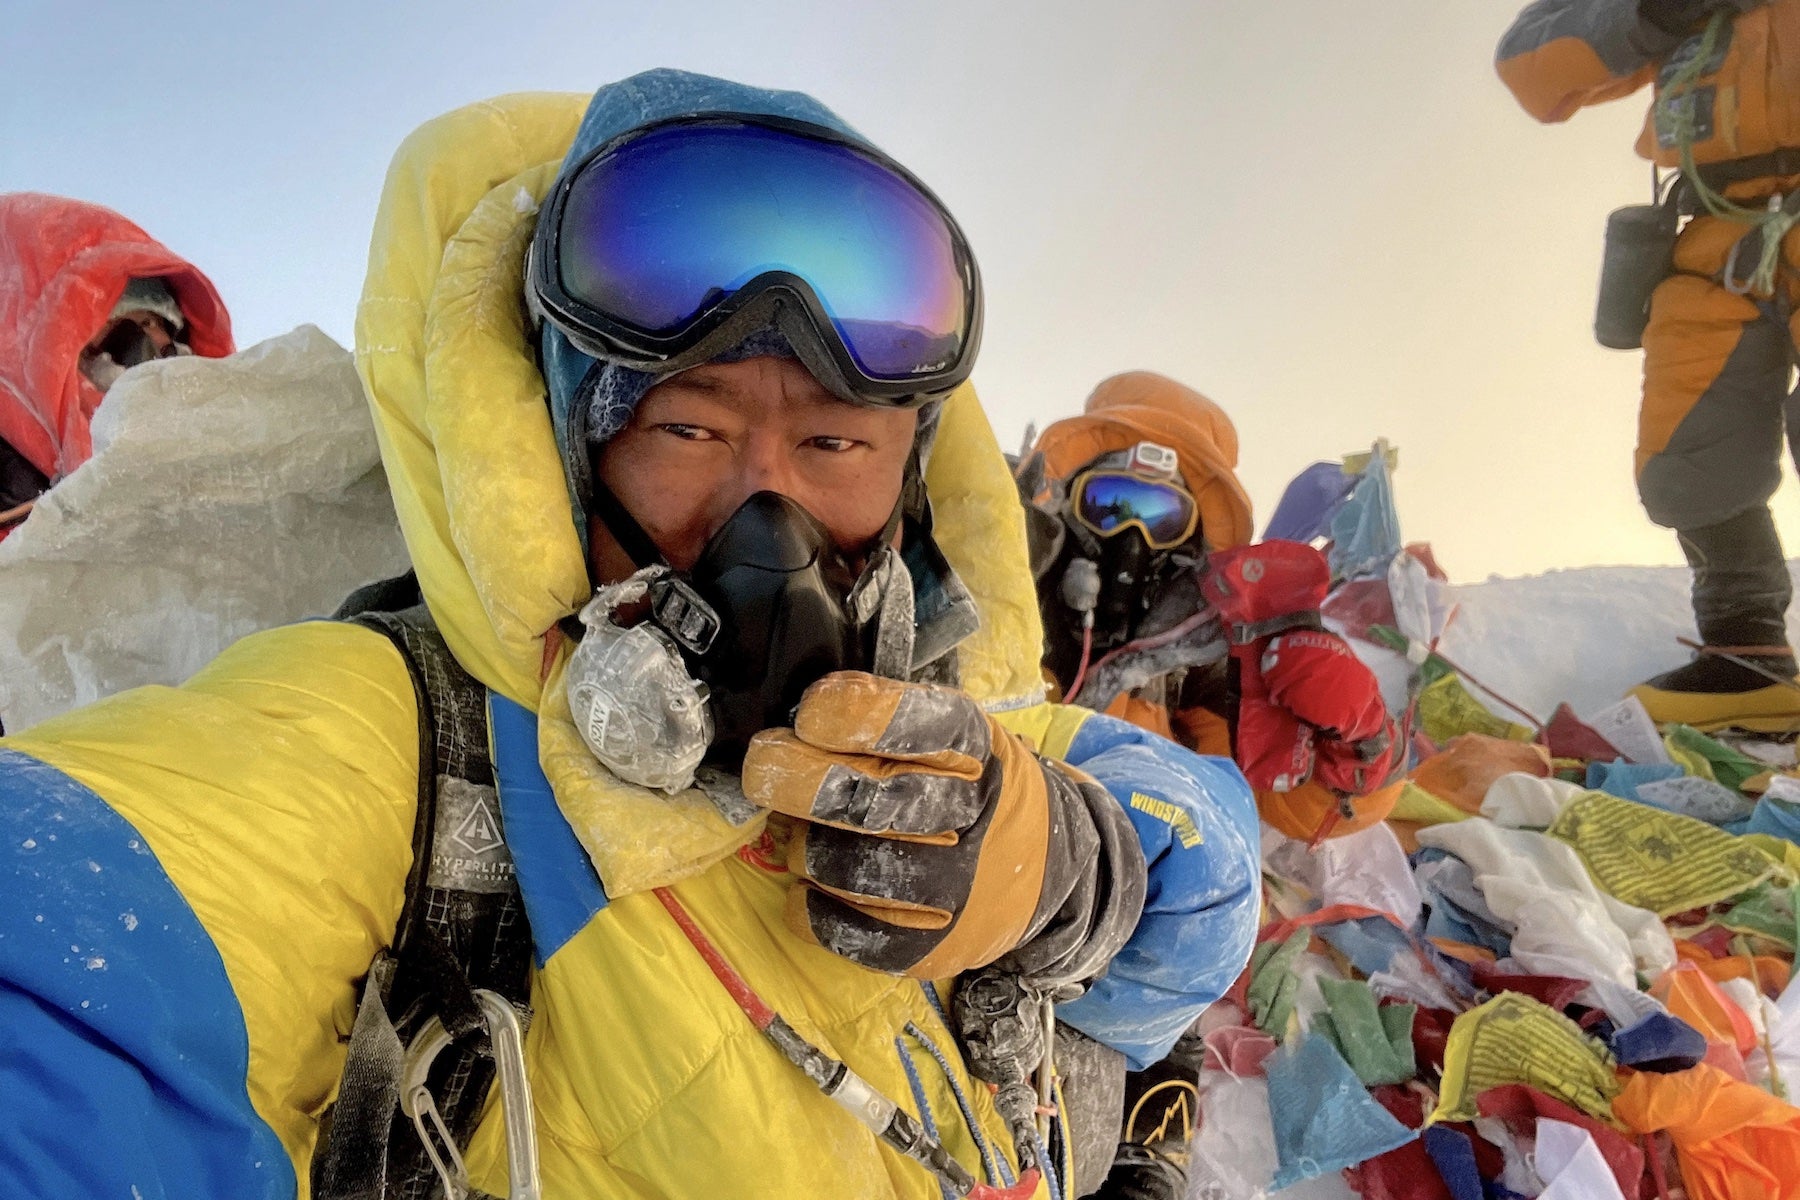
THE HALKA 55 AND 70 ORIGIN STORY: MEET ANG TSHERING LAMA
We got help from a friend in high places.
JOIN THE CONVERSATION
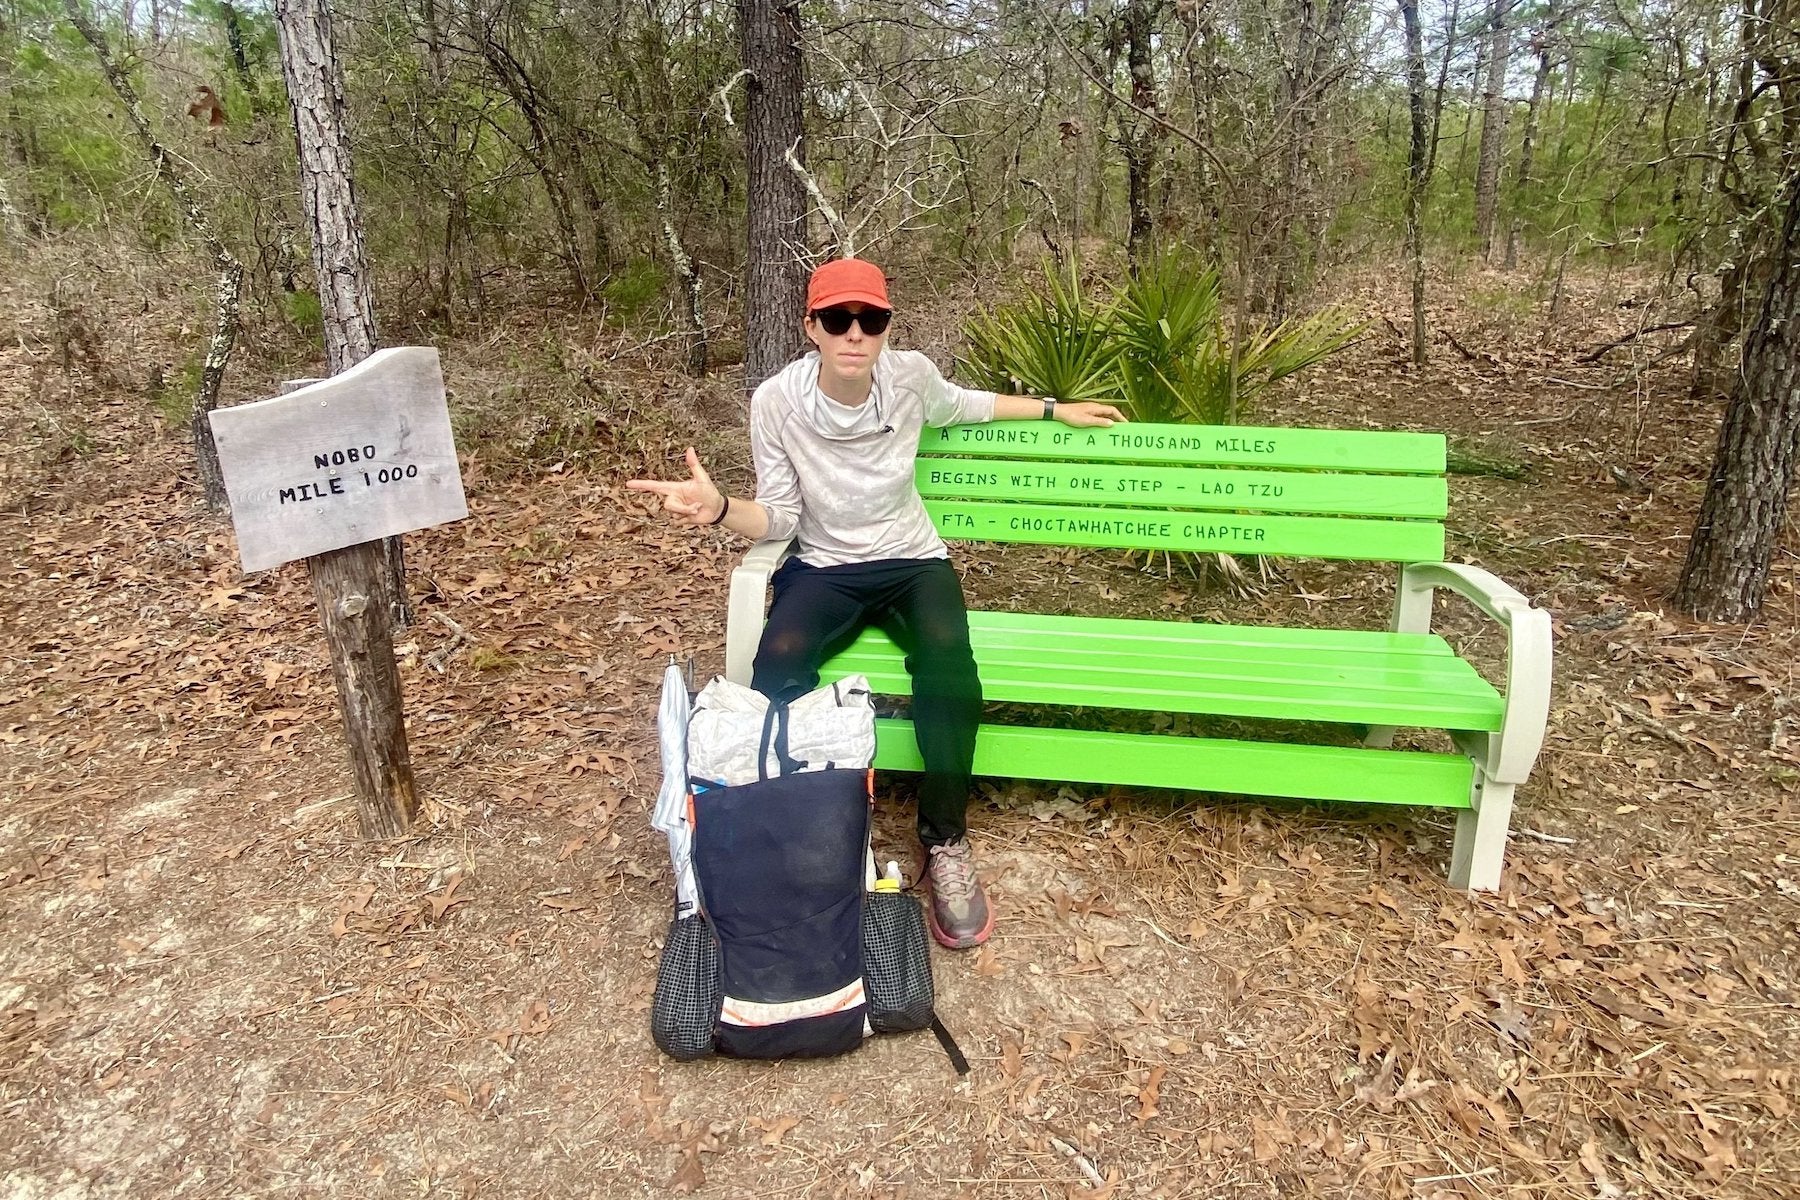
THE RIGHT TOOL FOR THE TRAIL: CHOOSE YOUR PACK WITH TINA CURRIN
Get advice from a thru hiking expert.
JOIN THE CONVERSATION
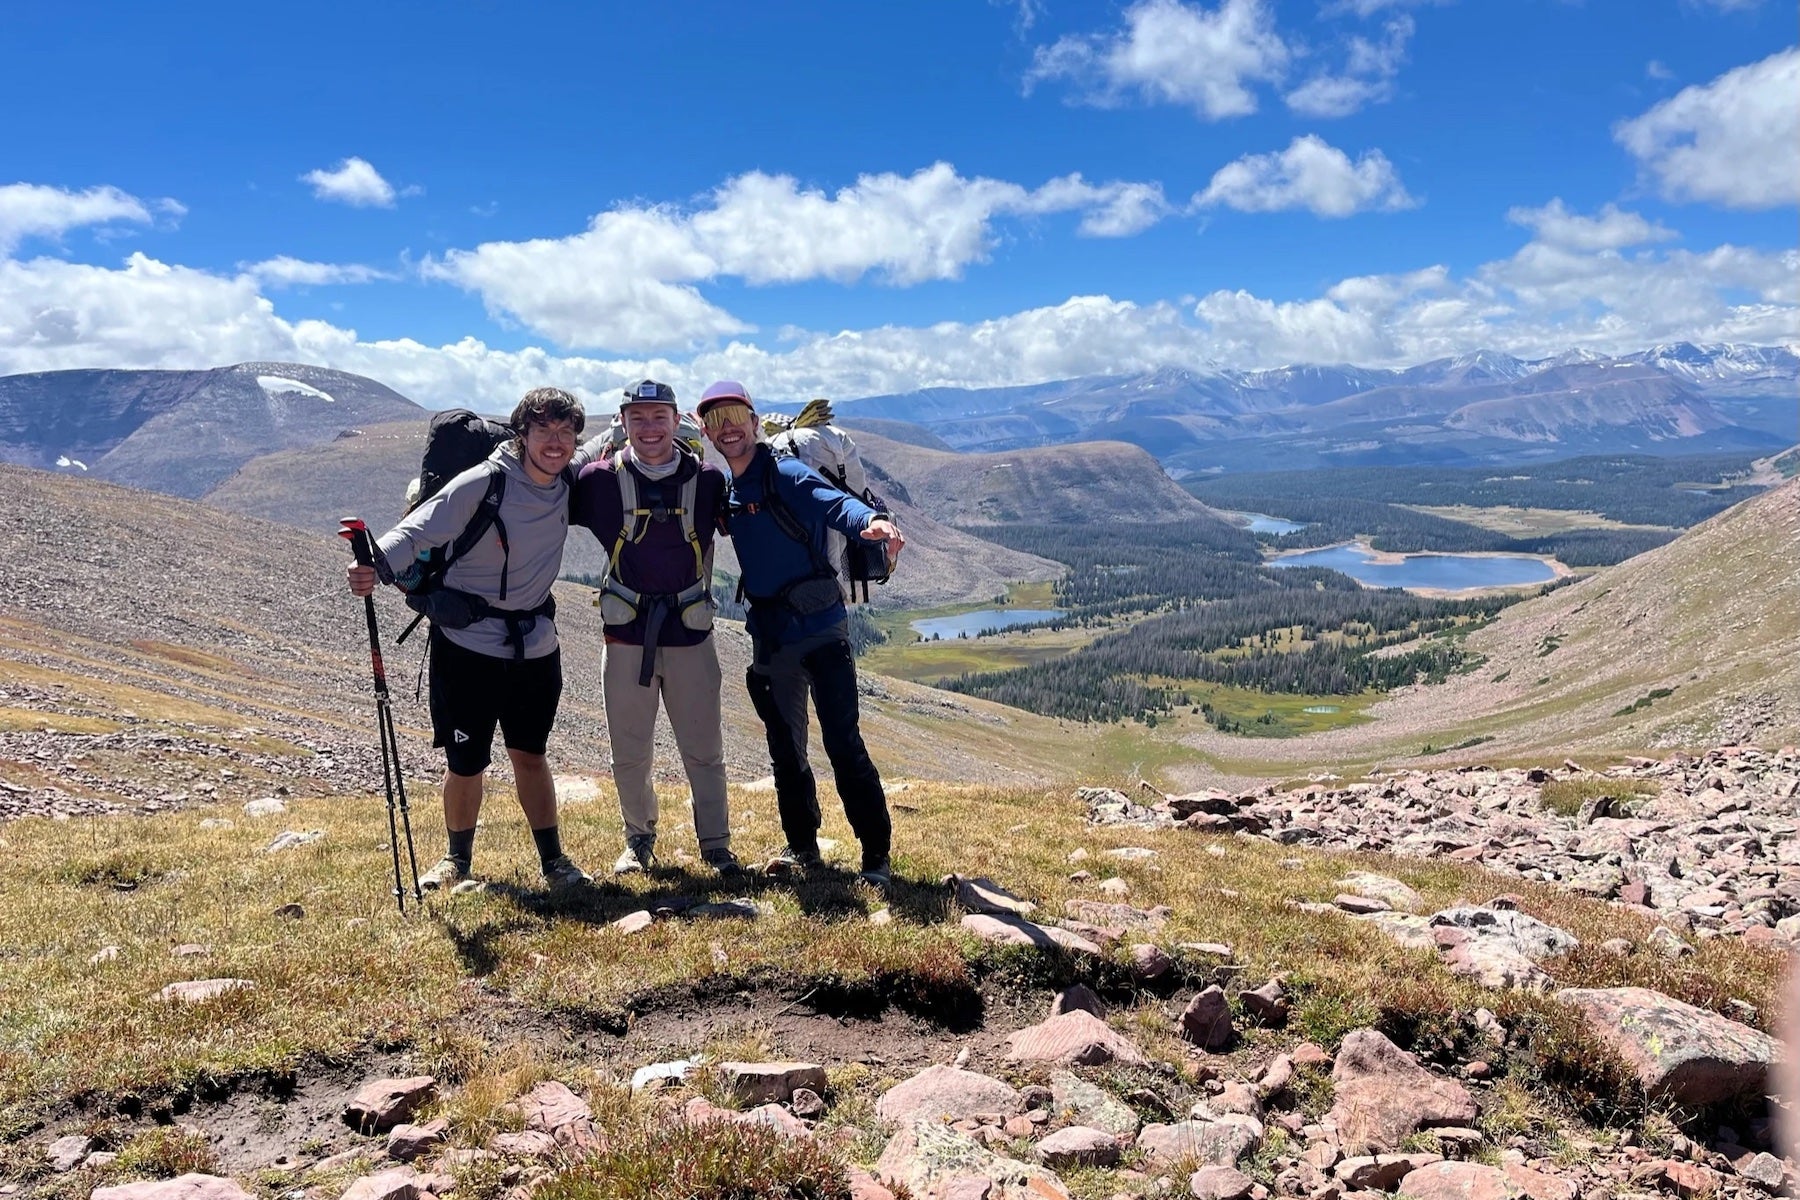
ALPINE ODYSSEY: A SAGA OF DISCOVERY ALONG THE UINTA HIGHLINE TRAIL
Take a trip through the Utah backcountry.
JOIN THE CONVERSATION
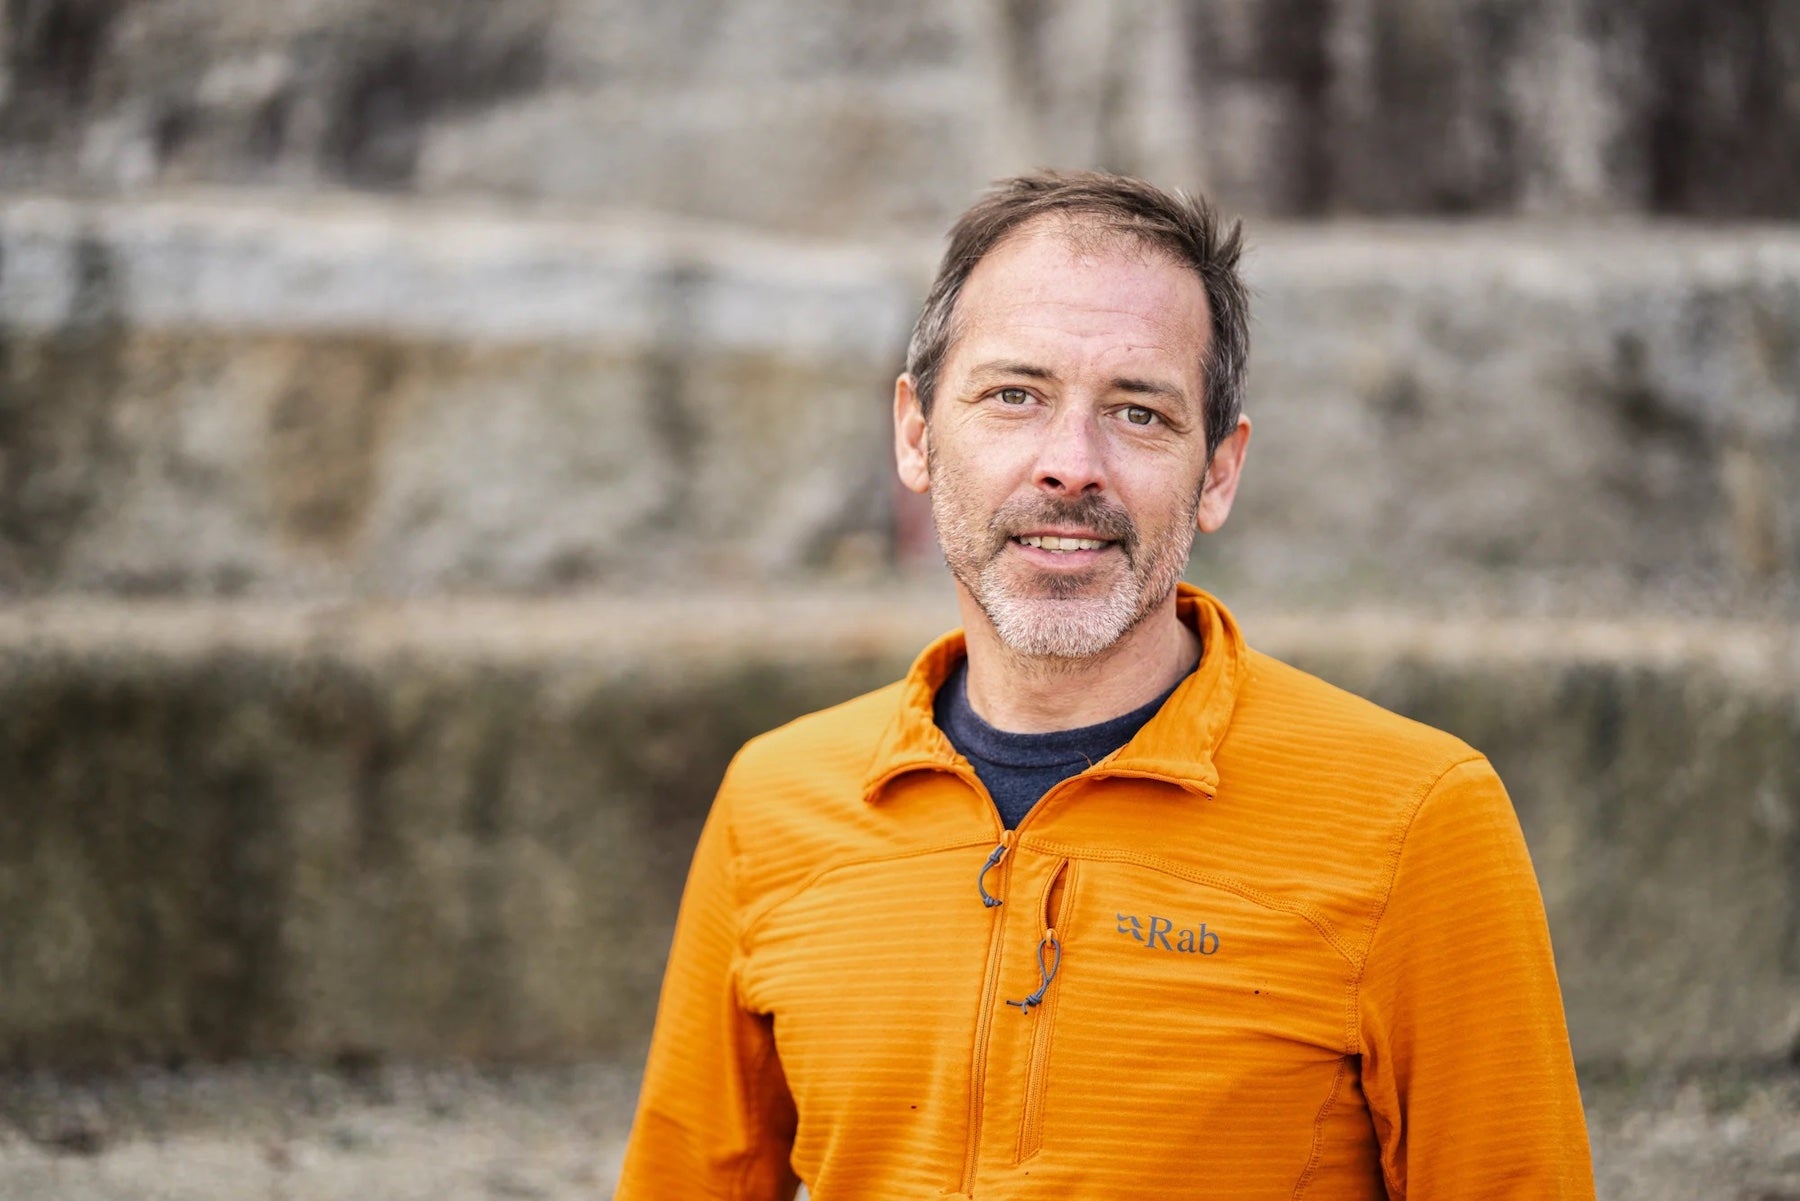
WHO’S HAD A HAND IN YOUR GEAR? MEET OUR FOUNDER, MIKE ST. PIERRE
You’ve got this guy to thank for the sweet gear!
JOIN THE CONVERSATIONHUNDREDS OF THOUSANDS OF ADVENTURERS
Share your adventure.
Tag @hyperlite_mountain_gear to be featured!
Share your adventure.
Tag @hyperlite_mountain_gear to be featured!